21 Spooky Halloween Desserts Easy Enough to Make With Your Kids
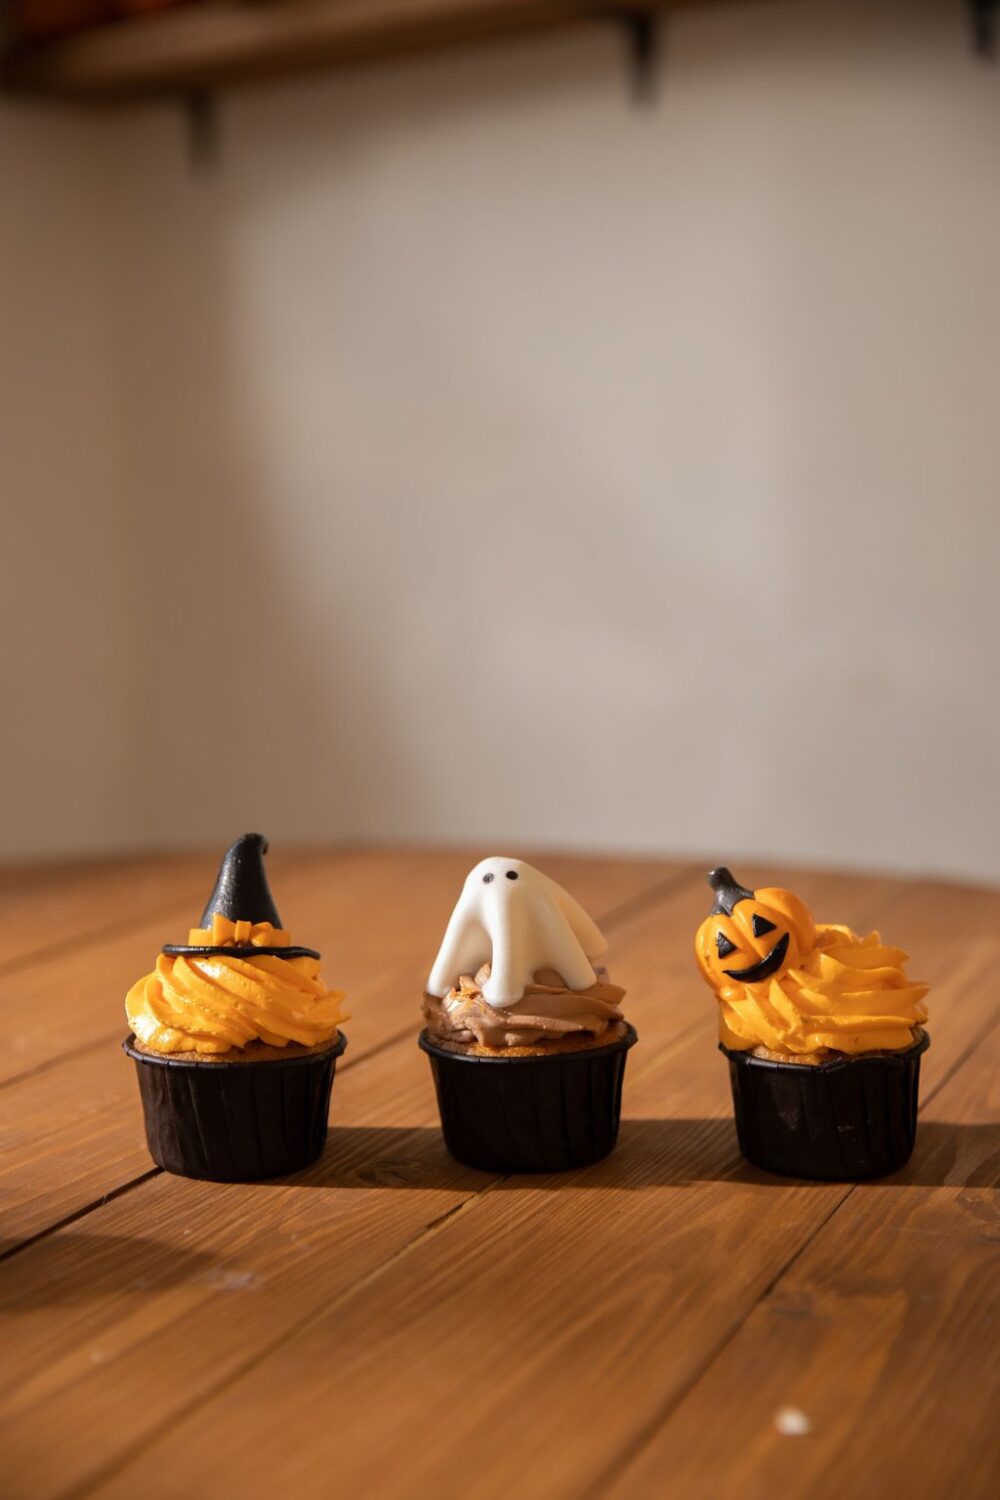
Halloween desserts are where the fun of the season really lives. A tray of mummy brownies or a plate of witch fingers on the counter makes a regular October afternoon feel like a party, and kids remember the treats long after the costumes are put away. None of these need a pastry background. If you can melt chocolate, roll a ball of dough and press a candy eye into place, you can make every one of them.
These 21 Halloween desserts cover everything from cute to creepy. They are grouped into spooky cookies and bars first, then cupcakes and cakes, then no bake and candy style treats, and finally the cozy pumpkin and caramel apple desserts. Each entry lists the real prep time, the total time including chilling and cooling, and how many it serves, so you can pick what fits your week.
Two habits make every one of these better. First, use gel food coloring instead of liquid, since a tiny amount gives deep orange and black without thinning frosting or seizing chocolate. Second, melt chocolate slowly in short microwave bursts and stir between each one. Overheated chocolate turns thick and grainy, and there is no saving it once it does.
With three kids at home, I plan these around who is helping. The no bake treats are perfect for little hands, while the cookies and cake pops are better for older kids who can handle a hot oven and a piping bag. Most of these can be made a day or two ahead, so the night of the party is just about setting out platters and enjoying it.
1) Mummy Brownies
1) Mummy Brownies
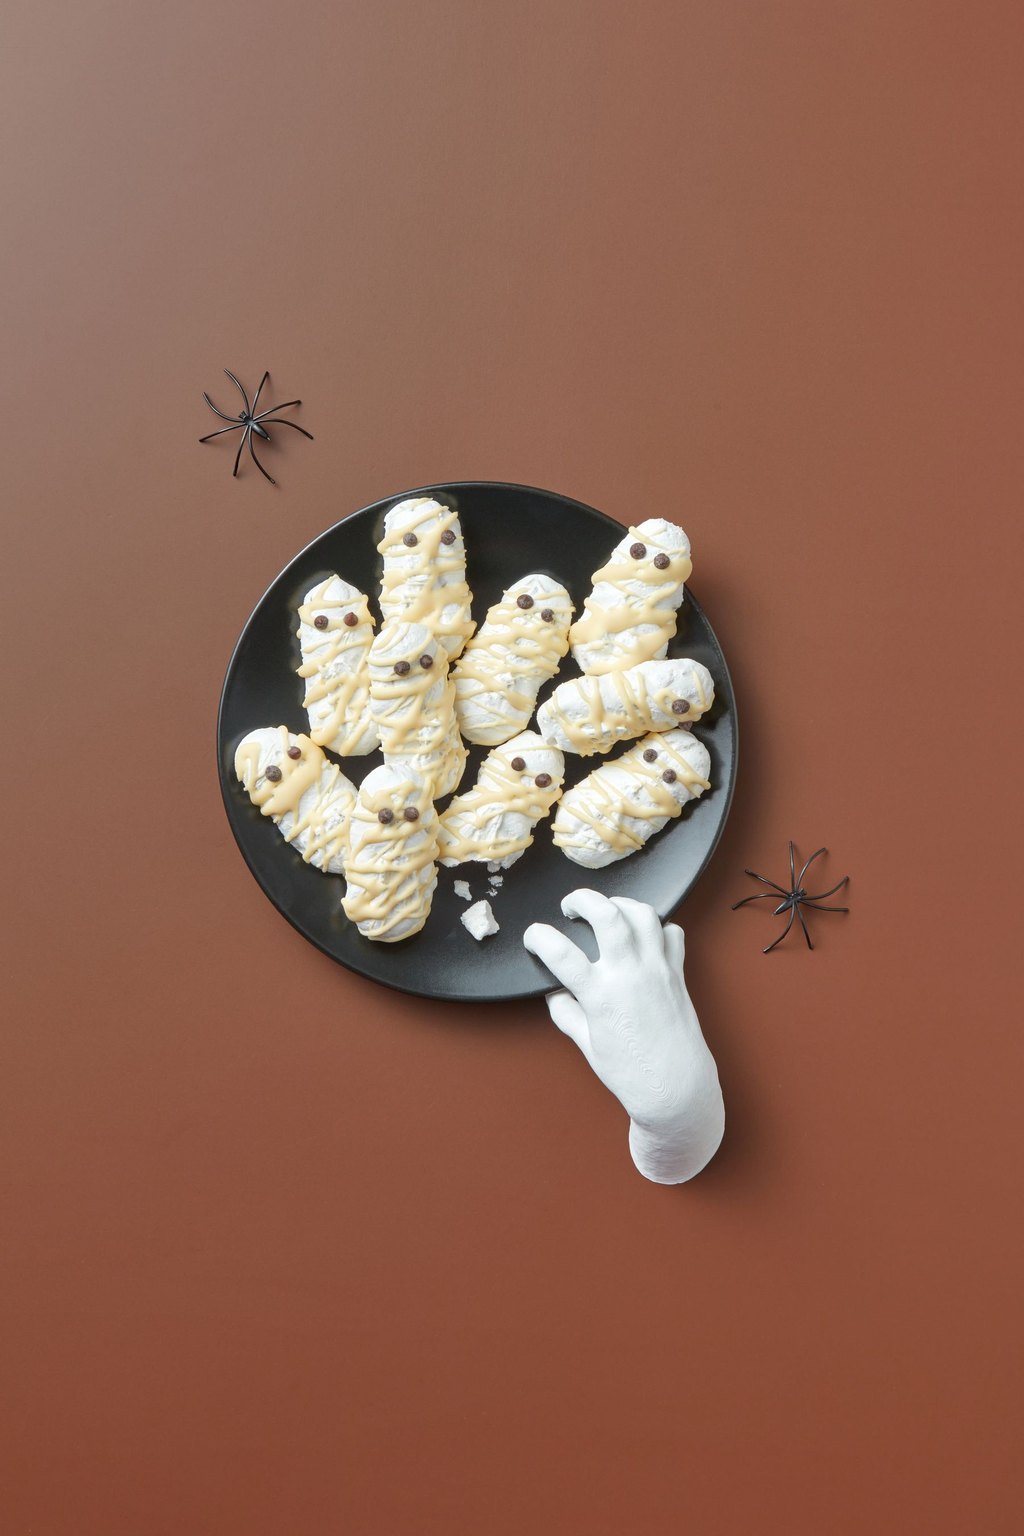
Fudgy homemade brownies get wrapped in thin stripes of white chocolate so each square looks like a little mummy peeking out of its bandages. Two candy eyes pressed into the warm drizzle give every one its own personality. The brownie base is rich and dense, so it holds a clean edge when you cut it.
Ingredients
- 3/4 cup unsalted butter, melted
- 1 1/2 cups granulated sugar
- 3 large eggs
- 2 tsp vanilla extract and 1/2 tsp salt
- 3/4 cup all purpose flour
- 1/2 cup unsweetened cocoa powder
- 1 cup semisweet chocolate chips
- 8 oz white chocolate or white candy melts
- 1 tsp coconut oil or shortening
- 32 candy eyes
Cooking Instructions
- Heat the oven to 350F and line a 9 by 9 inch pan with parchment, leaving an overhang on two sides.
- Whisk the melted butter and sugar, then beat in the eggs one at a time with the vanilla and salt until glossy.
- Fold in the flour and cocoa until no streaks remain, then stir in the chocolate chips and spread in the pan.
- Bake 25 to 30 minutes, until a toothpick in the center comes out with moist crumbs. Cool completely in the pan, about 1 hour, then lift out and cut 16 squares.
- Melt the white chocolate with the oil in 30 second bursts. Pipe thin zigzag lines across each square, leaving a gap near the top, and press in two candy eyes before it sets.
These are the brownies my kids ask for the minute the pumpkins go out on the porch. The base is a one bowl fudgy brownie, and the mummy part is nothing more than white chocolate piped back and forth from a zip top bag. Nobody needs a steady hand, because messy bandages look more like a mummy anyway. They travel well in the same pan you baked them in.
Cut the brownies before you decorate. Piping on individual squares keeps the white chocolate stripes from cracking when you slice.
2) Monster Cookies
2) Monster Cookies
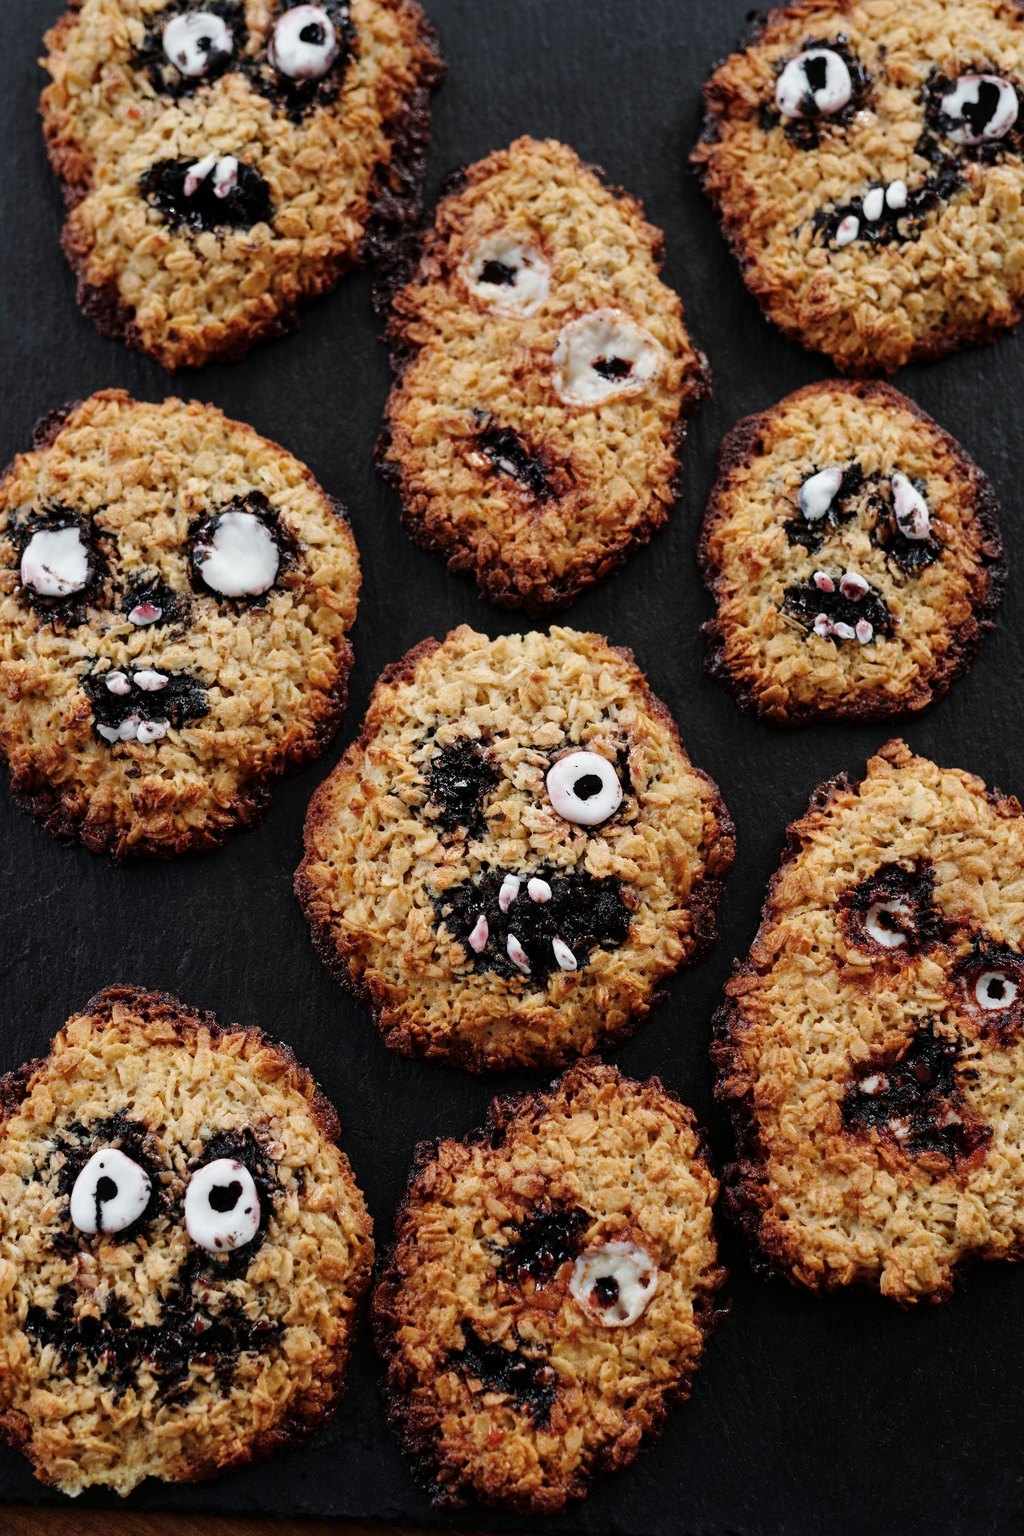
Monster cookies are thick, chewy peanut butter oatmeal cookies loaded with chocolate chips and candy coated chocolates. For Halloween, a few candy eyes pressed in right out of the oven turn them into goofy little creatures. They are made without any flour, which makes them a handy option when you are baking for a crowd with mixed needs.
Ingredients
- 1/2 cup unsalted butter, softened
- 1 cup creamy peanut butter
- 1 cup packed light brown sugar and 1/2 cup granulated sugar
- 2 large eggs
- 2 tsp vanilla extract
- 2 tsp baking soda and 1/4 tsp salt
- 4 1/2 cups old fashioned rolled oats
- 1 cup Halloween colored candy coated chocolates
- 3/4 cup semisweet chocolate chips
- 1/2 cup candy eyes
Cooking Instructions
- Heat the oven to 350F and line two baking sheets with parchment.
- Beat the butter, peanut butter and both sugars on medium speed 2 minutes until light and fluffy. Beat in the eggs and vanilla.
- Mix in the baking soda and salt, then the oats on low speed. Fold in the candies and chocolate chips by hand.
- Scoop 2 tablespoon balls 2 inches apart and flatten them slightly with your palm. Bake 10 to 12 minutes, until the edges are golden and the centers still look a little soft.
- Press candy eyes into the tops right away, then cool on the sheet 5 minutes before moving the cookies to a rack.
If your house has a cookie jar that empties fast, this is the dough to make. The oats give them a chewy, hearty bite, and the peanut butter keeps them soft for days. Kids love choosing where the eyes go, and some monsters inevitably end up with five of them. One batch makes about thirty, which covers a classroom party.
Use old fashioned oats, not quick oats. Quick oats soak up the fat and the cookies bake up dry and cakey.
3) Witch Finger Cookies
3) Witch Finger Cookies
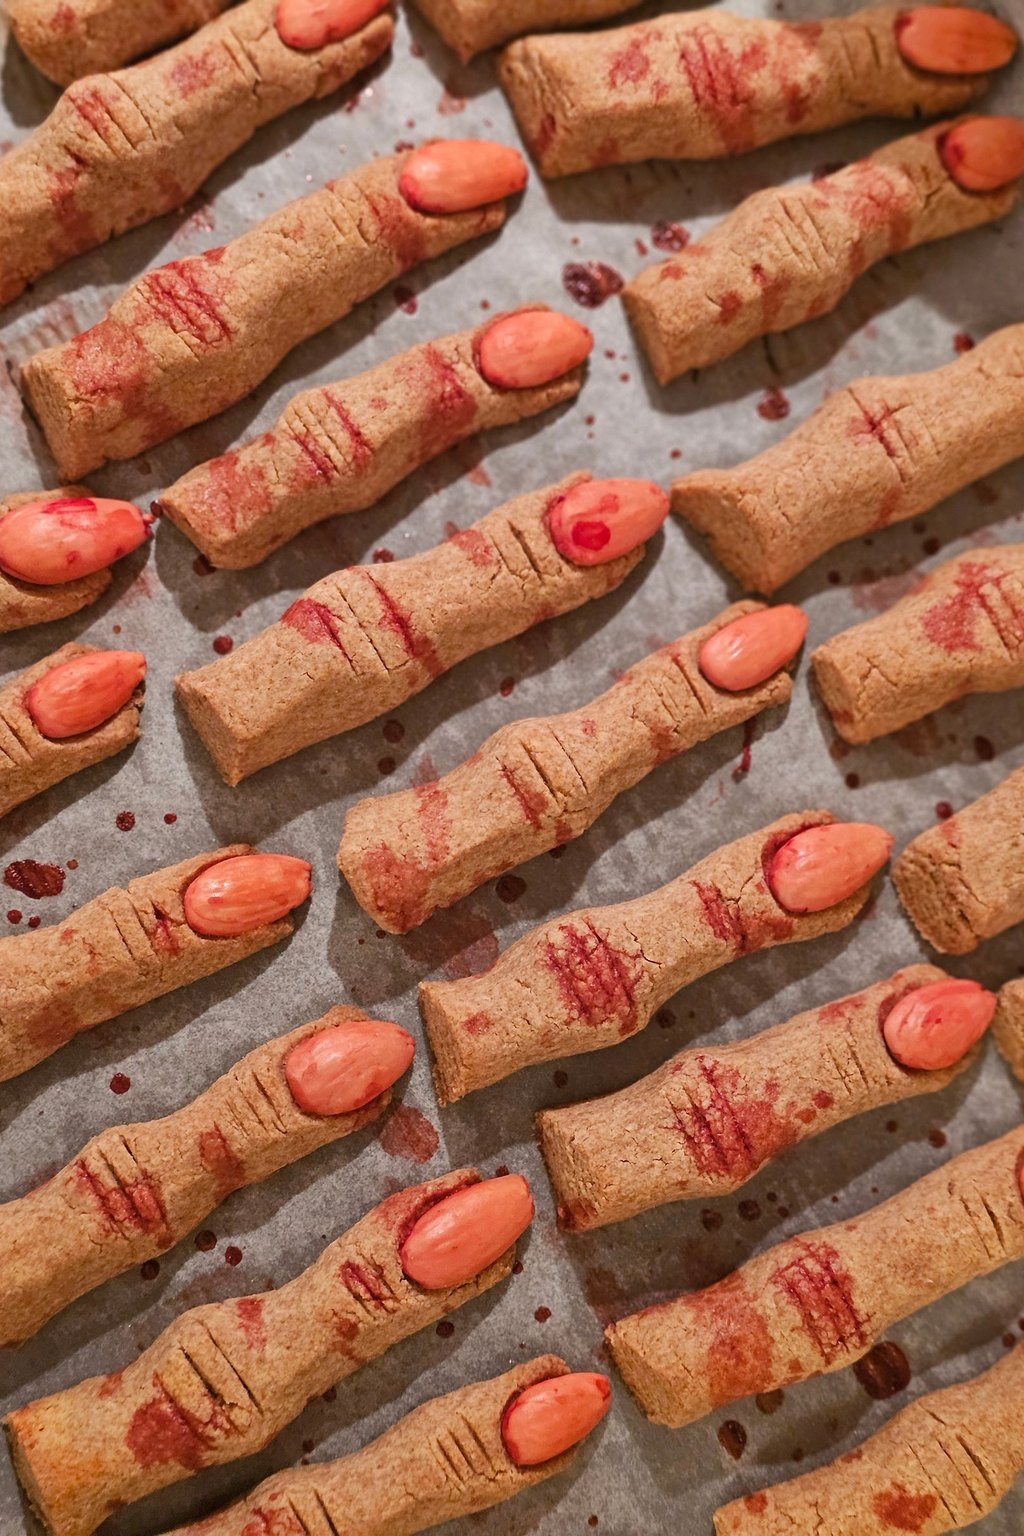
Witch finger cookies are buttery almond shortbread rolled into knobby fingers, with a whole almond pressed on the tip for a fingernail. A few knife marks across the middle make the knuckles look wrinkled and wonderfully creepy. A dab of red jam under each nail finishes the spooky look.
Ingredients
- 1 cup unsalted butter, softened
- 1 cup powdered sugar
- 1 large egg
- 1 tsp vanilla extract and 1 tsp almond extract
- 2 2/3 cups all purpose flour
- 1 tsp baking powder and 1/2 tsp salt
- 3/4 cup whole blanched almonds
- 3 tbsp seedless raspberry or strawberry jam
Cooking Instructions
- Beat the butter and powdered sugar until fluffy, about 2 minutes. Beat in the egg, vanilla and almond extract.
- Mix in the flour, baking powder and salt until a soft dough forms. Cover and chill 30 minutes so it rolls without sticking.
- Heat the oven to 325 F and line two baking sheets with parchment. Roll heaping tablespoons of dough into 3 inch logs, pinching in two spots to form knuckles.
- Press an almond firmly into one end of each finger for the nail and score three light lines across each knuckle with a paring knife.
- Bake 18 to 22 minutes, until the bottoms are just golden. Cool 5 minutes, then lift each almond, dab jam underneath and press it back in place.
These get the biggest reaction of anything on the Halloween table, and they are really just a simple almond shortbread. The dough rolls like play dough, so kids love shaping the fingers and pressing on the nails. Every finger comes out a little different, which only makes them creepier. They keep well in a tin for a week, so you can bake them early.
Make some fingers thin and some thick. A tray of perfectly even fingers looks less spooky than a crooked, mismatched pile.
4) Chocolate Bat Cookies
4) Chocolate Bat Cookies
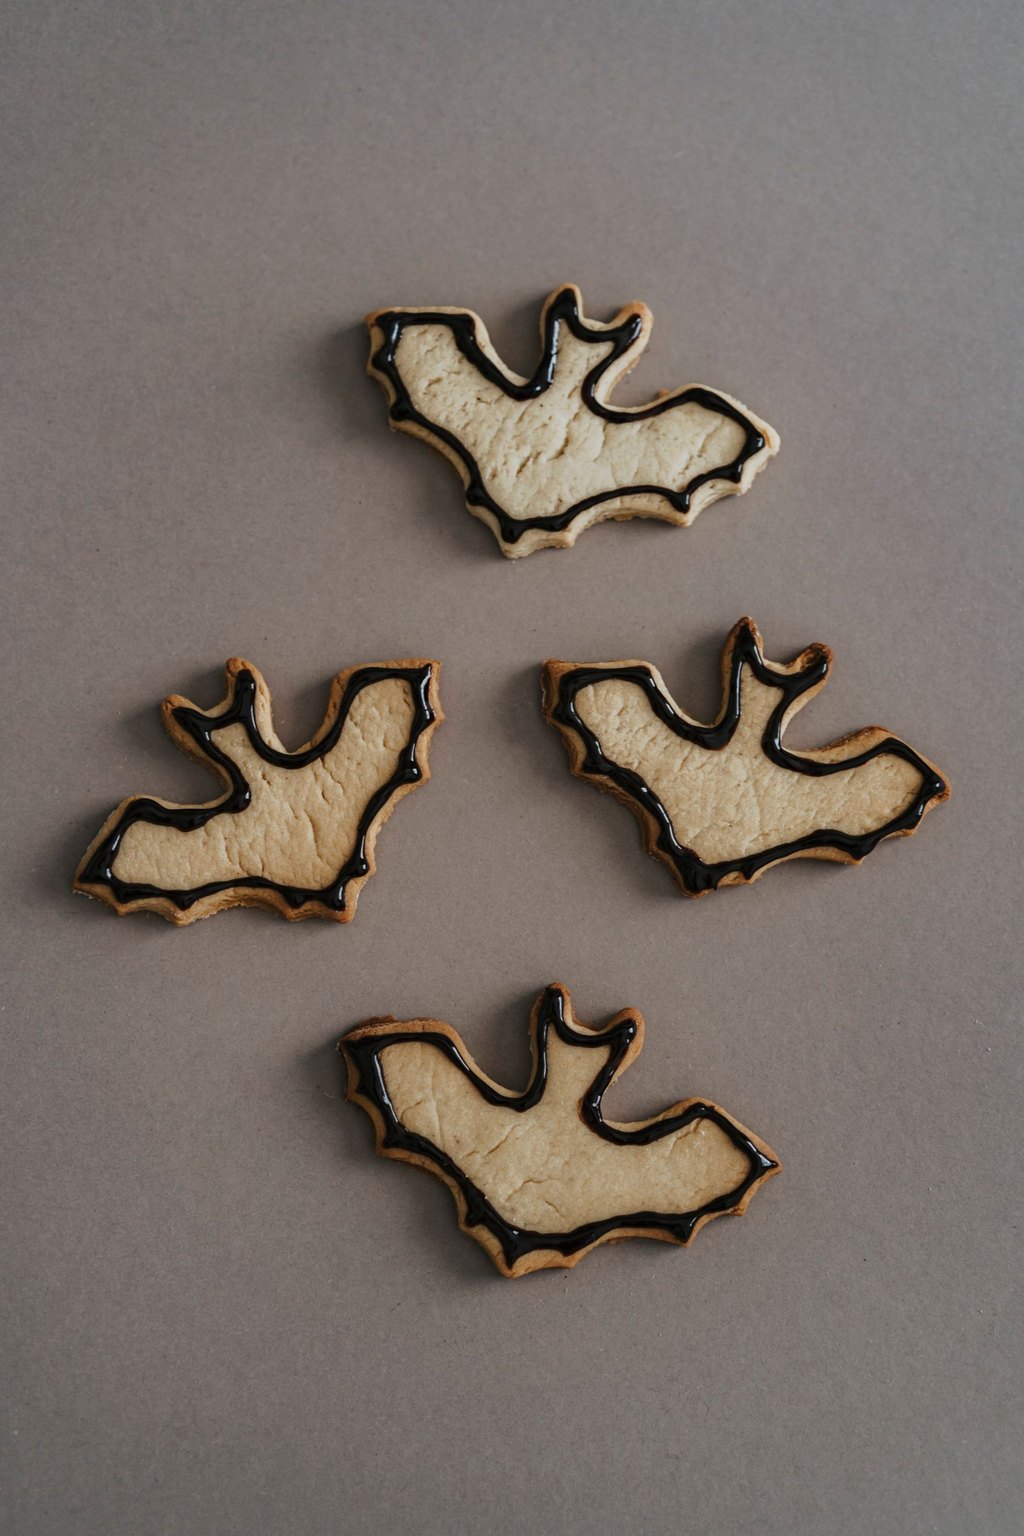
These dark chocolate cut out cookies hold sharp edges in the oven, so every bat keeps its pointed wings and little ears. The dough is rich with cocoa and only lightly sweet, almost like a chocolate wafer. A pair of candy eyes or a sprinkle of white sanding sugar is all they need to look finished.
Ingredients
- 1 cup unsalted butter, softened
- 1 cup granulated sugar
- 1 large egg
- 1 tsp vanilla extract
- 2 1/2 cups all purpose flour
- 2/3 cup Dutch process cocoa powder
- 1/2 tsp baking powder and 1/2 tsp salt
- 48 small candy eyes
- 1/4 cup white sanding sugar (optional)
Cooking Instructions
- Beat the butter and sugar 2 minutes until fluffy, then beat in the egg and vanilla.
- Whisk the flour, cocoa, baking powder and salt, and mix them into the butter on low until a dough forms. Divide in half, flatten into disks and chill 1 hour.
- Heat the oven to 350F and line baking sheets with parchment. Roll each disk 1/4 inch thick between two sheets of parchment and cut with a bat cutter.
- Bake 9 to 11 minutes, until the surface looks dry and the edges feel firm. Press in the candy eyes right away.
- Cool on the sheet 5 minutes, then move to a rack to cool completely.
Bat cookies are the cut out cookie I trust most, because the dough does not spread and the wings come out crisp every time. Cocoa makes them deep brown, almost black, which is exactly the look you want for a bat. They taste like the chocolate wafers you crumble into icebox cakes, only better. The dough also makes great cats, moons and tombstones if you have other cutters.
Roll the dough between parchment sheets instead of on a floured counter. Extra flour leaves gray streaks on dark cookies.
5) Halloween Sugar Cookies
5) Halloween Sugar Cookies
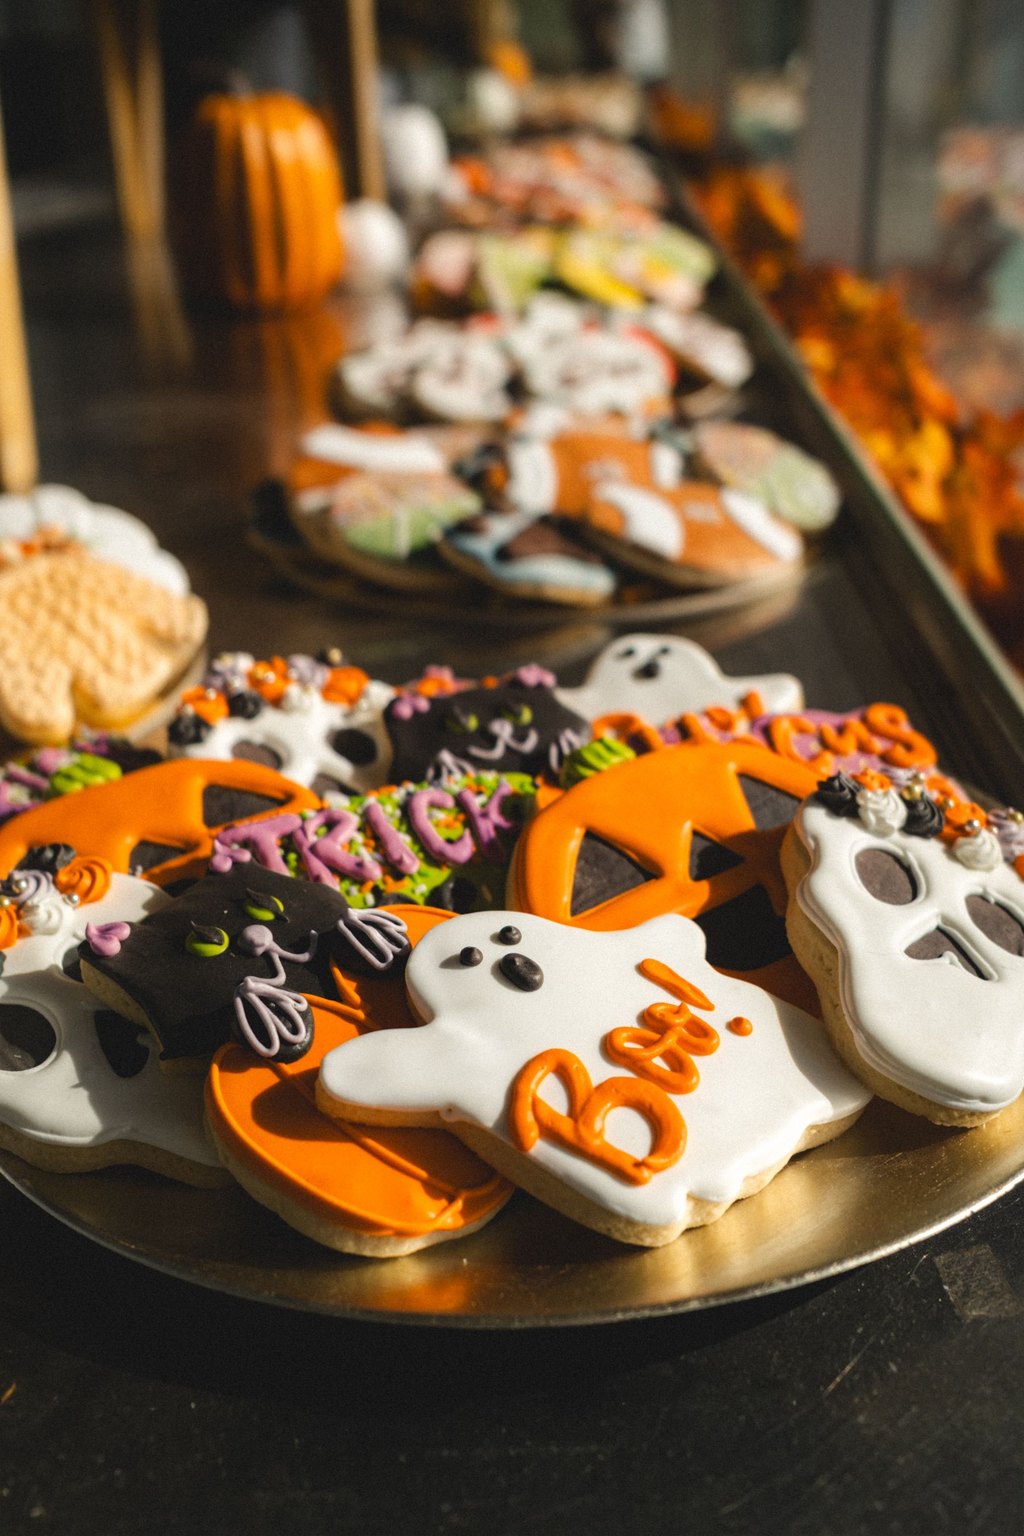
Soft vanilla sugar cookies are cut into pumpkins, ghosts and moons, then flooded with a simple glaze icing that dries smooth and shiny. The dough is buttery with a hint of almond and keeps its shape in the oven. They are the classic decorated cookie that every Halloween party table seems to need.
Ingredients
- 1 cup unsalted butter, softened
- 1 cup granulated sugar
- 1 large egg
- 1 tsp vanilla extract and 1/2 tsp almond extract
- 3 cups all purpose flour
- 1 tsp baking powder and 1/2 tsp salt
- 4 cups powdered sugar
- 1/4 cup milk and 2 tbsp light corn syrup
- Orange, black, green and purple gel food coloring
Cooking Instructions
- Beat the butter and sugar 2 minutes, then the egg and extracts. Mix in the flour, baking powder and salt on low. Chill the dough in two disks 1 hour.
- Heat the oven to 350F. Roll the dough 1/4 inch thick on a lightly floured counter and cut out pumpkins, ghosts and moons.
- Bake on parchment lined sheets 8 to 10 minutes, until the edges are just barely golden. Cool completely, about 30 minutes.
- Whisk the powdered sugar, milk and corn syrup until the icing falls from the whisk in a thick ribbon. Divide and tint with gel colors.
- Outline each cookie with icing, then fill in the center and nudge it to the edges with a toothpick. Let the icing dry at least 1 hour before stacking.
Every October my oldest asks to decorate cookies, and this is the dough I make. It rolls without cracking, it does not puff up and swallow the shape, and the cookies stay soft in the center for days. The glaze icing is far easier than royal icing, so kids can flood their own cookies with a spoon. The almond extract is quiet, but it is what makes people ask for the recipe.
Set out one color per kid in a small bowl with its own spoon. It keeps the colors clean and the arguments short.
6) Pumpkin Cheesecake Bars
6) Pumpkin Cheesecake Bars
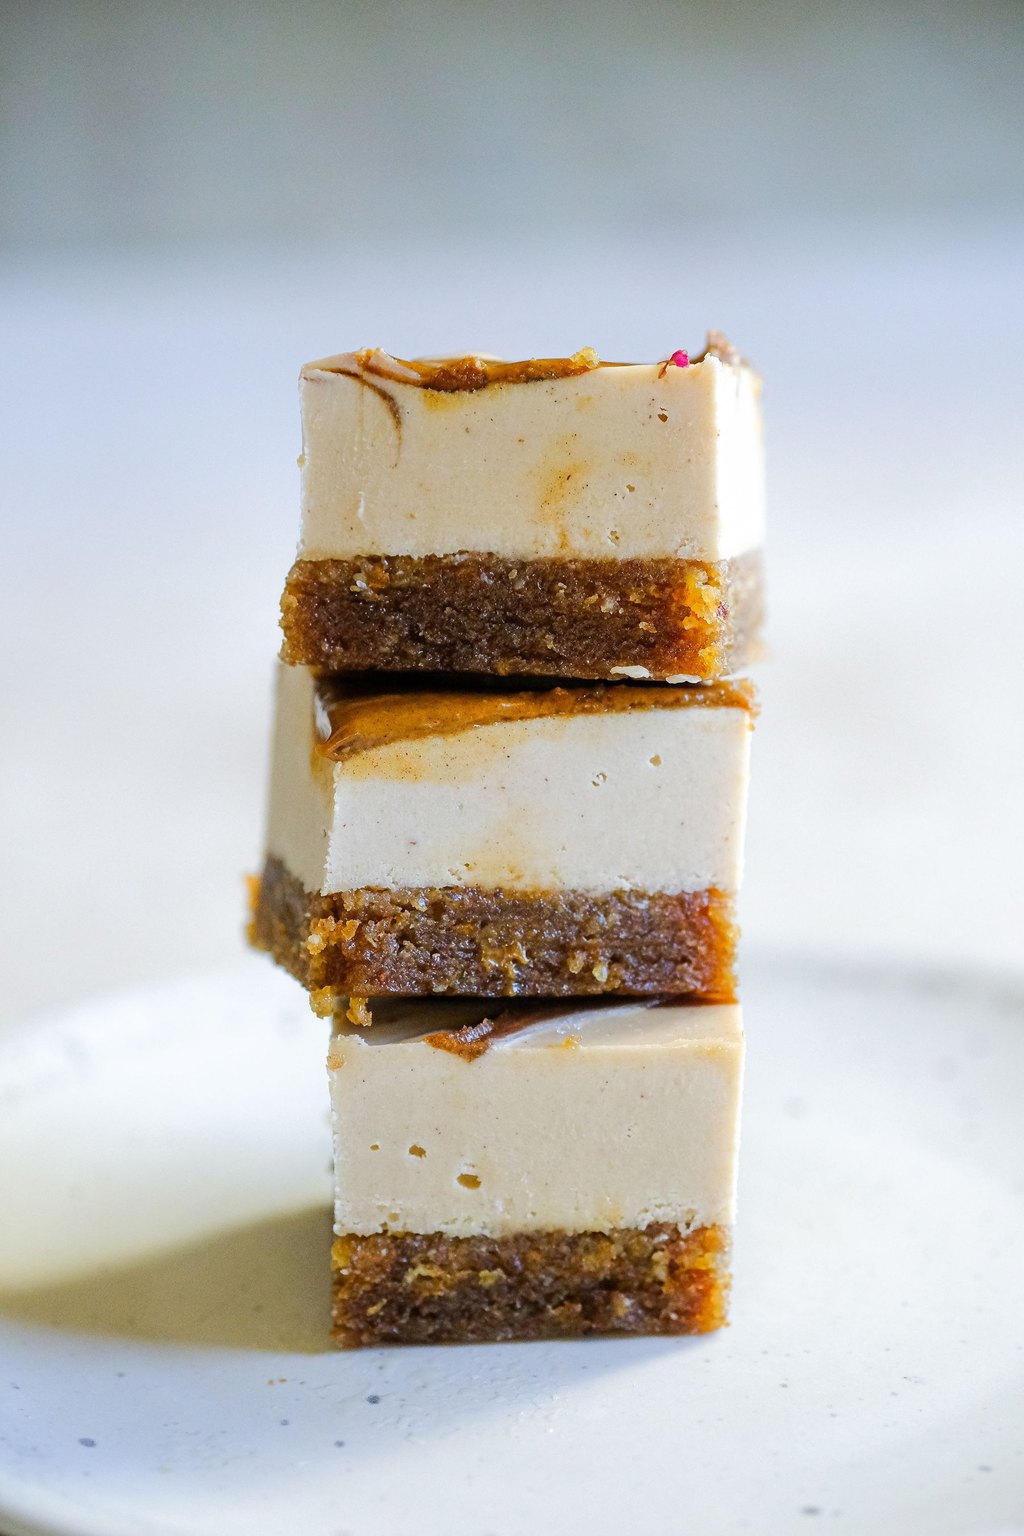
A buttery graham cracker crust is topped with a smooth pumpkin cheesecake filling, warmly spiced with cinnamon, ginger and nutmeg. Baked in a square pan, it slices into neat bars that are much easier to serve than a whole cheesecake. They taste like pumpkin pie and cheesecake met halfway, which pleases both camps at the table.
Ingredients
- 1 1/2 cups graham cracker crumbs
- 6 tbsp unsalted butter, melted, and 2 tbsp granulated sugar
- 16 oz cream cheese, softened
- 3/4 cup packed light brown sugar
- 3/4 cup canned pumpkin puree
- 2 large eggs, room temperature
- 1 tsp vanilla extract
- 1 1/2 tsp ground cinnamon, 1/2 tsp ground ginger and 1/4 tsp ground nutmeg
- 2 tbsp all purpose flour and a pinch of salt
- Whipped cream, for serving
Cooking Instructions
- Heat the oven to 325F and line an 8 by 8 inch pan with parchment, leaving an overhang.
- Mix the crumbs, butter and sugar, press firmly into the pan and bake 10 minutes.
- Beat the cream cheese and brown sugar on low until smooth. Add the pumpkin, vanilla, spices, flour and salt, then the eggs one at a time, mixing just until blended.
- Pour over the crust and bake 35 to 40 minutes, until the edges are set and the center jiggles slightly when you nudge the pan.
- Cool 1 hour at room temperature, then chill at least 3 hours. Lift out and cut into 16 bars with a hot, dry knife.
If pumpkin pie is too plain for you and a full cheesecake is too fussy, these bars are the answer. There is no water bath and no springform pan, just an 8 inch square pan and a mixer. The filling bakes up creamy and dense, with a deep orange color that looks right at home next to the spookier treats. They also travel well, since the bars are firm once chilled.
Make them the day before. The spices deepen overnight and the bars cut far more cleanly when fully cold.
7) Spider Web Cupcakes
7) Spider Web Cupcakes
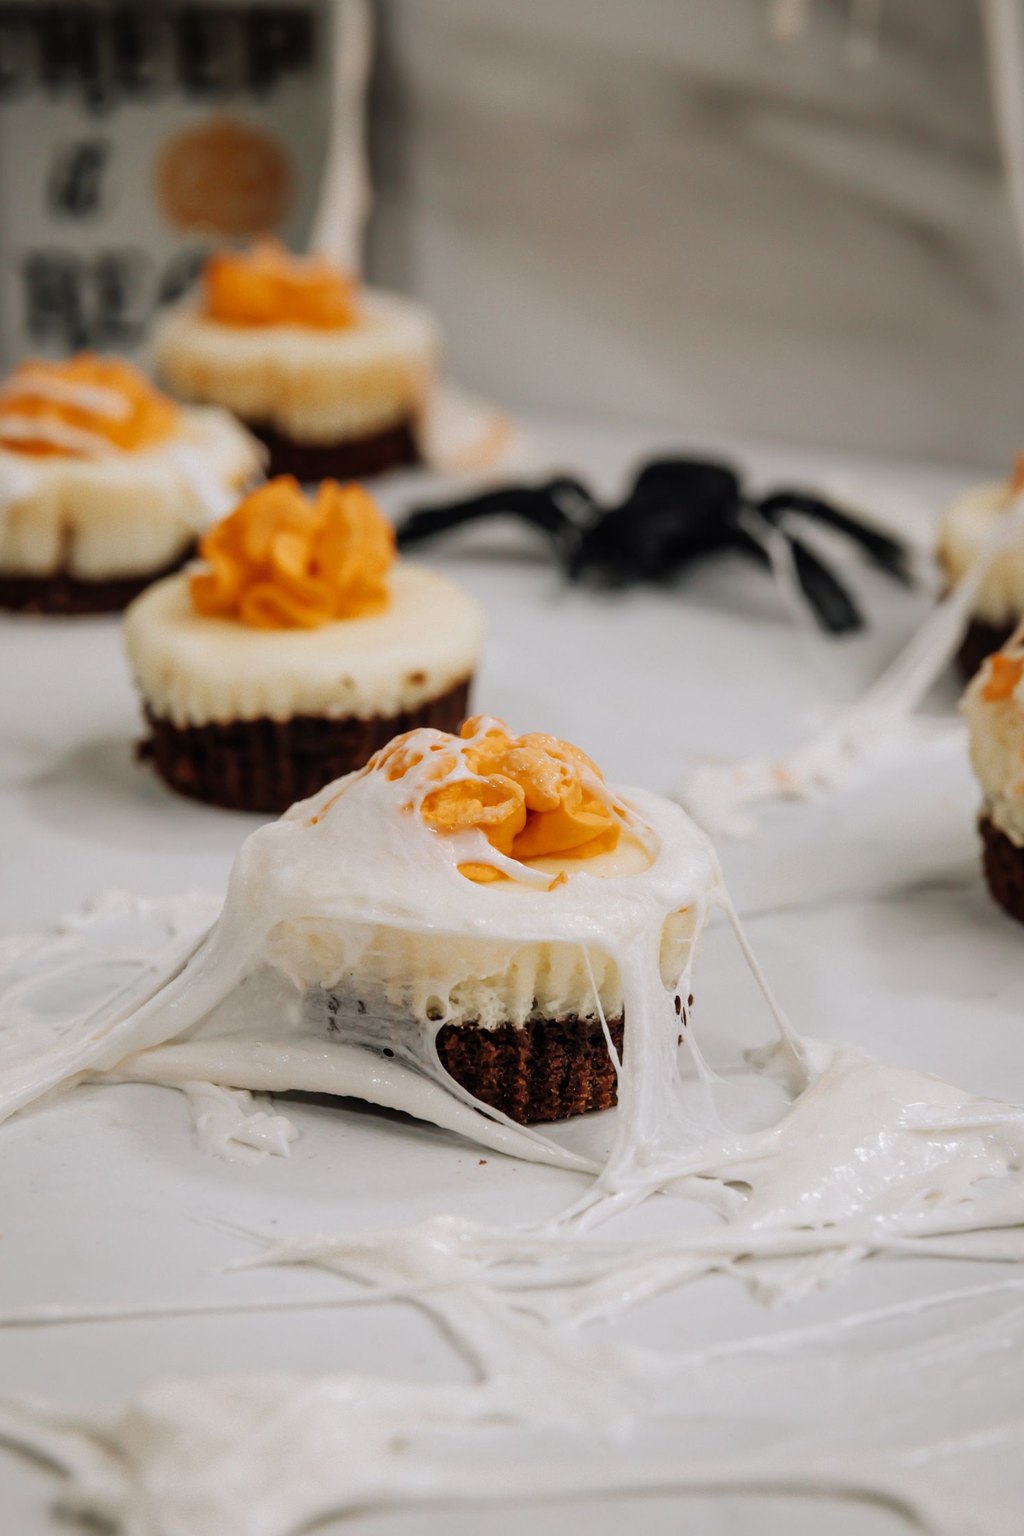
Moist chocolate cupcakes are topped with smooth white frosting and a melted chocolate spiral that gets dragged outward with a toothpick into a spider web. The web technique looks impressive but takes about ten seconds per cupcake. A small gummy spider or chocolate spider on top finishes the look.
Ingredients
- 1 cup all purpose flour
- 1/2 cup unsweetened cocoa powder
- 1 cup granulated sugar
- 1 tsp baking soda, 1/2 tsp baking powder and 1/2 tsp salt
- 1 large egg and 1/2 cup buttermilk
- 1/3 cup vegetable oil and 1 tsp vanilla extract
- 1/2 cup hot coffee or hot water
- 1/2 cup unsalted butter, softened, and 2 1/2 cups powdered sugar
- 2 to 3 tbsp heavy cream
- 2 oz semisweet chocolate, melted
- 12 gummy spiders or chocolate spiders (optional)
Cooking Instructions
- Heat the oven to 350F and line a 12 cup muffin pan.
- Whisk the flour, cocoa, sugar, baking soda, baking powder and salt. Whisk in the egg, buttermilk, oil and vanilla, then the hot coffee until the batter is thin and smooth.
- Fill the liners two thirds full and bake 18 to 20 minutes, until a toothpick comes out clean. Cool completely, about 45 minutes.
- Beat the butter, powdered sugar and cream until fluffy and spread a flat, smooth layer on each cupcake.
- Pipe a spiral of melted chocolate on top, starting at the center. Drag a toothpick from the center out to the edge 8 times to make the web, then add a spider.
Spider web cupcakes are the trick I pull out when I want something that looks like it came from a bakery but I only have one evening. The chocolate cake is a one bowl batter that bakes up tender and stays moist for two days. The web is just a spiral and a toothpick, and it works every time. My middle child likes to add the spiders, usually more than one per web.
Spread the frosting flat rather than piping a swirl. The web needs a smooth surface or the lines break up.
8) Black Cat Cupcakes
8) Black Cat Cupcakes
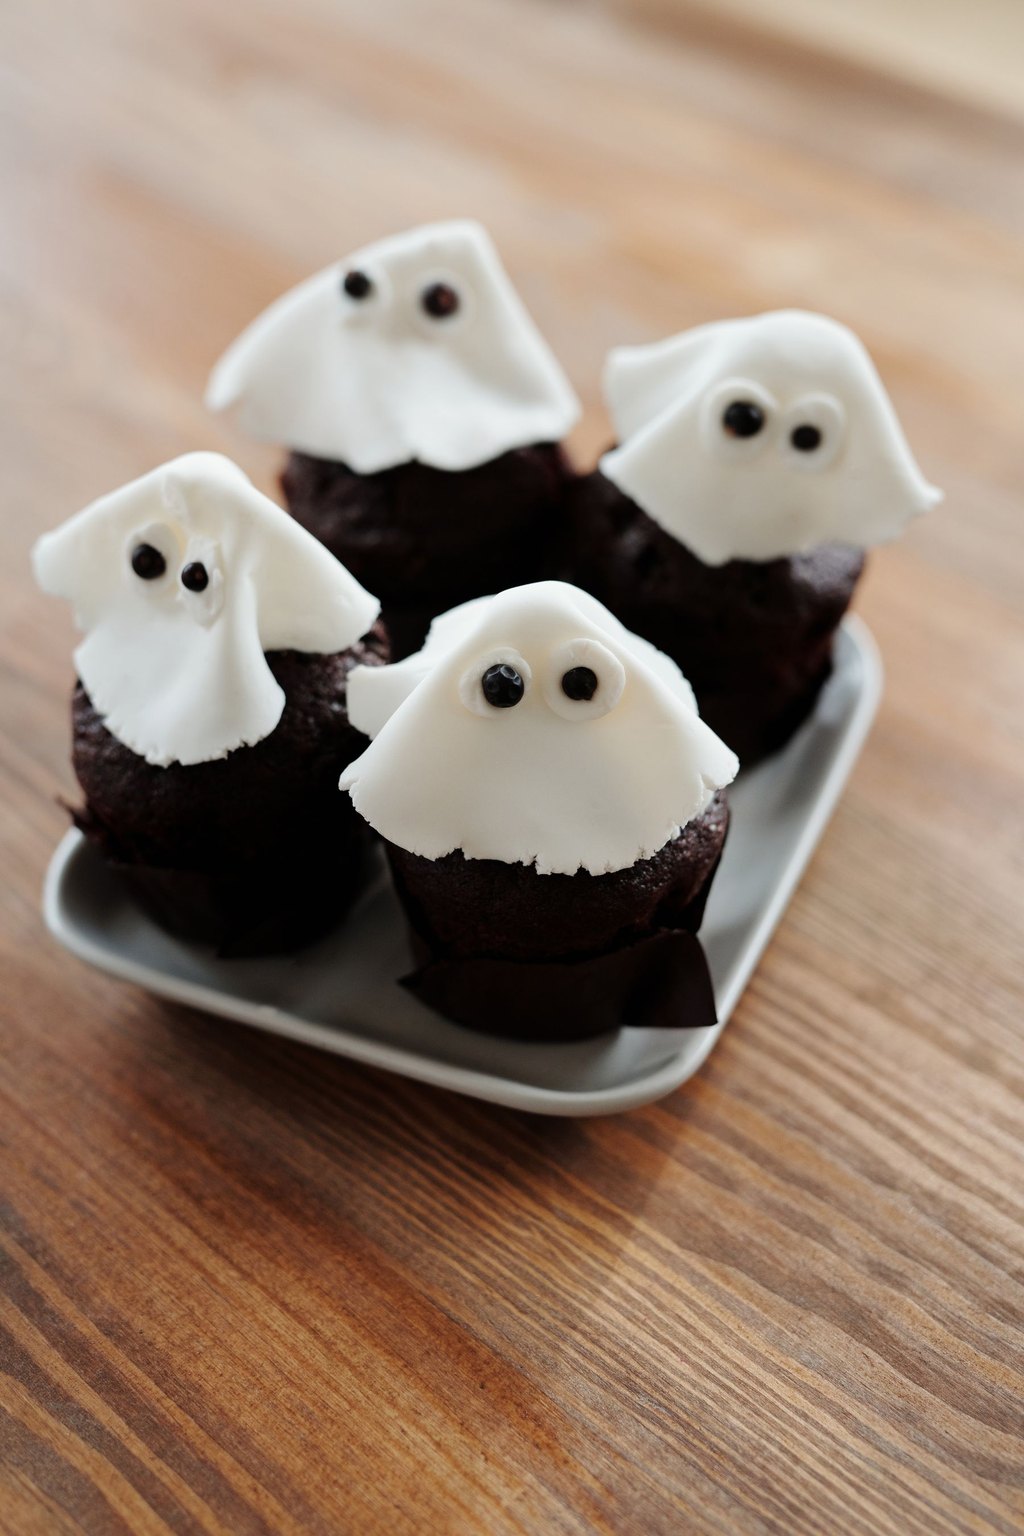
Dark chocolate cupcakes are covered in fluffy black cocoa frosting, with triangle ears cut from chocolate sandwich cookies and candy eyes pressed in front. A pink candy nose and a few licorice whiskers make each cat a little different. They are just as rich as they look, with deep chocolate flavor all the way through.
Ingredients
- 1 1/4 cups all purpose flour and 1/2 cup cocoa powder
- 1 cup granulated sugar
- 1 tsp baking soda and 1/2 tsp salt
- 1 large egg and 1/2 cup sour cream
- 1/2 cup vegetable oil, 1/2 cup warm water and 1 tsp vanilla extract
- 3/4 cup unsalted butter, softened
- 3 cups powdered sugar and 1/2 cup cocoa powder
- 3 tbsp heavy cream and black gel food coloring
- 12 chocolate sandwich cookies
- 24 candy eyes and 12 small pink candies
- Black licorice laces, cut short
Cooking Instructions
- Heat the oven to 350F and line a 12 cup muffin pan. Whisk the flour, cocoa, sugar, baking soda and salt.
- Whisk in the egg, sour cream, oil, water and vanilla until smooth. Fill the liners two thirds full and bake 18 to 22 minutes, until the tops spring back. Cool completely.
- Beat the butter, powdered sugar, cocoa and cream until fluffy, then add black gel until the frosting is very dark. Cover and let it rest 30 minutes so the color deepens.
- Twist the cookies apart, scrape off the filling and cut each half into two triangles with a serrated knife.
- Pipe a dome of frosting on each cupcake, press in two cookie ears, then add the eyes, nose and whiskers.
Black cat cupcakes always get the biggest reaction at our school party, maybe because each one ends up with its own expression. Starting with cocoa in the frosting means you need far less black food coloring to get a true black. The cookie ears stay crisp for a few hours, and they are easy to cut with a serrated knife. Set them out with a dish of extra eyes and let kids finish their own.
Make the frosting a few hours ahead. Dark colors keep deepening as they sit, so a charcoal gray frosting will usually turn black on its own.
9) Pumpkin Cupcakes
9) Pumpkin Cupcakes
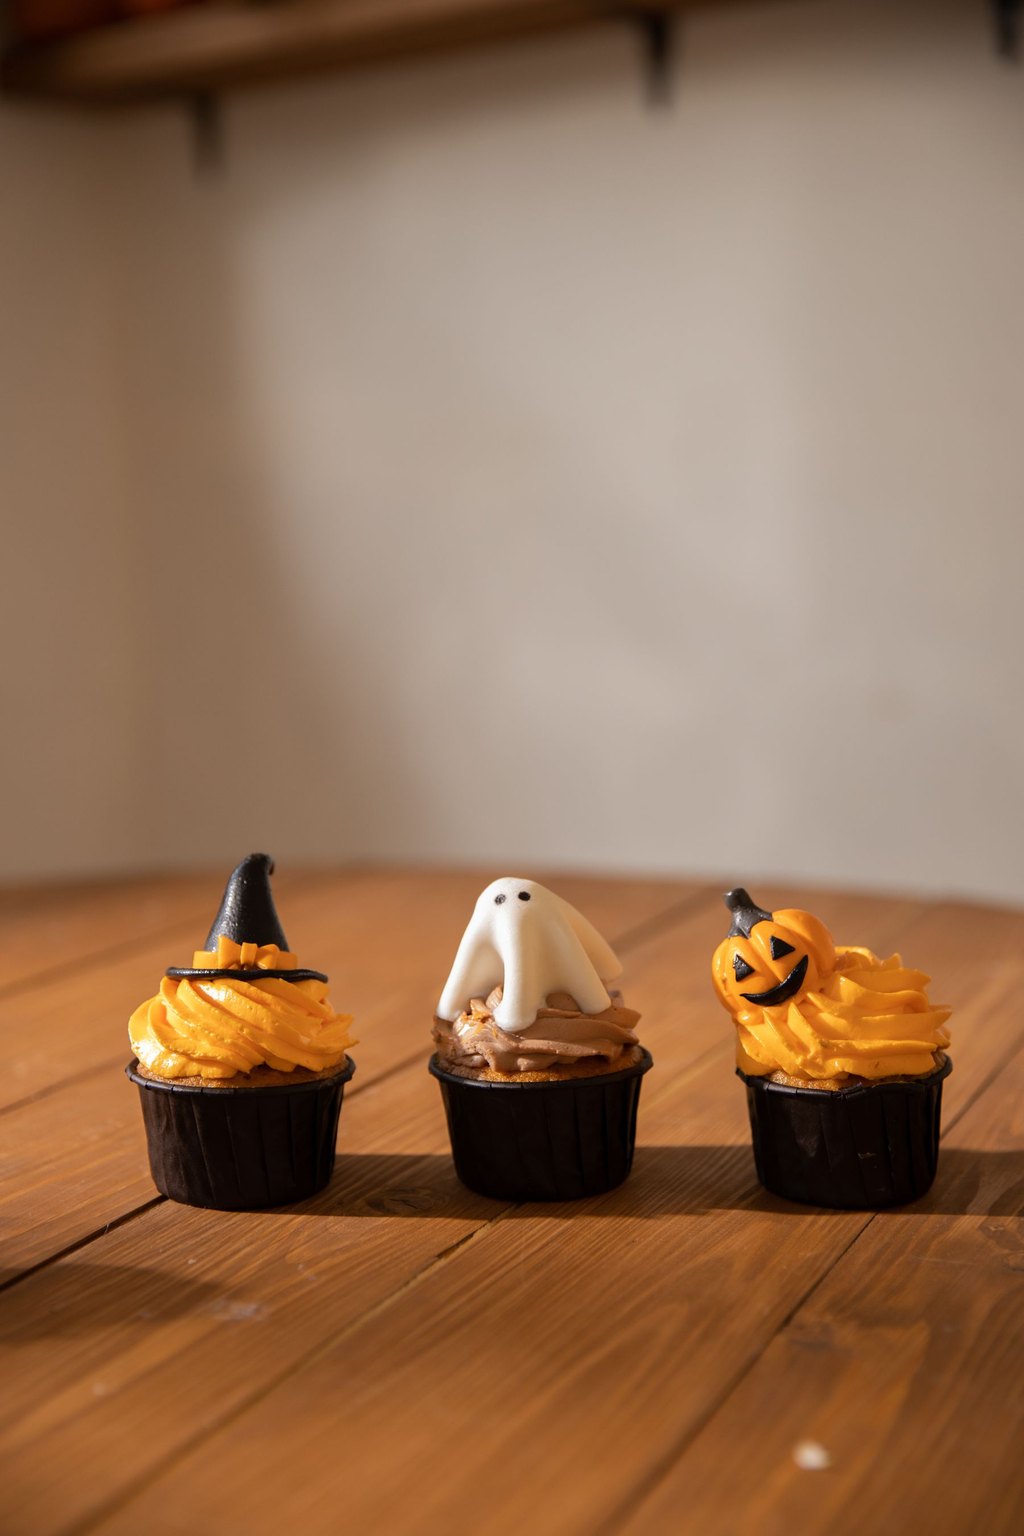
Tender pumpkin spice cupcakes are topped with a swirl of tangy cream cheese frosting and a candy pumpkin. The batter uses oil instead of butter, which keeps the crumb soft and moist for days. A pinch of cinnamon or a few orange sprinkles on top makes them feel festive without any extra work.
Ingredients
- 1 3/4 cups all purpose flour
- 2 tsp pumpkin pie spice
- 1 tsp baking soda, 1/2 tsp baking powder and 1/2 tsp salt
- 1 cup packed light brown sugar and 1/2 cup granulated sugar
- 1 1/2 cups canned pumpkin puree
- 2 large eggs
- 1/2 cup vegetable oil, 1/4 cup milk and 1 tsp vanilla extract
- 8 oz cream cheese and 1/2 cup unsalted butter, softened
- 3 cups powdered sugar
- 18 candy pumpkins or orange sprinkles
Cooking Instructions
- Heat the oven to 350F and line 18 muffin cups.
- Whisk the flour, pumpkin pie spice, baking soda, baking powder and salt. In another bowl, whisk the sugars, pumpkin, eggs, oil, milk and vanilla until smooth.
- Stir the dry ingredients into the wet just until no flour shows. Fill the liners about three quarters full.
- Bake 18 to 21 minutes, until the tops spring back and a toothpick comes out clean. Cool completely, about 45 minutes.
- Beat the cream cheese and butter until smooth, then add the powdered sugar and beat 2 minutes. Pipe onto the cupcakes and top each with a candy pumpkin.
Pumpkin cupcakes are the dessert I bring when I know there will be adults at the party, because they are cozy rather than spooky. The pumpkin keeps them moist, and the brown sugar gives them a soft caramel note. Cream cheese frosting is the only frosting I use here, since its tang balances the spice. They are just as good the next day, which makes them a smart make ahead option.
Keep frosted cupcakes in the fridge, then set them out 20 minutes before serving so the frosting softens.
10) Eyeball Cake Pops
10) Eyeball Cake Pops
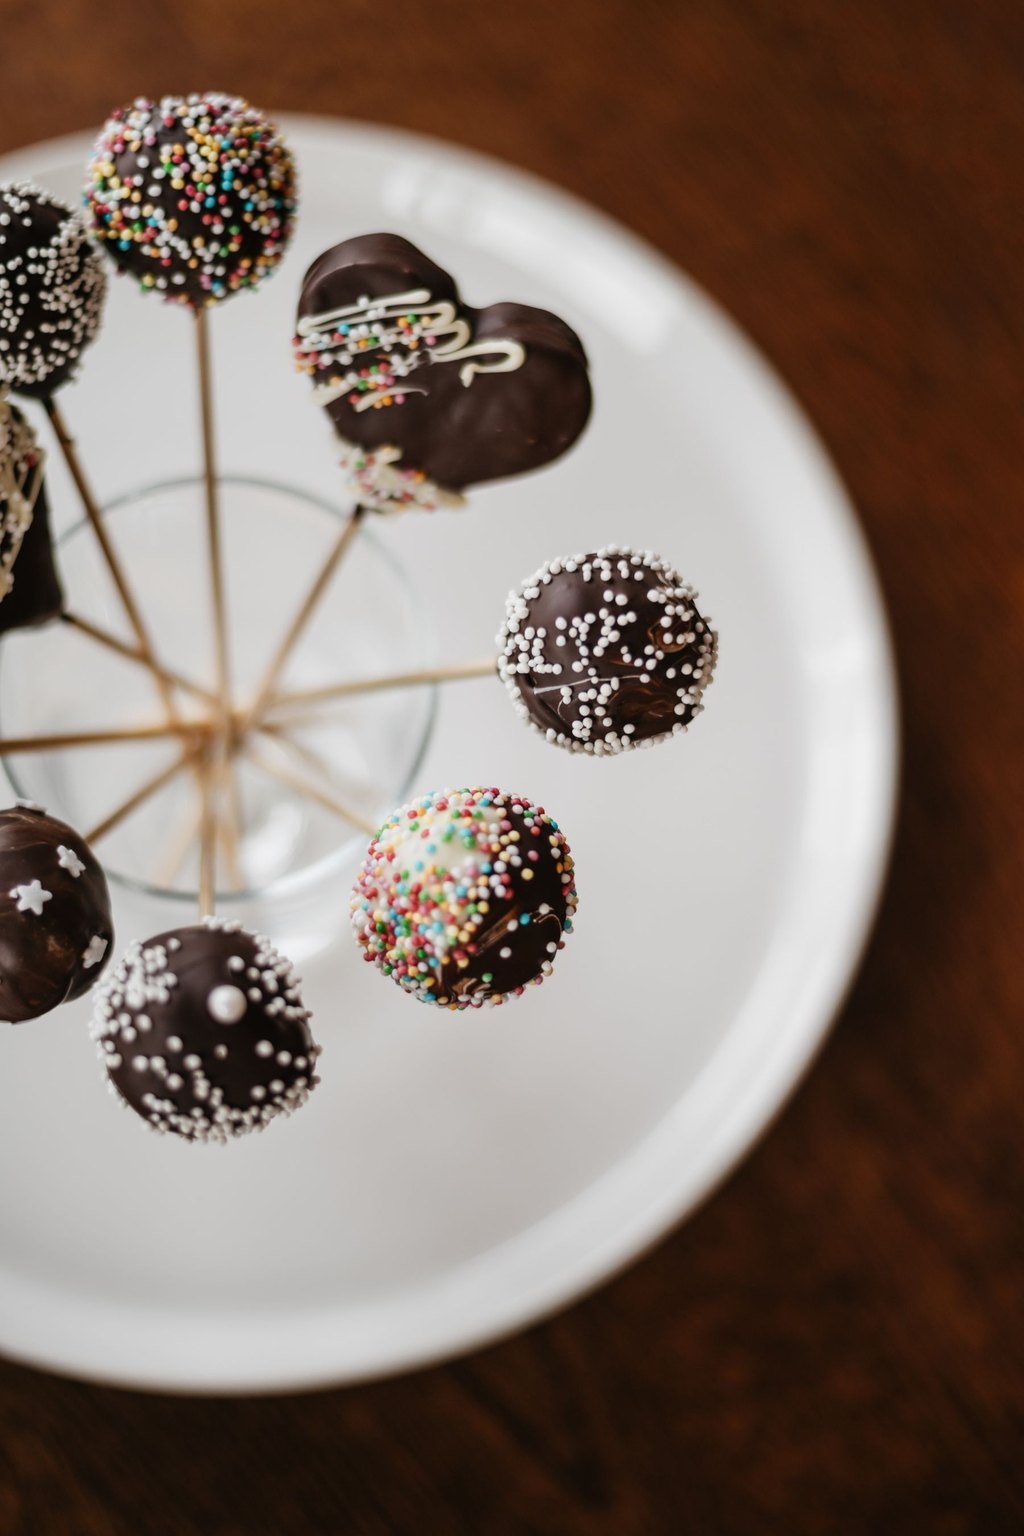
Red velvet cake is mixed with cream cheese frosting, rolled into balls and dipped in white candy coating, then finished with a colored iris and a dark pupil. Bite into one and the red center makes the whole thing even creepier. They look like real effort, but every step is simple and most of the time is just chilling.
Ingredients
- 1 box (15.25 oz) red velvet cake mix, plus the eggs, oil and water it calls for
- 1/2 cup cream cheese frosting, homemade or store bought
- 24 oz white candy melts
- 1 tbsp coconut oil or shortening
- 36 lollipop sticks
- 36 round candy coated chocolates in green, blue or brown
- 2 oz black candy melts or black decorating gel
- Red decorating gel, for veins
- Foam block or a box with holes, for drying
Cooking Instructions
- Bake the cake in a 9 by 13 inch pan as the box directs and cool completely, about 1 hour.
- Crumble the cake into a large bowl and mix in the frosting with your hands until it holds together like dough. Roll into 1 1/4 inch balls and chill 30 minutes.
- Melt the candy melts with the oil in 30 second bursts. Dip each stick 1/2 inch into the coating, push it halfway into a ball and chill 10 minutes.
- Dip each pop straight down, tap off the excess and press a colored candy on the front while the coating is wet. Stand them in the foam to set.
- Once set, add a dot of black for the pupil and draw thin red veins with the gel.
Eyeball cake pops are the dessert that gets the most squeals, from kids and grown ups alike. They take an afternoon, but almost all of it is waiting while things chill, so you can fold laundry in between. The red velvet center looks gruesome in the best way when someone bites in. They also stand up in a foam block, which makes them their own centerpiece.
Keep the cake balls cold and the coating warm. If the coating is too thick, stir in a little more oil rather than heating it longer.
11) Graveyard Dirt Cups
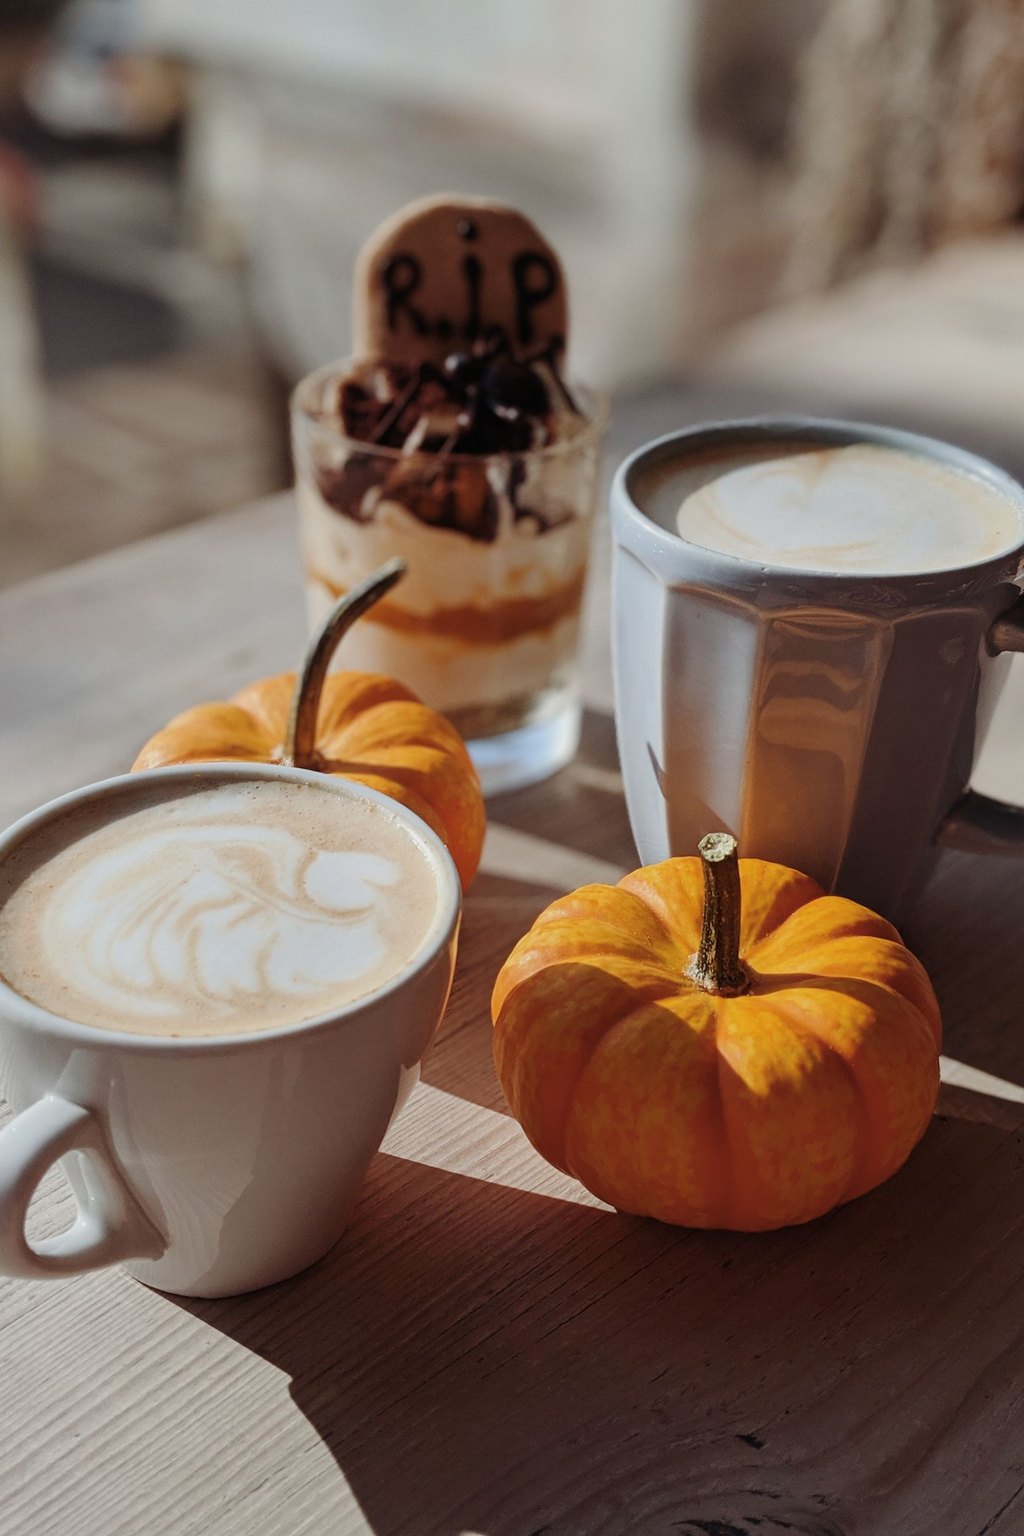
11) Graveyard Dirt Cups
Clear cups are layered with creamy chocolate pudding and crushed chocolate sandwich cookies that look exactly like fresh dirt. A cookie tombstone, a few gummy worms and a candy pumpkin turn each one into a tiny graveyard. They need no oven at all and are easy enough for kids to build themselves.
Ingredients
- 1 box (5.9 oz) instant chocolate pudding mix
- 3 cups cold whole milk
- 1 cup heavy cream and 2 tbsp powdered sugar
- 24 chocolate sandwich cookies
- 8 oval vanilla wafer cookies or rectangular shortbread cookies
- 1 tube black decorating gel
- 16 gummy worms
- 8 candy pumpkins (optional)
Cooking Instructions
- Whisk the pudding mix with the cold milk 2 minutes, then chill 5 minutes until thick.
- Whip the cream with the powdered sugar to soft peaks and fold it into the pudding for a lighter, mousse like texture.
- Pulse the sandwich cookies, filling and all, in a food processor until they look like coarse soil. A zip top bag and a rolling pin work too.
- Write RIP on the wafer cookies with the black gel to make tombstones.
- Layer cookie crumbs, pudding and more crumbs in eight 9 oz clear cups. Chill at least 1 hour, then push in a tombstone, tuck in two gummy worms and add a candy pumpkin just before serving.
Dirt cups were the first Halloween dessert I ever made with my kids, and they still beg for them every year. They are part dessert, part craft project, and nobody minds if the graveyard is a little crooked. Folding whipped cream into the pudding makes it lighter and less sweet than plain pudding. Clear cups matter here, since the layers are half the fun.
Add the gummy worms and tombstones right before serving. They get soft and sticky if they sit in the pudding overnight.
The best Halloween desserts are the ones your kids can help decorate.
12) Ghost Strawberries
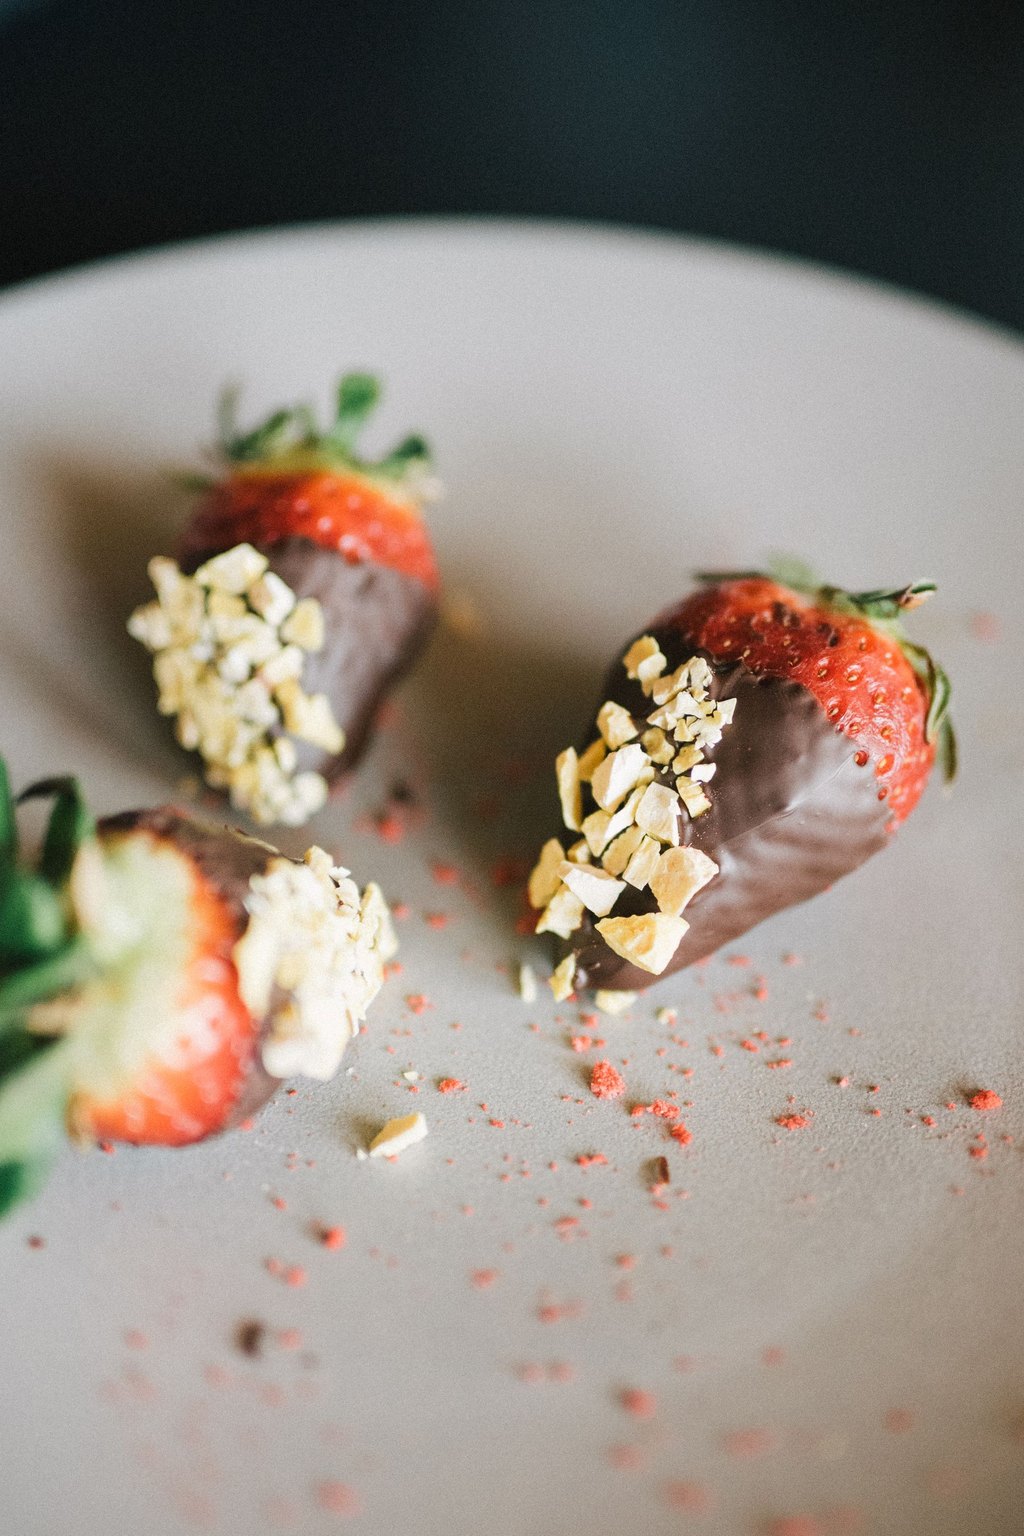
12) Ghost Strawberries
Fresh strawberries are dipped in white chocolate and given two tiny chocolate eyes and an open mouth, so each one looks like a friendly little ghost. The wide shoulders of the berry become the head, and the pointed tip trails off like a sheet. They are light, juicy and a welcome break from the heavier treats on the table.
Ingredients
- 1 lb large strawberries, about 20, stems on
- 10 oz white chocolate or white candy melts
- 2 tsp coconut oil or shortening
- 40 mini semisweet chocolate chips, for eyes
- 1 oz semisweet chocolate, for mouths
- 1/2 cup whipped cream, for dipping (optional)
- Halloween sprinkles, for the platter (optional)
- Fresh mint leaves, for garnish (optional)
Cooking Instructions
- Rinse the strawberries and dry them completely with paper towels, then let them air dry 10 minutes. Line a sheet pan with parchment.
- Melt the white chocolate with the coconut oil in 30 second bursts, stirring each time, until smooth and fluid.
- Hold each berry by the stem and dip it almost to the leaves. Let the excess drip off, then lay it on the parchment and drag it back slightly so the coating pools into a ghostly tail.
- Press two mini chips into the wide end for eyes while the coating is still wet.
- Melt the semisweet chocolate, dot on a small oval mouth with a toothpick and chill 15 minutes until set.
Ghost strawberries are what I make when the dessert table already has enough sugar on it. They take twenty minutes, they look adorable, and the kids actually eat the fruit. White chocolate sets quickly on the berries, so you can dip a whole pound before the first ones finish chilling. Serve them the same day for the best texture.
Buy berries that are wide at the top and fairly even in size. They sit flatter on the tray and look more like ghosts.
13) Candy Corn Bark
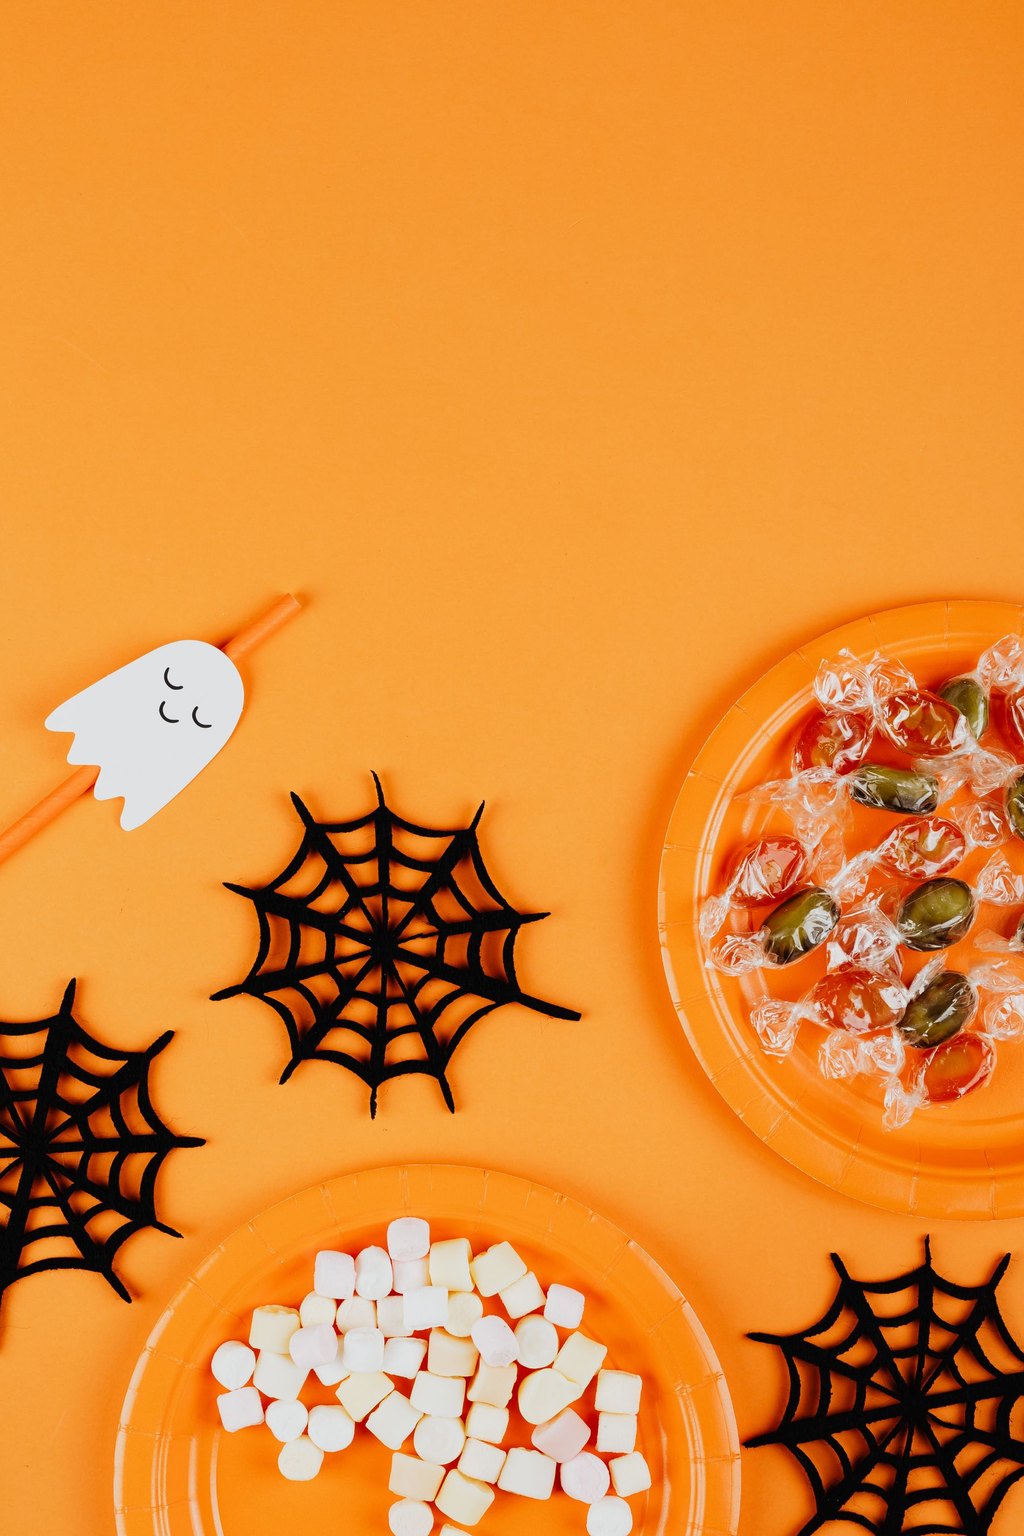
13) Candy Corn Bark
A sheet of creamy white chocolate is swirled with orange and topped with candy corn, pretzel pieces and candy coated chocolates. It snaps into rough shards that look great in a cellophane bag or a jar. The salty pretzels keep it from tasting too sweet, and the whole thing takes about fifteen minutes of hands on work.
Ingredients
- 24 oz white chocolate or white candy melts, divided
- 1 tbsp coconut oil, divided
- Orange gel food coloring or 4 oz orange candy melts
- 1 cup candy corn
- 1 cup small pretzel twists, broken
- 1/2 cup Halloween colored candy coated chocolates
- 2 tbsp Halloween sprinkles
- 1/4 tsp flaky sea salt (optional)
Cooking Instructions
- Line a rimmed 10 by 15 inch sheet pan with parchment.
- Melt 20 oz of the white chocolate with most of the oil in 30 second bursts, stirring each time, and spread it about 1/4 inch thick in the pan.
- Melt the remaining white chocolate and oil, tint it orange and drop spoonfuls over the white layer. Drag a toothpick through both to marble them.
- Scatter the candy corn, pretzels, candies and sprinkles over the top right away and press them in lightly so they stick.
- Sprinkle with flaky salt and chill 1 hour until firm. Break into pieces with your hands.
Bark is the easiest Halloween candy you can make at home, and it is the one I wrap up for teachers and neighbors. There is no candy thermometer and no tempering, just melting, spreading and scattering. Candy corn fans love it, and even people who claim to hate candy corn usually take a second piece. It is endlessly flexible, so use whatever candy is left in the bag.
Press the toppings in before the chocolate starts to set. Once it firms, they will fall off when you break the bark.
14) Halloween Crispy Rice Treats
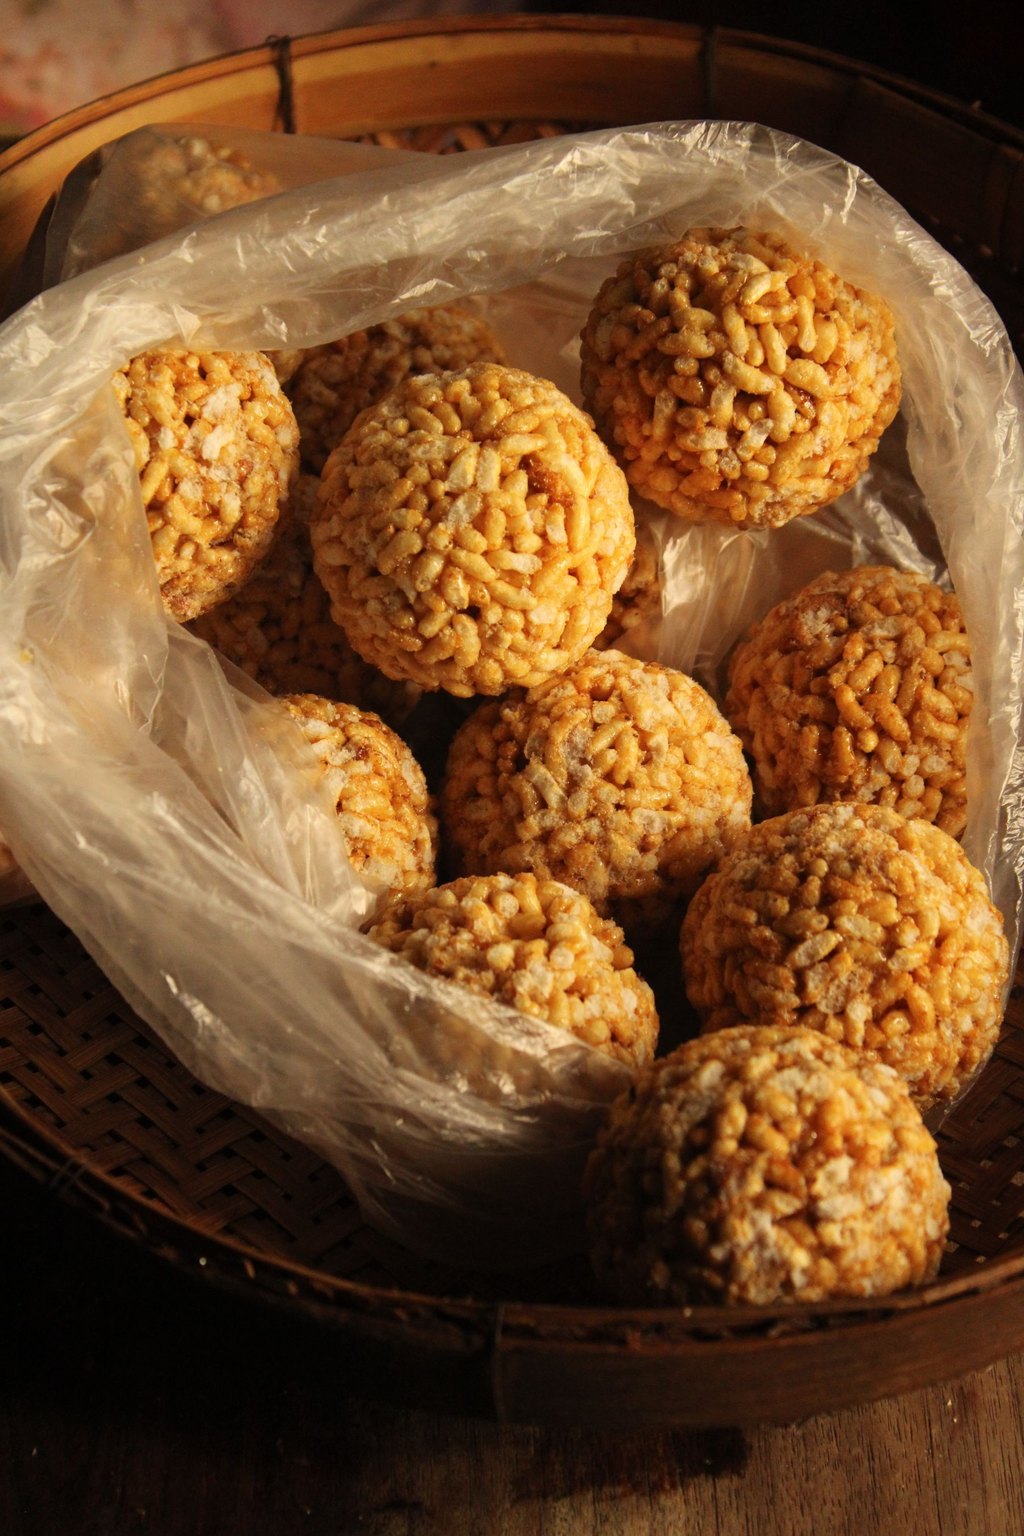
14) Halloween Crispy Rice Treats
Classic marshmallow crispy rice treats are tinted bright orange and shaped by hand into little pumpkins. A pretzel stick makes the stem and a flattened green candy becomes the leaf. They are chewy, buttery and ready in under an hour with no oven at all.
Ingredients
- 6 tbsp unsalted butter
- 1 bag (10 oz) mini marshmallows
- 1/2 tsp vanilla extract and a pinch of salt
- Orange gel food coloring
- 6 cups crispy rice cereal
- 8 thin pretzel sticks, broken in half
- 16 green candy leaves or green gumdrops, flattened
- Nonstick cooking spray or extra butter, for your hands
Cooking Instructions
- Melt the butter in a large pot over low heat. Add the marshmallows and stir until completely melted and smooth, about 4 minutes.
- Take the pot off the heat and stir in the vanilla, salt and enough orange gel for a bright pumpkin color.
- Add the cereal and fold until every piece is coated. Let it cool 3 to 4 minutes, just until you can handle it.
- With buttered hands, press 1/3 cup portions firmly into balls and set them on parchment.
- Push a pretzel piece into the top of each for a stem and tuck a green candy leaf beside it. Let them firm up 30 minutes.
These are a favorite with my youngest, because the shaping part feels like playing with clay. Tinting the marshmallow before the cereal goes in gives you an even orange without streaks. The little pumpkins hold their shape well and stay soft for two days in a covered container. They are also gluten free if you choose a cereal labeled that way.
Use fresh marshmallows. Older ones melt into a thick, stiff mixture and the treats turn hard.
15) Chocolate Covered Pretzels
15) Chocolate Covered Pretzels
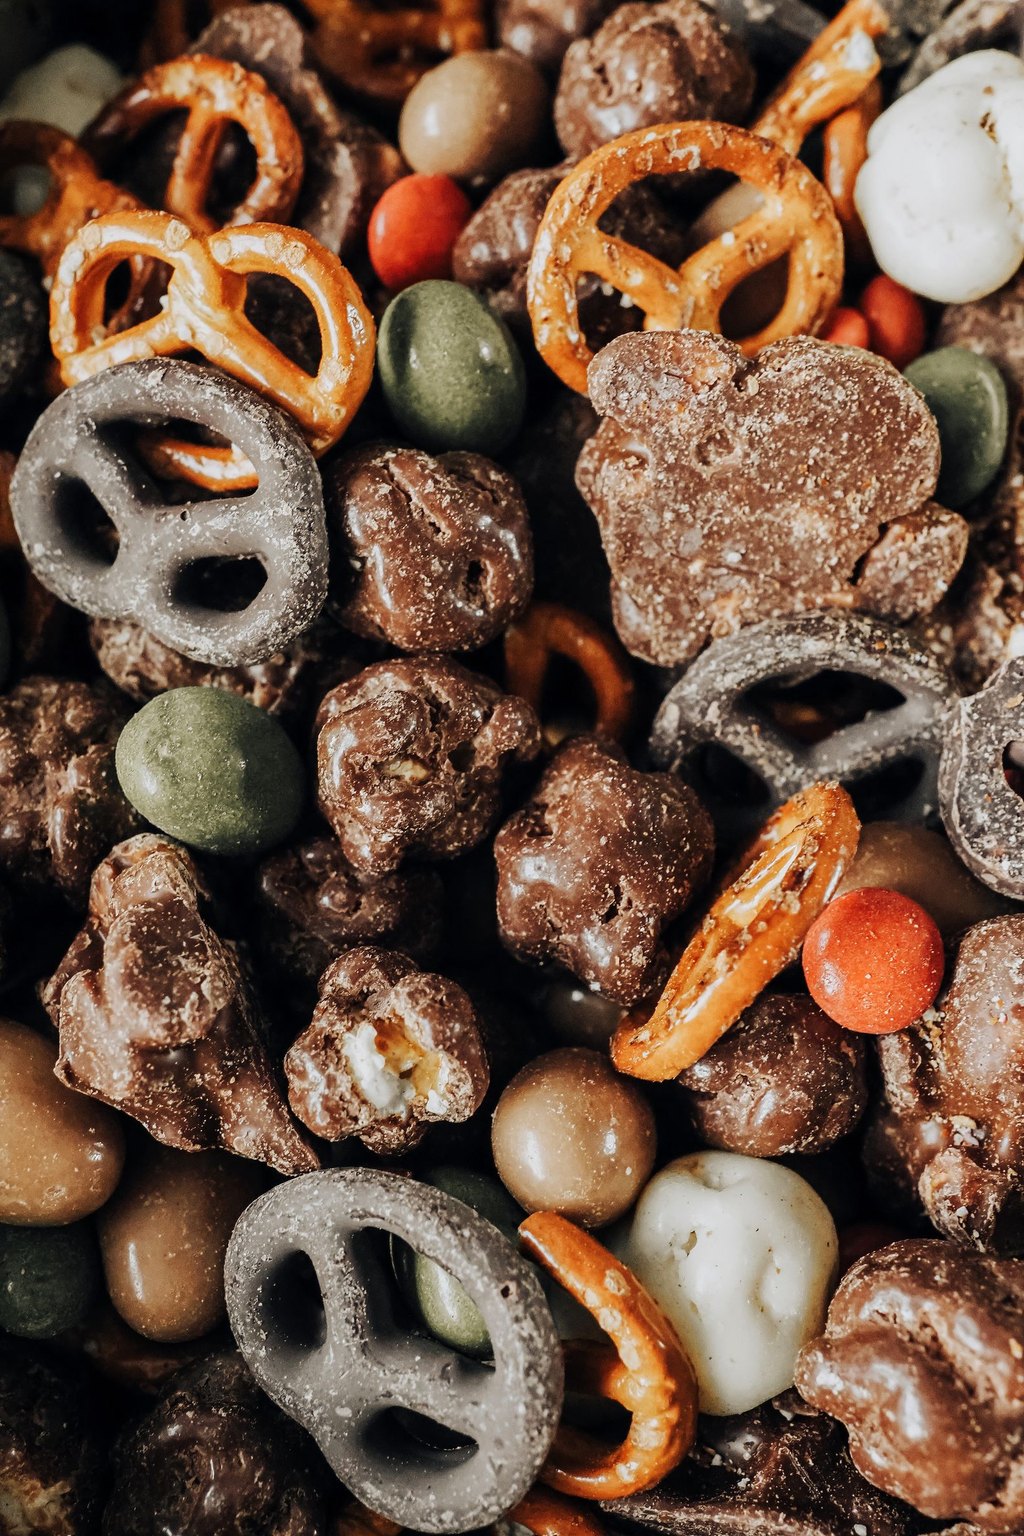
Crunchy pretzel rods are dipped in melted chocolate and covered in orange, purple and black sprinkles, with a few dressed up as mummies in white chocolate. The mix of salty and sweet makes them one of the most addictive treats on the table. They keep well for a week, so they are perfect for gift bags and party favors.
Ingredients
- 24 pretzel rods
- 12 oz semisweet chocolate, chopped
- 12 oz white chocolate or white candy melts
- 2 tsp coconut oil or shortening, divided
- 1/2 cup Halloween sprinkles
- 1/4 cup orange and purple sanding sugar
- 24 candy eyes
- Clear treat bags and ribbon, for gifting (optional)
Cooking Instructions
- Line two sheet pans with parchment and set out the sprinkles in shallow dishes.
- Melt the semisweet chocolate with 1 tsp oil in a tall glass in 30 second bursts, stirring until smooth. Melt the white chocolate with the remaining oil in a second glass.
- Dip 12 rods about two thirds of the way into the dark chocolate, turning to coat. Let the extra drip off, then shake sprinkles over them and lay them on the parchment.
- Dip the other 12 rods in white chocolate and chill 5 minutes. Drizzle more white chocolate over them in a zigzag and add two candy eyes to make mummies.
- Chill 20 minutes until set before bagging.
Chocolate covered pretzels are my go to when I need a big batch of something for a class party on short notice. You can make two dozen in under an hour, and they look polished in a tall jar or a clear bag tied with ribbon. Kids love the sprinkle step, and the salt keeps grown ups reaching for more. Mini twists work too if you cannot find rods.
Melt the chocolate in a tall drinking glass instead of a bowl. The deep pool lets you coat each rod in one clean dip.
16) Halloween Snack Mix
16) Halloween Snack Mix
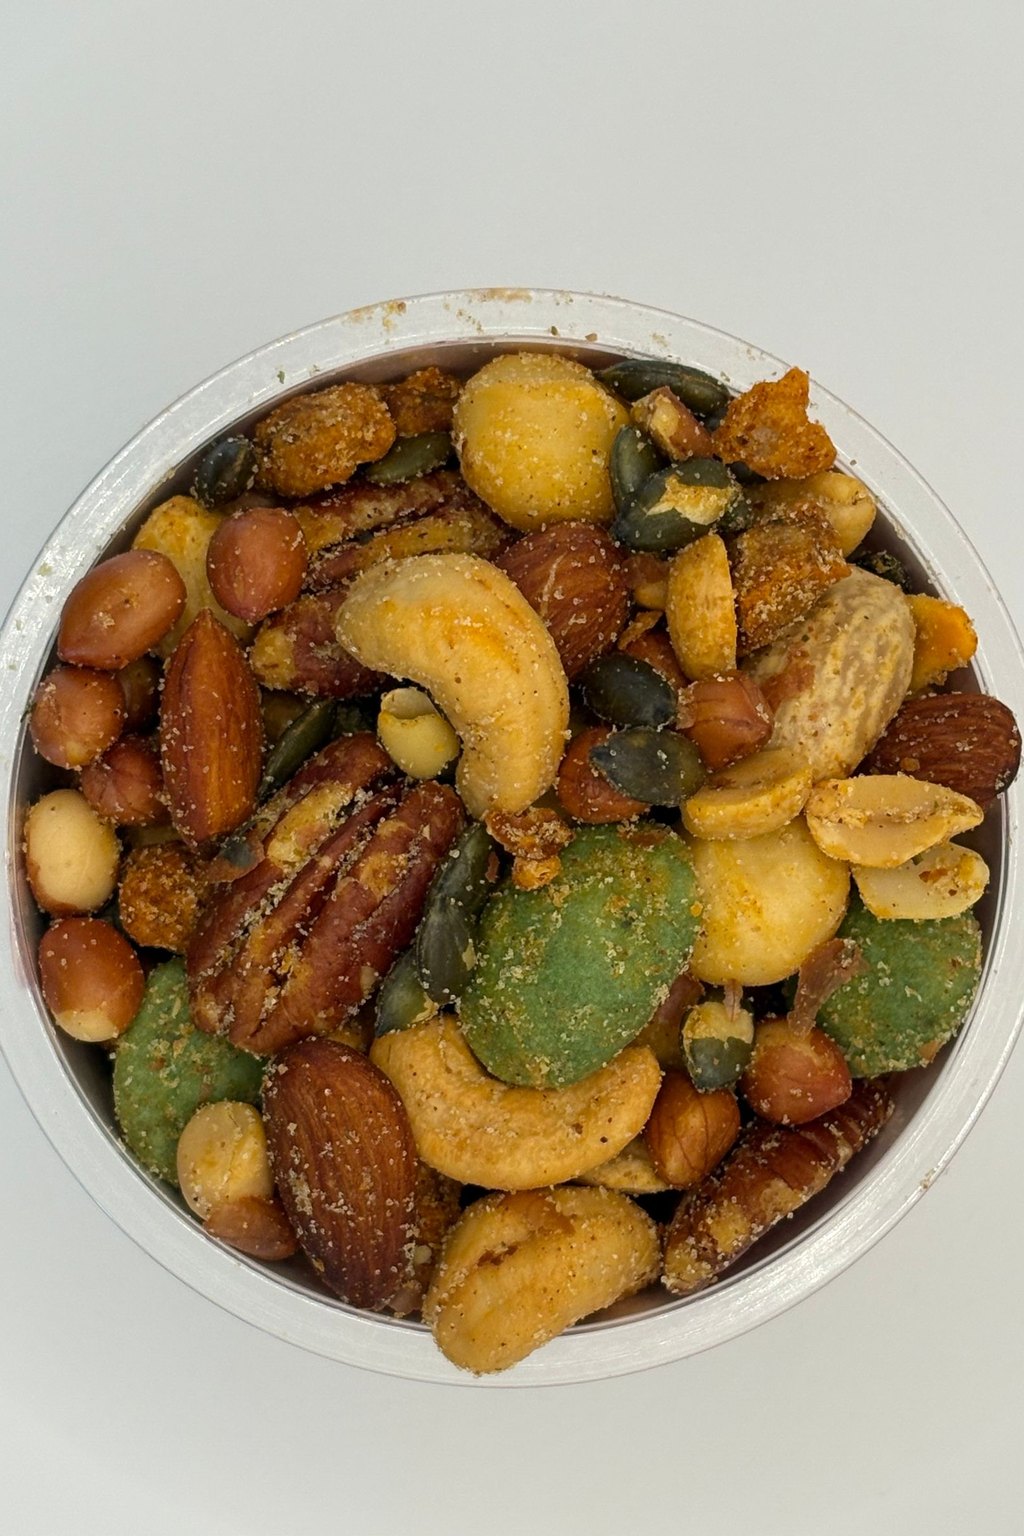
Crunchy rice square cereal is coated in melted chocolate and peanut butter, shaken in powdered sugar, then tossed with candy corn, pretzels and candy coated chocolates. Every handful is a little different, which is exactly what makes it hard to stop eating. It makes a big bowl for a party and costs less than a few bags of candy.
Ingredients
- 9 cups rice square cereal
- 1 cup semisweet chocolate chips
- 1/2 cup creamy peanut butter
- 1/4 cup unsalted butter
- 1 tsp vanilla extract
- 1 1/2 cups powdered sugar
- 1 cup candy corn
- 1 cup mini pretzel twists
- 1 cup Halloween colored candy coated chocolates
- 1/2 cup candy eyes (optional)
Cooking Instructions
- Measure the cereal into a very large bowl.
- Melt the chocolate chips, peanut butter and butter in the microwave in 30 second bursts, stirring each time, about 1 1/2 minutes total. Stir in the vanilla.
- Pour the chocolate over the cereal and fold gently with a spatula until every piece is coated.
- Put the powdered sugar in a large zip top bag or a container with a lid, add the coated cereal and shake until it is evenly white.
- Spread on a sheet pan to cool 15 minutes, then toss with the candy corn, pretzels, candies and eyes.
This is the snack mix that disappears first at every Halloween gathering we host, usually before the pizza arrives. The chocolate peanut butter coating with its powdered sugar shell is the classic part, and the candy is where you make it festive. It packs well into small bags for a movie night on the couch. Kids can do the shaking, which is the best job.
For a peanut free version, use sunflower seed butter and swap the candy coated chocolates for a candy made without peanuts.
17) Ghost Meringues
17) Ghost Meringues
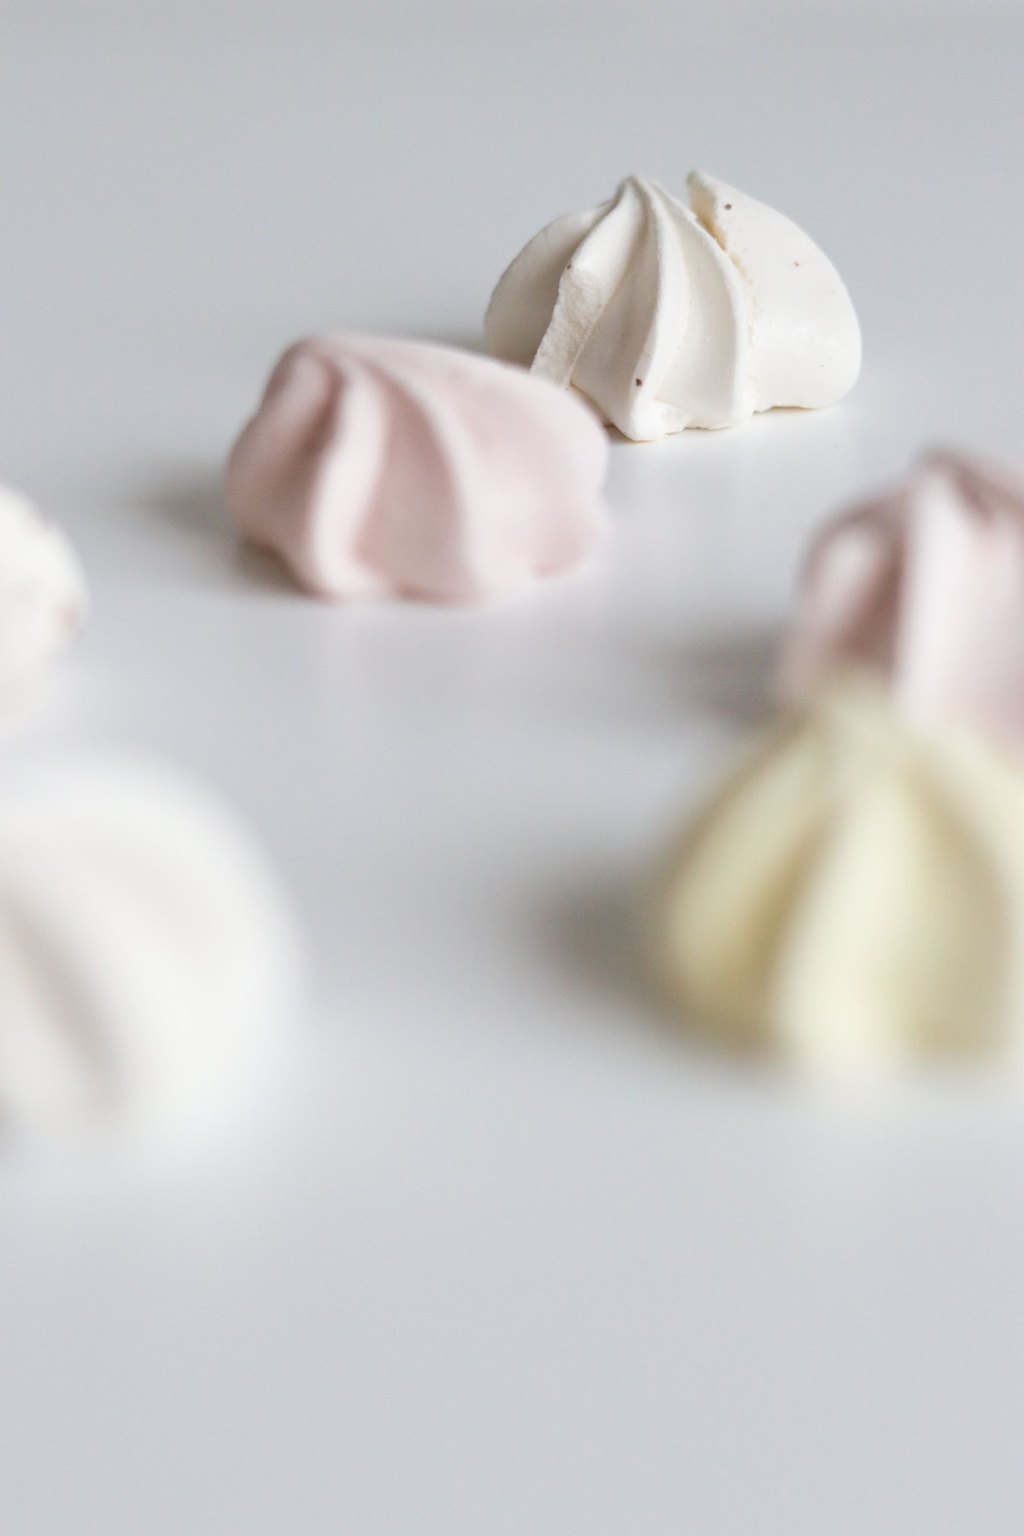
Crisp, airy meringue cookies are piped into little ghost shapes with mini chocolate chip eyes. They melt on your tongue with a light vanilla sweetness and a delicate crunch. Made from egg whites and sugar, they are naturally gluten free and fat free, which makes them easy to share with almost anyone.
Ingredients
- 4 large egg whites, room temperature
- 1/2 tsp cream of tartar
- 1 cup superfine sugar
- 1 tsp vanilla extract
- Pinch of salt
- 1 tbsp cornstarch
- 60 mini semisweet chocolate chips
- Black decorating gel, for mouths (optional)
Cooking Instructions
- Heat the oven to 225F and line two baking sheets with parchment.
- Beat the egg whites, cream of tartar and salt on medium until foamy. Raise the speed and add the sugar 1 tbsp at a time, then the cornstarch and vanilla.
- Beat until the meringue is stiff and glossy and feels smooth, not gritty, when you rub a little between your fingers, about 6 to 8 minutes.
- Spoon into a piping bag with a 1/2 inch round tip. Pipe tall swirls about 2 inches wide, pulling up to a point, and press in two chocolate chips for eyes.
- Bake 1 1/2 hours, until dry and firm. Turn off the oven and leave them inside with the door closed for 1 hour.
Ghost meringues look like they took all day, but the work itself is twenty minutes of whipping and piping. The rest is low oven time, so they are perfect for baking in the evening and leaving in the oven to finish drying. Each ghost has its own wobbly shape, which only makes them cuter. They keep for a week in an airtight tin, so you can make them early.
Make meringues on a dry day. Humidity makes them sticky, and they can weep beads of syrup on the tray.
18) Halloween Popcorn Balls
18) Halloween Popcorn Balls
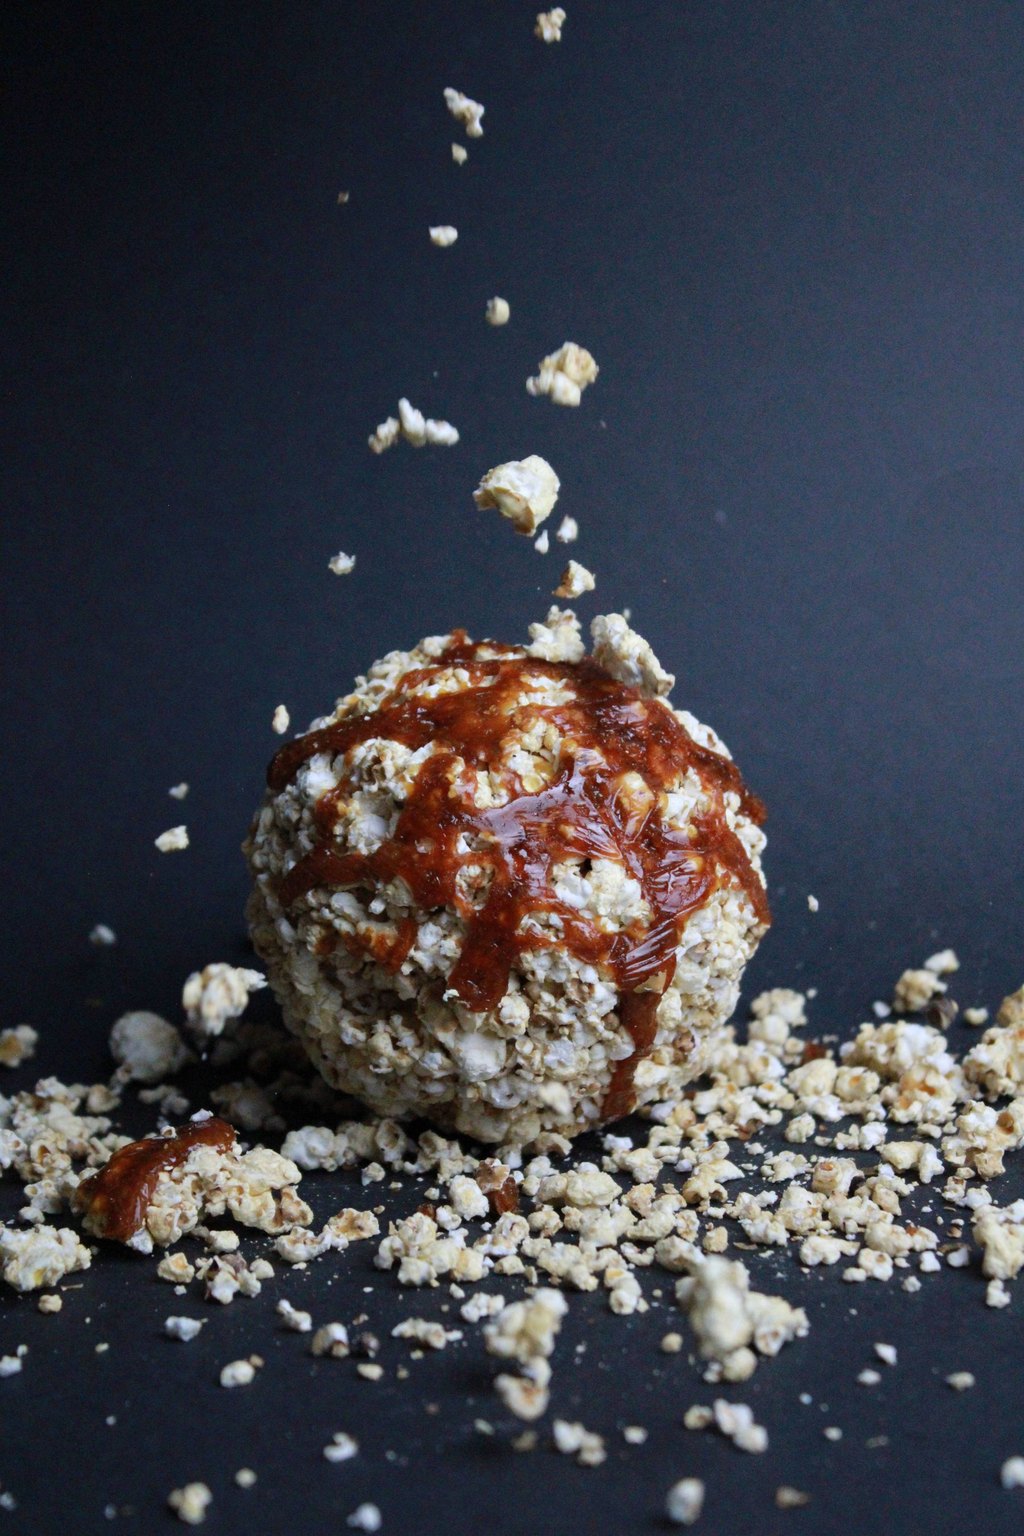
Old fashioned popcorn balls are made with a soft marshmallow coating, tinted orange and studded with candy corn and candy coated chocolates. They are chewy, lightly salty and hold together without being sticky or hard. Wrapped in cellophane, they make a classic homemade treat for neighbors and party favors.
Ingredients
- 16 cups popped popcorn, from about 2/3 cup kernels
- 1/4 cup unsalted butter
- 1 bag (10 oz) mini marshmallows
- 1/4 cup packed light brown sugar
- 1/2 tsp salt and 1/2 tsp vanilla extract
- Orange gel food coloring
- 1 cup candy corn
- 3/4 cup Halloween colored candy coated chocolates
- Nonstick cooking spray, for your hands
Cooking Instructions
- Pick through the popcorn and discard any unpopped kernels. Put it in your largest bowl.
- Melt the butter in a large pot over medium low heat, then stir in the marshmallows and brown sugar until smooth, about 4 minutes.
- Off the heat, stir in the salt, vanilla and orange coloring. Pour over the popcorn and fold with a greased spatula until coated.
- Let it cool 2 to 3 minutes, then fold in the candy corn and candies so they do not melt.
- With greased hands, press about 1 cup into a firm ball and set it on parchment. Let them set 20 minutes, then wrap individually.
Popcorn balls were the homemade treat my grandmother handed out every Halloween, and I still make them the same way with my kids. The marshmallow coating is far more forgiving than the old hard candy syrup, and it stays chewy instead of rock hard. A batch makes a dozen big balls for about the cost of one bag of candy. They look so cheerful wrapped in clear cellophane and tied with orange ribbon.
Pick out every unpopped kernel before mixing. Nobody wants to bite into one hiding in a popcorn ball.
19) Pumpkin Roll
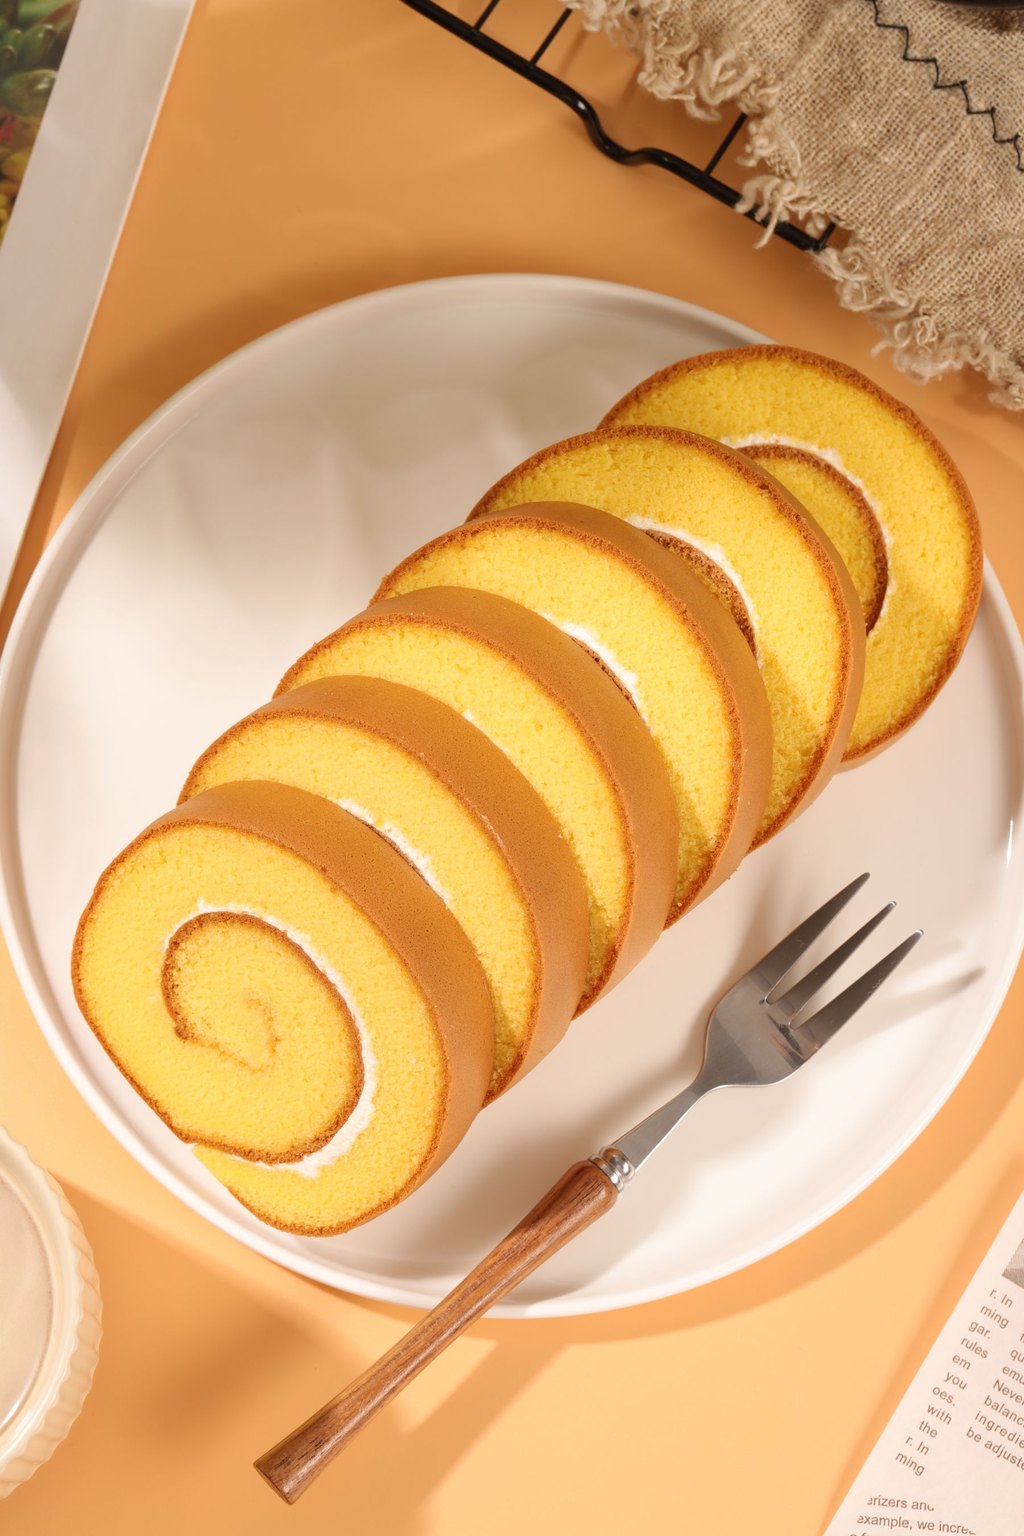
19) Pumpkin Roll
A thin, tender pumpkin spice sponge cake is rolled around a sweet cream cheese filling, then dusted with powdered sugar. Every slice shows a pretty orange and white spiral that looks like it came from a bakery case. It sounds tricky, but rolling the warm cake in a towel does almost all of the work for you.
Ingredients
- 3 large eggs
- 1 cup granulated sugar
- 2/3 cup canned pumpkin puree
- 3/4 cup all purpose flour
- 1 tsp baking soda and 1/4 tsp salt
- 2 tsp ground cinnamon, 1 tsp ground ginger and 1/2 tsp ground nutmeg
- 8 oz cream cheese, softened
- 6 tbsp unsalted butter, softened
- 1 cup powdered sugar, plus more for dusting
- 1 tsp vanilla extract
Cooking Instructions
- Heat the oven to 375F. Line a 10 by 15 inch jelly roll pan with greased parchment and dust a clean kitchen towel with powdered sugar.
- Beat the eggs and sugar on high 5 minutes until thick and pale. Beat in the pumpkin, then fold in the flour, baking soda, salt and spices.
- Spread evenly in the pan and bake 13 to 15 minutes, until the top springs back when touched.
- Turn the hot cake onto the towel, peel off the parchment and roll it up from a short end with the towel inside. Cool completely, about 1 hour.
- Beat the cream cheese, butter, powdered sugar and vanilla until smooth. Unroll the cake, spread the filling to within 1 inch of the edges and roll it back up without the towel. Chill 1 hour, then dust and slice.
Pumpkin roll is the dessert I bring to the grown up Halloween party, and the one people ask me to teach them. The secret is rolling the cake while it is still hot, which trains it into a spiral so it does not crack later. The cream cheese filling is rich and tangy against the soft spiced cake. It slices beautifully and looks impressive on a plain white platter.
Wrap the finished roll tightly in plastic and it freezes for up to 2 months. Slice it while still partly frozen for the cleanest cuts.
20) Chocolate Chip Pumpkin Bread
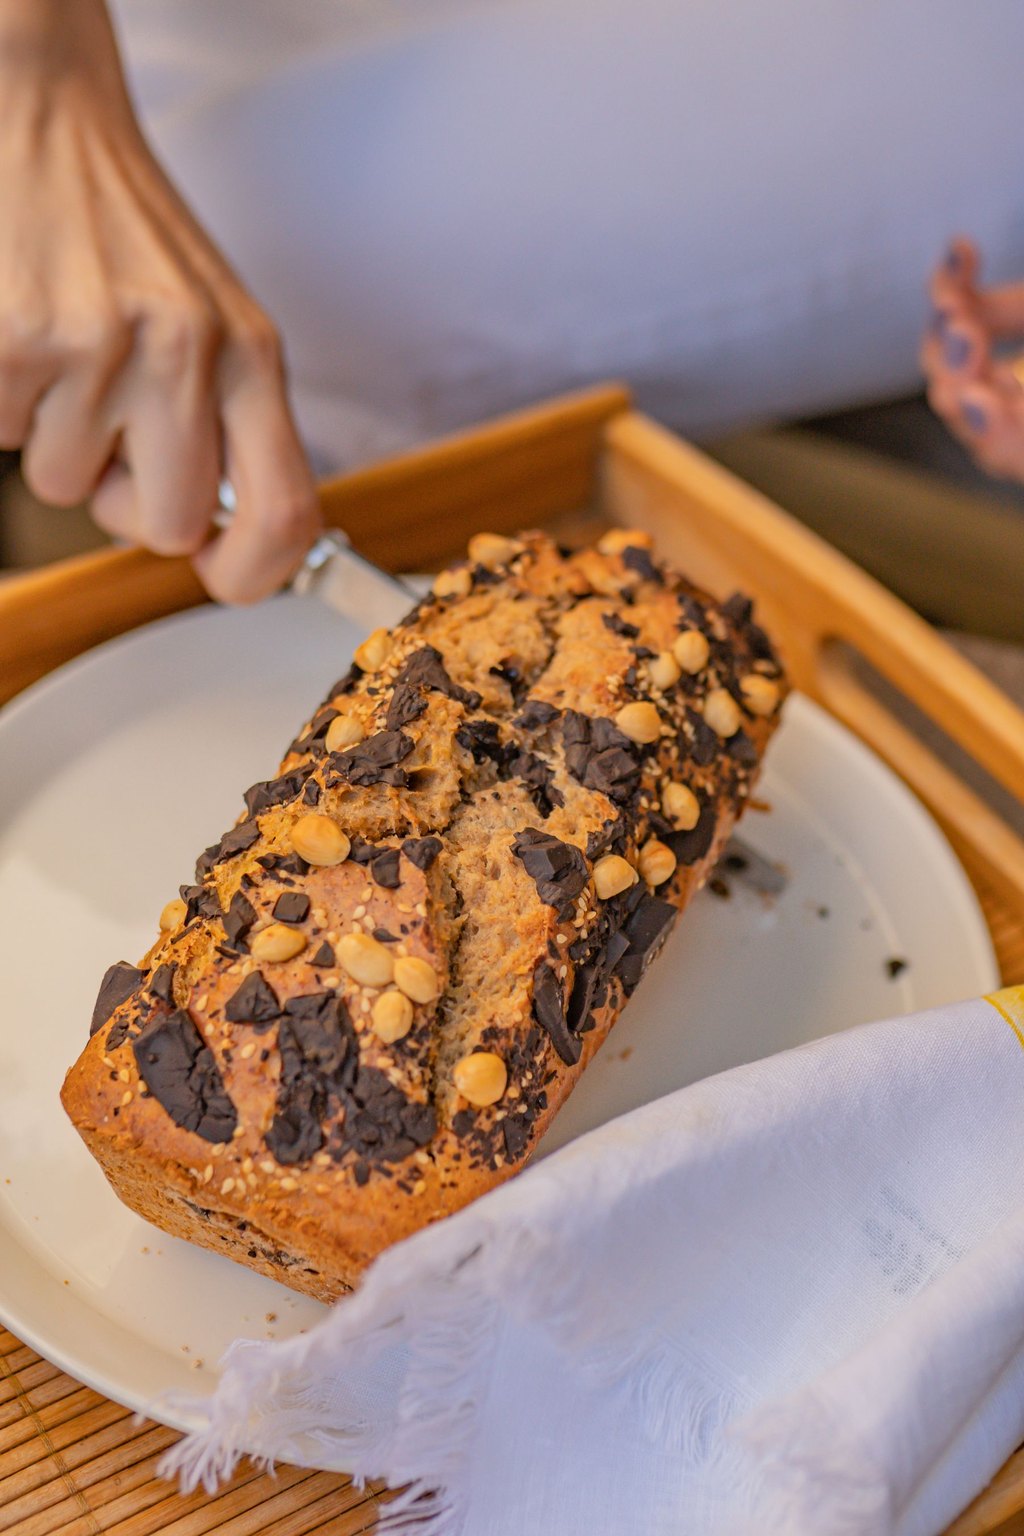
20) Chocolate Chip Pumpkin Bread
A moist, deeply spiced pumpkin loaf is studded with semisweet chocolate chips and baked until the top cracks and turns golden brown. It is the easiest recipe on this list and the one most likely to become breakfast the next morning. The batter is mixed by hand in two bowls with no mixer at all.
Ingredients
- 1 3/4 cups all purpose flour
- 1 tsp baking soda, 1/2 tsp baking powder and 3/4 tsp salt
- 2 tsp pumpkin pie spice
- 1 1/2 cups canned pumpkin puree
- 1 cup packed light brown sugar and 1/2 cup granulated sugar
- 2 large eggs
- 1/2 cup vegetable oil and 1/4 cup milk
- 1 tsp vanilla extract
- 1 cup semisweet chocolate chips, plus 2 tbsp for the top
Cooking Instructions
- Heat the oven to 350F and grease and flour a 9 by 5 inch loaf pan.
- Whisk the flour, baking soda, baking powder, salt and spice in a bowl.
- In a large bowl, whisk the pumpkin, sugars, eggs, oil, milk and vanilla until smooth.
- Stir in the dry ingredients just until no flour shows, then fold in 1 cup chocolate chips. Scrape into the pan and scatter the remaining chips on top.
- Bake 60 to 65 minutes, until a toothpick in the center comes out clean apart from melted chocolate. Cool 15 minutes in the pan, then turn out onto a rack and cool completely before slicing.
Pumpkin bread is what I bake the week of Halloween when the house needs to smell like fall. It is not spooky, but it is the treat my kids eat between all the candy, and I feel a little better about that. The loaf stays moist for four days wrapped on the counter. It also makes a lovely thank you for the neighbor who hands out full size candy bars.
Check the loaf at 55 minutes. If the top is browning before the center is done, lay a sheet of foil loosely over it.
21) Caramel Apples
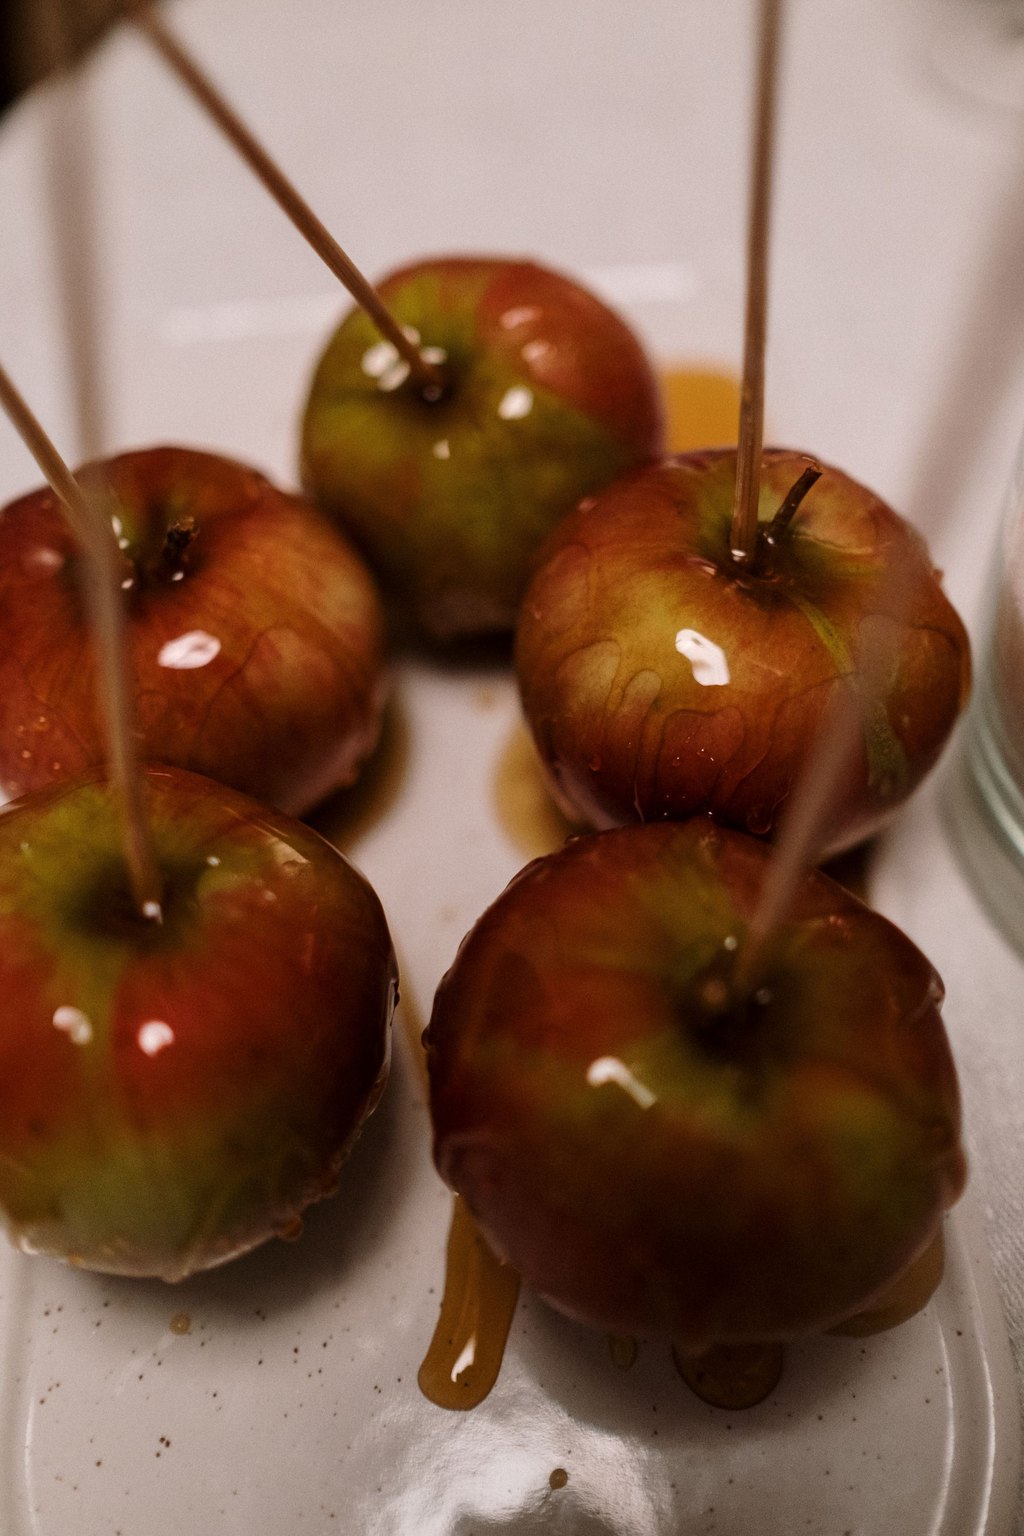
21) Caramel Apples
Crisp, tart apples are dipped in soft homemade caramel and rolled in chopped peanuts, mini chocolate chips or sprinkles. The caramel is cooked on the stove in about 20 minutes and clings to the fruit in a thick, chewy layer. They are the taste of a fall fair, and kids love picking their own toppings.
Ingredients
- 8 small Granny Smith or Honeycrisp apples
- 8 sturdy wooden sticks
- 1 cup unsalted butter
- 2 cups packed light brown sugar
- 1 cup light corn syrup
- 1 can (14 oz) sweetened condensed milk
- 2 tsp vanilla extract and 1/2 tsp salt
- 1 cup chopped roasted peanuts, mini chocolate chips or Halloween sprinkles
Cooking Instructions
- Dip the apples in very hot water a few seconds and rub them dry to remove the wax. Push a stick into each stem end and chill while you make the caramel.
- In a heavy 3 quart saucepan, melt the butter, then stir in the brown sugar, corn syrup and condensed milk.
- Cook over medium heat, stirring constantly, until it reaches 235F on a candy thermometer, about 15 to 20 minutes.
- Off the heat, stir in the vanilla and salt and let it cool to about 200F, around 10 minutes.
- Dip each apple, twirl to let the extra drip off, then roll the bottom in toppings. Set on buttered parchment and chill 30 minutes until firm.
Caramel apples are the treat my kids count down to all month, and making them at home means the caramel is soft and buttery instead of stiff. Tart apples are the right choice, since their sharpness cuts through all that sweetness. Set up a toppings bar and let everyone dress their own. Slice them into wedges for little kids who cannot manage a whole apple.
Butter the parchment or give it a light coat of cooking spray. Caramel puddles at the base and will stick to bare paper.
How to use this list
Stock up on decorating supplies once and use them all month. A jar of candy eyes, a bag of white candy melts, a few gel colors in orange, black, green and purple, and a big bottle of Halloween sprinkles cover almost every recipe here. Add a box of zip top bags for piping and a foam block for cake pops. Buy chocolate in bars or wafers rather than chips when it needs to melt smoothly, since chips are made to hold their shape.
Plan your baking backward from the party. Meringues, bark, pretzels and snack mix keep a week in airtight containers at room temperature, so make them first. Cookies and brownies stay fresh three to four days, and both freeze well undecorated for up to 3 months. Cupcakes, cheesecake bars, dirt cups and the pumpkin roll are best made the day before and kept in the fridge. Save the ghost strawberries and caramel apples for the day you serve them.
For a party or trick or treat night, pick one dessert from each group. A cookie or bar, a cupcake, a no bake treat and something pumpkin gives you variety in color and texture without overloading the oven. Set everything on a table with a black cloth and a few small pumpkins, and put the treats kids can grab with one hand closest to the door. The grown ups will find the pumpkin roll on their own.
Swapping for allergies is easier than it looks. Sunflower seed butter replaces peanut butter in the monster cookies and snack mix, and many candy melts and sprinkles are made without nuts, so check labels. Ghost meringues, popcorn balls, caramel apples and crispy rice treats made with a gluten free cereal are all free of wheat. For very young kids, skip the gummy worms and hard candies, and slice apples into wedges before serving.
Frequently asked questions
How far ahead can I make Halloween desserts?
Most of these can be made two to three days ahead. Meringues, bark, chocolate covered pretzels, snack mix and popcorn balls keep up to a week in airtight containers. Brownies, cookies and pumpkin bread stay fresh three to four days. Cupcakes, dirt cups and cheesecake bars are best made a day ahead, and dipped strawberries and caramel apples should be made the day you serve them.
How do I make black frosting without using a whole bottle of coloring?
Start with chocolate frosting instead of white, since the cocoa does half the work. Add black gel coloring a little at a time, then cover the frosting and let it sit for a few hours or overnight. The color deepens a lot as it rests, so a dark gray frosting usually turns true black by the next day.
What are the easiest Halloween desserts to make with kids?
Graveyard dirt cups, ghost strawberries, crispy rice treats and snack mix are the easiest, since they need no oven and every step is safe for small hands. Older kids can handle the monster cookies and chocolate covered pretzels. Give each child their own small bowl of decorations, and expect a few extra eyes on every monster.
Why did my melted chocolate get thick and grainy?
It either overheated or touched a drop of water. Melt chocolate in 30 second bursts and stir well between each one, stopping while a few small lumps remain, since the warm bowl will finish them. Keep spoons, bowls and fruit completely dry. A teaspoon of coconut oil can sometimes loosen chocolate that has just started to thicken.
How should I store decorated Halloween cookies?
Let the icing dry completely before stacking, at least an hour for a thin glaze and overnight for thicker icing. Store the cookies in a single layer or between sheets of parchment in an airtight container at room temperature for up to five days. Undecorated cookies freeze well for up to three months, so you can bake early and decorate the week of Halloween.
About the author