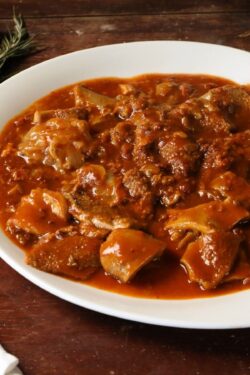
21 Hearty Chili Recipes for Cold Nights and Cozy Dinners
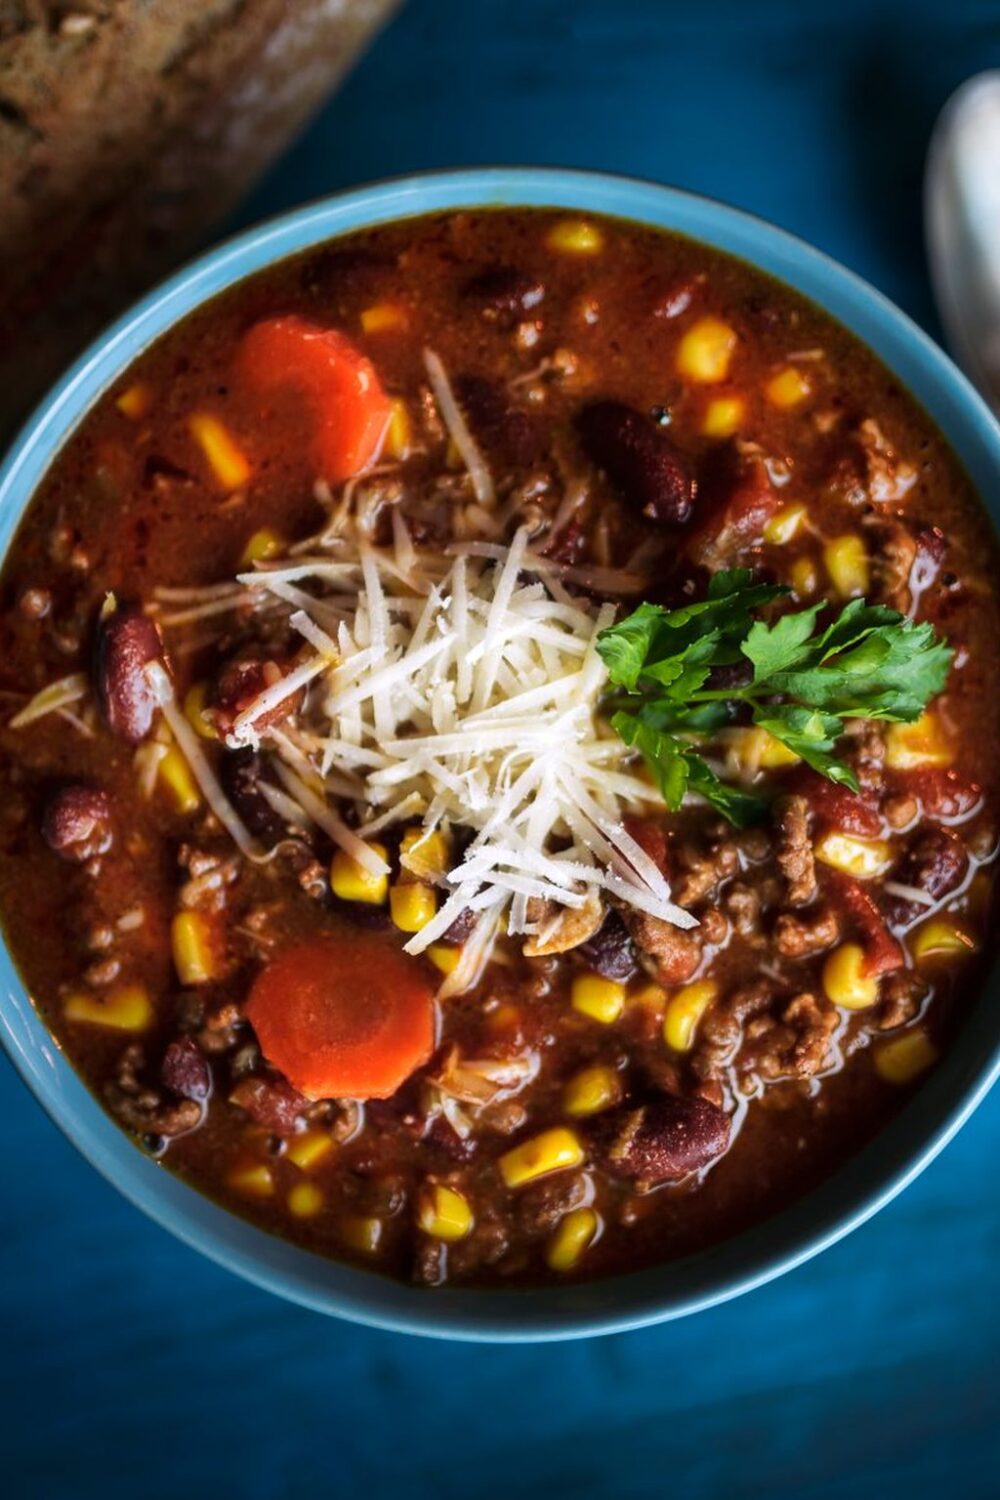
There is nothing like a pot of chili on a cold night. It simmers on the stove while you help with homework, it fills the house with the smell of cumin and toasted chiles, and it feeds a crowd for very little money. Best of all, it tastes even better the next day, so one Sunday pot can carry you through the busiest part of the week.
These 21 chili recipes start with the pots themselves, from classic beef and bean and beefy Texas chili to a brothy chicken and vegetable chili, turkey, pork chile verde and two meatless options. Next come dinners built on chili, like chili mac, stuffed peppers and chili beef burritos, plus a skillet cornbread to serve alongside. The list ends with game night favorites like nachos, chili cheese fries and chili dogs.
Two habits make every chili better. First, bloom the spices in the hot fat for a full minute before any liquid goes in, which turns chili powder from dusty to deep and toasty. Second, season at the end. Chili thickens and concentrates as it simmers, so taste it once it reaches the texture you want, adjust the salt, then add a squeeze of lime or a splash of vinegar to brighten it.
Chili is the ultimate make ahead dinner. Nearly every pot here keeps four days in the fridge and three months in the freezer, and the flavor deepens overnight. When I am feeding a crowd, I make a double batch of the classic beef chili and set up a toppings bar with cheese, sour cream, onions, chips and cornbread. A 6 quart Dutch oven is the one pot you really need.
21) Classic Beef and Bean Chili
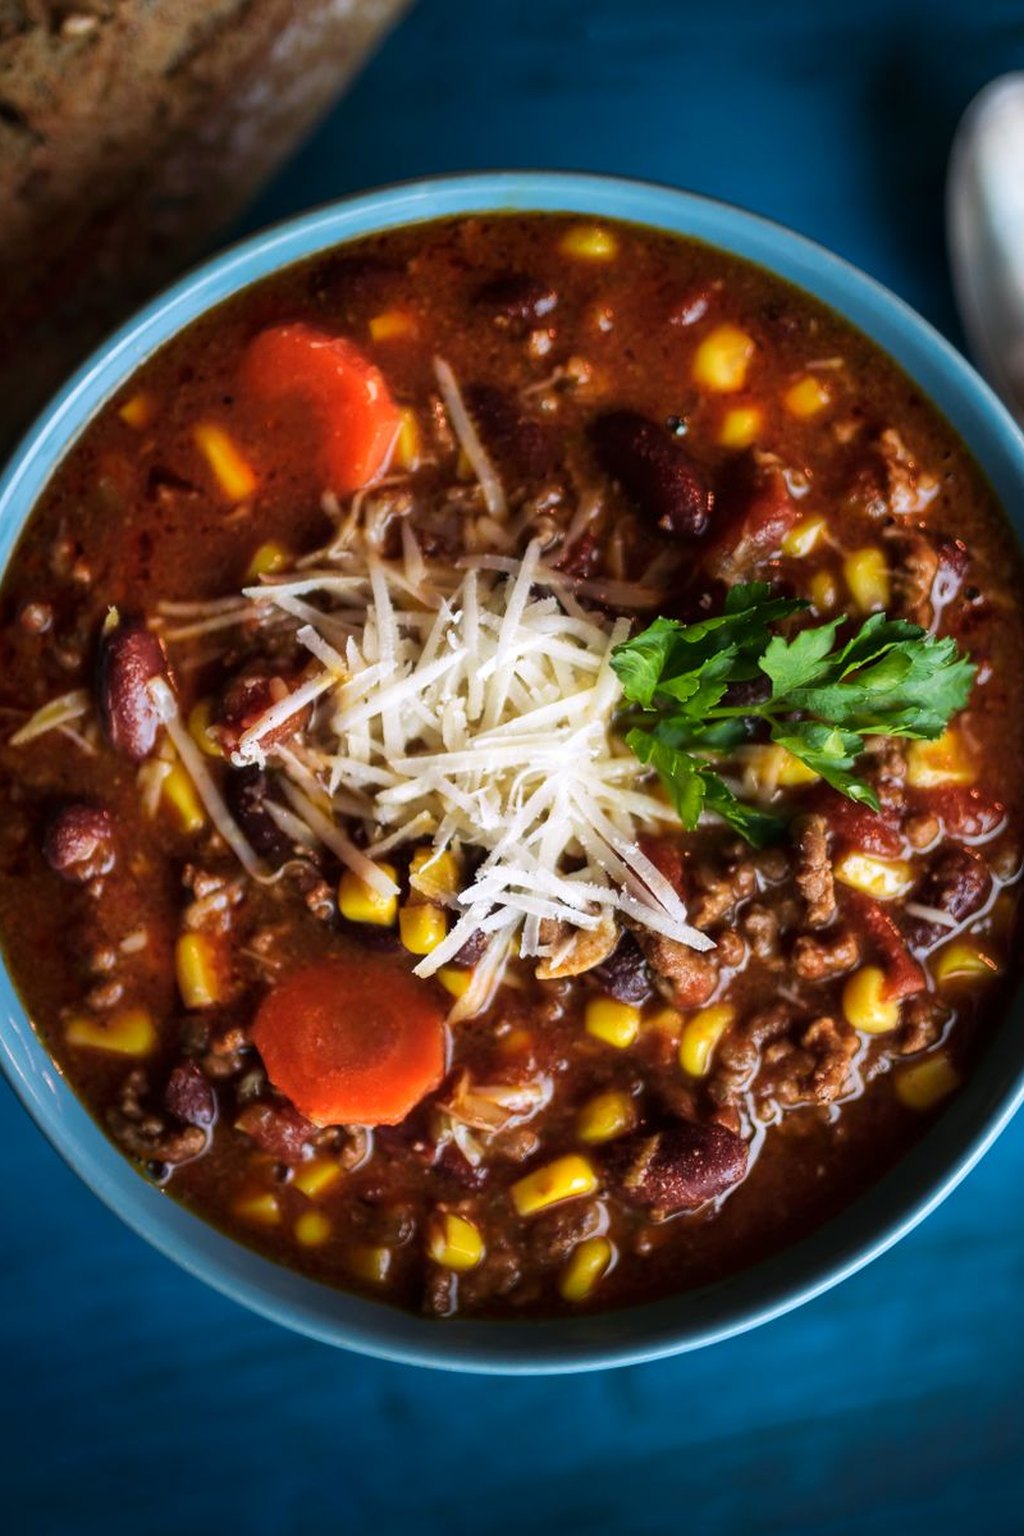
21) Classic Beef and Bean Chili
This is the chili most of us grew up on, with ground beef, kidney and pinto beans, tomatoes and a generous spoonful of chili powder. A slow simmer of about an hour turns it thick and deeply savory without any special ingredients. It tastes even better the next day, which makes it the pot I make on Sunday for busy weeknights.
Ingredients
- 2 lbs 85 percent lean ground beef
- 1 tbsp olive oil
- 1 large yellow onion, diced, and 1 green bell pepper, diced
- 4 cloves garlic, minced
- 1/4 cup chili powder
- 1 tbsp ground cumin, 2 tsp dried oregano and 1 tsp smoked paprika
- 2 tbsp tomato paste
- 1 (28 oz) can crushed tomatoes
- 1 (15 oz) can kidney beans and 1 (15 oz) can pinto beans, drained and rinsed
- 1 1/2 cups low sodium beef broth
- 1 1/2 tsp kosher salt and 1/2 tsp black pepper
- Shredded cheddar, sour cream and sliced green onions, for serving
Cooking Instructions
- Heat the oil in a 6 quart Dutch oven over medium high heat. Add the beef and cook 8 to 10 minutes, breaking it up, until browned and no pink remains, 160F on a thermometer. Spoon off all but 2 tbsp of fat.
- Add the onion and bell pepper and cook 5 minutes until soft. Stir in the garlic, chili powder, cumin, oregano, paprika and tomato paste and cook 1 minute until fragrant and brick red.
- Add the tomatoes, beans, broth, salt and pepper. Bring to a boil, then lower the heat and simmer, partly covered, 60 minutes, stirring every 15 minutes.
- Taste and adjust the salt. If it is thin, simmer uncovered 10 more minutes. Serve with the toppings.
A big pot of beef and bean chili is the most dependable cold night dinner I know. Toasting the spices in the pan for a full minute before the liquid goes in is what gives it a deep, rounded flavor instead of a raw, powdery taste. The beans and tomatoes make it stretch to feed eight, and kids love building their own bowls from the toppings.
Brown the beef in two batches if your pot is smaller than 6 quarts, since crowded meat steams and turns gray instead of browning.
20) Texas Chili Con Carne
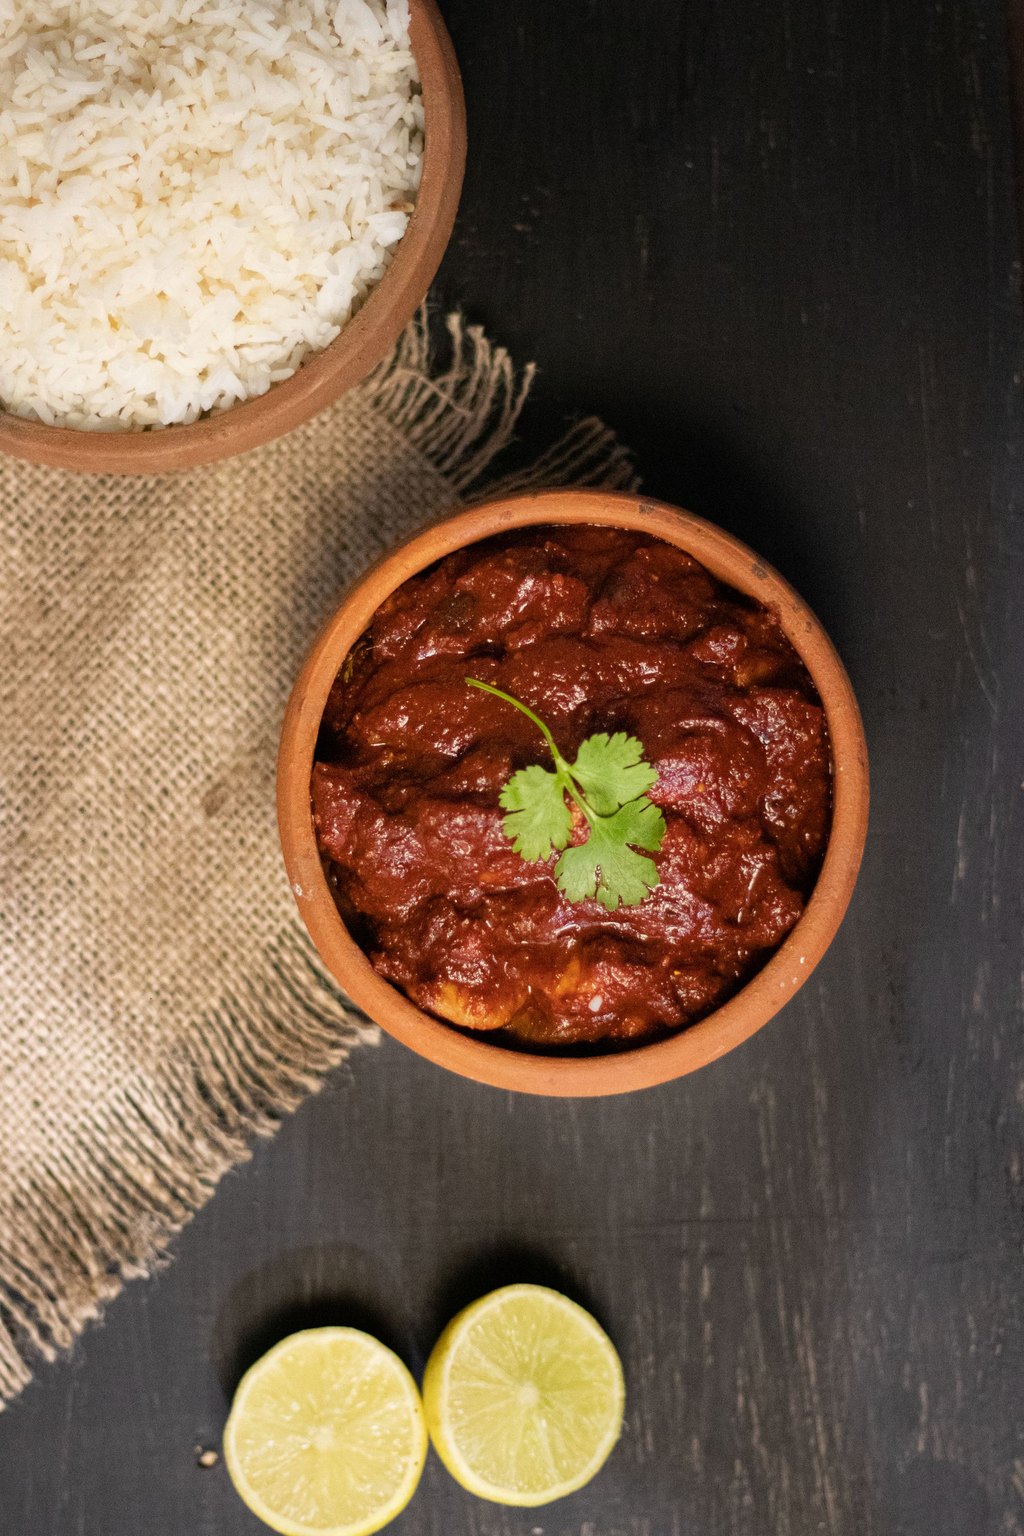
20) Texas Chili Con Carne
Texas chili skips the beans and the ground meat entirely and goes all in on cubes of chuck roast simmered in a smooth sauce of dried chiles. The meat cooks slowly for about two and a half hours until it falls apart at the touch of a spoon. A little masa harina stirred in at the end thickens the red gravy and adds a gentle corn flavor.
Ingredients
- 3 lbs boneless beef chuck roast, cut into 1 inch cubes
- 2 tsp kosher salt and 1 tsp black pepper
- 3 tbsp vegetable oil, divided
- 4 dried ancho chiles and 2 dried guajillo chiles, stemmed and seeded
- 3 cups low sodium beef broth, divided
- 1 large yellow onion, diced
- 6 cloves garlic, minced
- 1 tbsp ground cumin and 2 tsp dried oregano
- 1 (8 oz) can tomato sauce
- 1 tbsp brown sugar and 1 tbsp cider vinegar
- 3 tbsp masa harina mixed with 1/3 cup water
Cooking Instructions
- Toast the chiles in a dry skillet 30 seconds per side, then soak them in 2 cups hot broth for 15 minutes. Blend the chiles and broth until very smooth.
- Season the beef with salt and pepper. Brown it in batches in 2 tbsp oil in a 6 quart Dutch oven over medium high heat, about 4 minutes per batch, and set aside.
- Add the remaining oil and the onion and cook 5 minutes. Stir in the garlic, cumin and oregano for 1 minute.
- Return the beef with the chile puree, tomato sauce, remaining broth, sugar and vinegar. Cover and simmer gently 2 to 2 1/2 hours until the beef is fork tender.
- Stir in the masa mixture and simmer 10 minutes more until the sauce thickens.
This is the chili for people who love a hearty, meaty bowl with nothing in the way. Dried ancho and guajillo chiles give it a mellow, slightly fruity heat that chili powder alone cannot match. Because chuck has plenty of connective tissue, it only gets more tender the longer it simmers, so it is very hard to overcook. Serve it with warm tortillas or a square of cornbread.
Look for dried chiles that are soft and bendy like a raisin, since brittle ones are old and taste dusty.
19) Slow Cooker Beef Chili
19) Slow Cooker Beef Chili
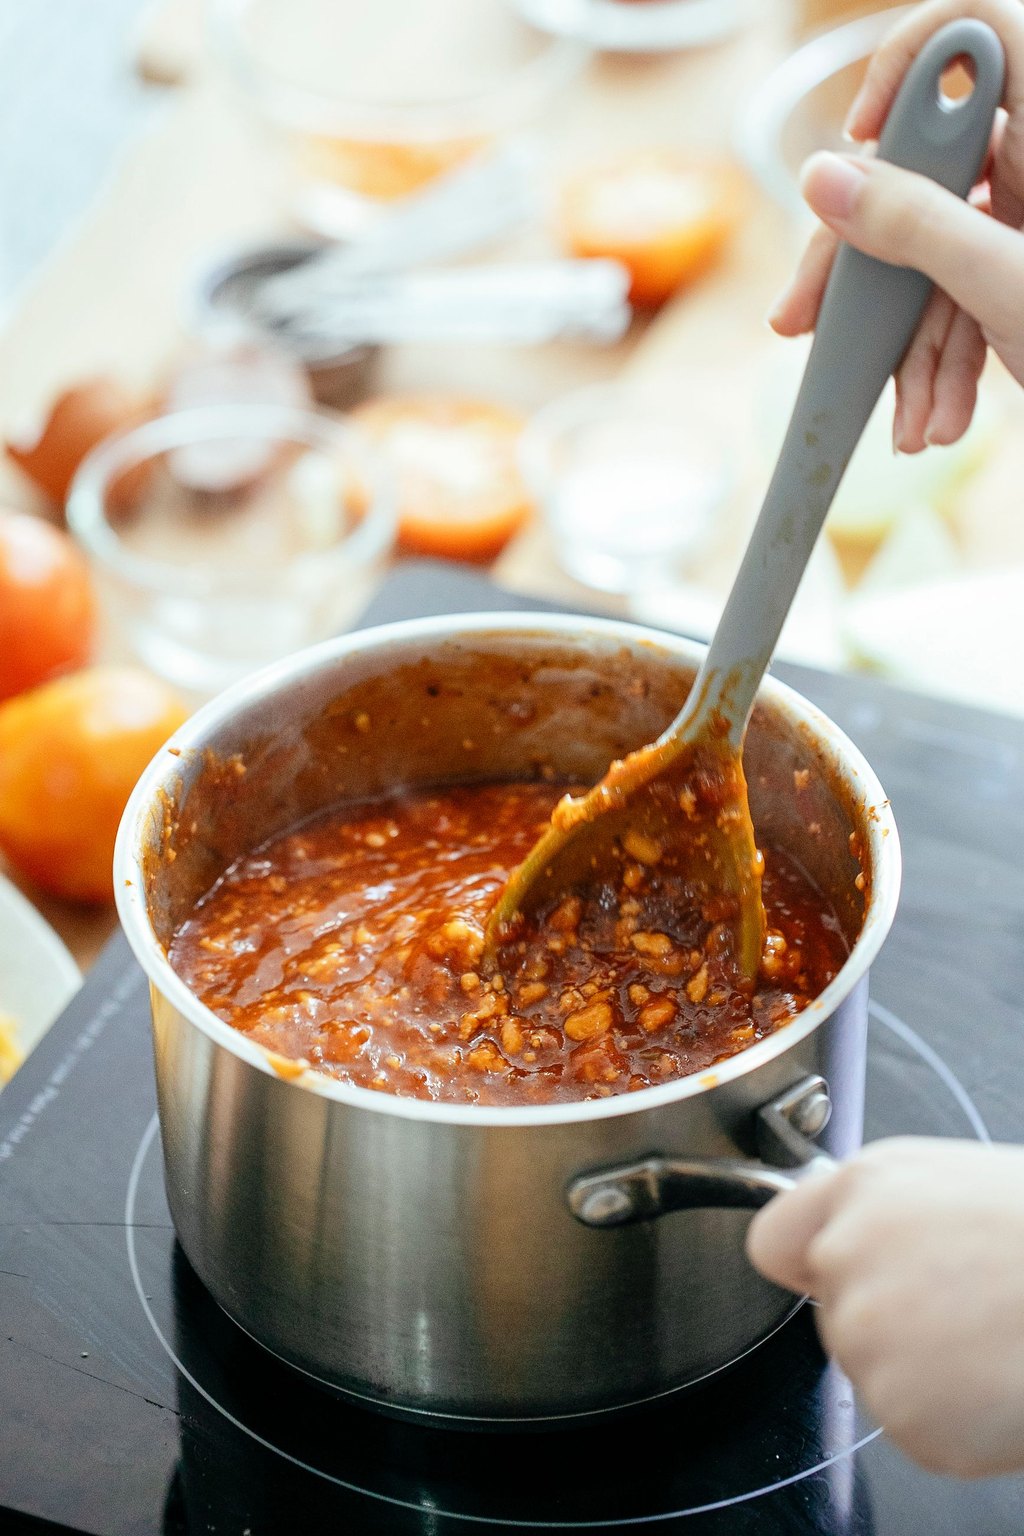
This slow cooker chili lets you brown the beef in the morning and come home to a house that smells like dinner is handled. Ground beef, black beans and kidney beans cook low and slow with fire roasted tomatoes and a touch of cocoa for depth. It holds beautifully on the warm setting, so it is perfect for game days and potlucks.
Ingredients
- 2 lbs 85 percent lean ground beef
- 1 large yellow onion, diced
- 1 red bell pepper, diced, and 1 jalapeno, seeded and minced
- 4 cloves garlic, minced
- 3 tbsp chili powder, 1 tbsp ground cumin and 1 tsp dried oregano
- 1 tbsp unsweetened cocoa powder
- 2 (14.5 oz) cans fire roasted diced tomatoes
- 1 (15 oz) can tomato sauce
- 1 (15 oz) can black beans and 1 (15 oz) can kidney beans, drained and rinsed
- 1 cup low sodium beef broth
- 1 1/2 tsp kosher salt and 1/2 tsp black pepper
Cooking Instructions
- Brown the beef in a large skillet over medium high heat 8 to 10 minutes, breaking it up, until no pink remains and it reaches 160F. Drain off the fat.
- Add the onion, bell pepper and jalapeno to the same skillet and cook 4 minutes until they start to soften. Stir in the garlic, chili powder, cumin, oregano and cocoa for 1 minute.
- Scrape everything into a 6 quart slow cooker. Add the tomatoes, tomato sauce, beans, broth, salt and pepper and stir well.
- Cover and cook on low 6 to 8 hours or on high 3 to 4 hours, until thick and the vegetables are very tender. Taste for salt before serving and keep it on the warm setting for up to 2 hours.
Slow cooker chili has carried my family through more busy weeknights than I can count. Taking ten minutes to brown the beef and bloom the spices first is what separates a rich, savory pot from a flat one. The cocoa does not make it taste like chocolate. It simply rounds out the tomatoes and makes the whole pot taste like it simmered all day, which it did.
Keep the lid on for the first few hours, since every peek lets out heat and can add 20 minutes to the cook time.
18) Cincinnati Chili
18) Cincinnati Chili
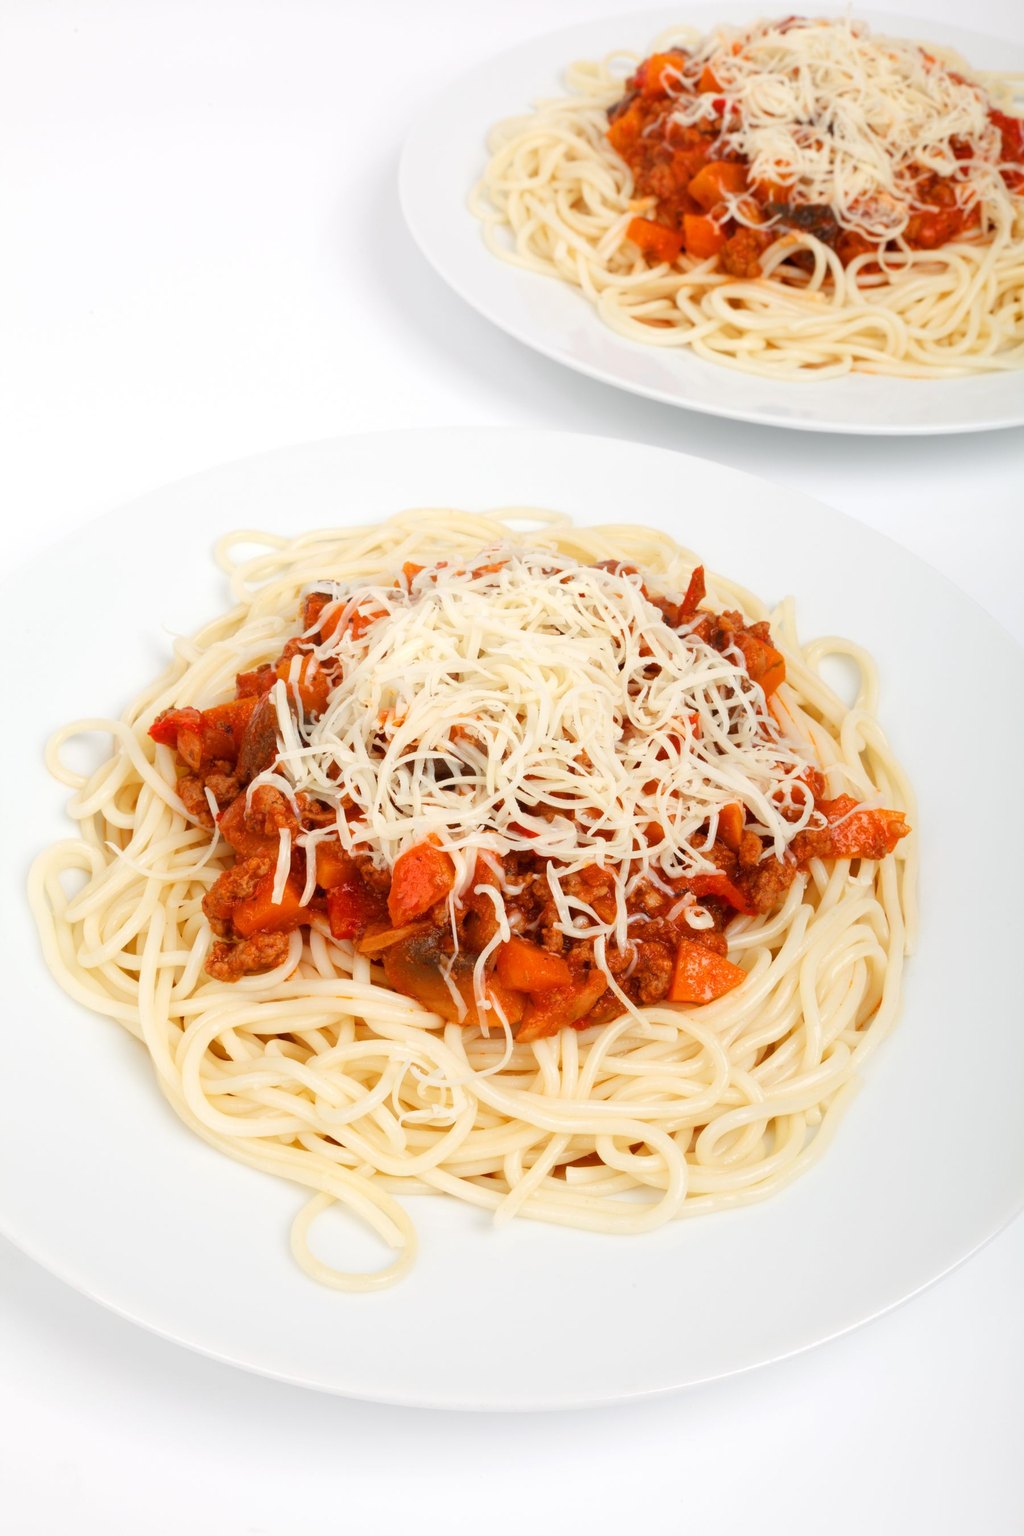
Cincinnati chili is a thin, warmly spiced meat sauce made with cinnamon, allspice and a little cocoa, served over spaghetti instead of in a bowl. The beef is simmered in liquid from the start rather than browned, which gives it the classic fine, tender texture. Order it three way with a mountain of finely shredded cheddar, or add onions and beans for five way.
Ingredients
- 2 lbs 85 percent lean ground beef
- 4 cups water
- 1 large yellow onion, finely diced, plus more for topping
- 4 cloves garlic, minced
- 1 (15 oz) can tomato sauce
- 3 tbsp chili powder and 1 tbsp unsweetened cocoa powder
- 1 tsp ground cinnamon, 1 tsp ground cumin and 1/2 tsp ground allspice
- 1/4 tsp ground cloves and 1 bay leaf
- 1 tbsp cider vinegar and 1 tbsp Worcestershire sauce
- 1 1/2 tsp kosher salt
- 1 lb spaghetti, cooked
- 3 cups finely shredded cheddar and oyster crackers, for serving
Cooking Instructions
- Put the raw beef and water in a 6 quart pot and break the beef up with a whisk or potato masher until no clumps remain.
- Add the onion, garlic, tomato sauce, all the spices, bay leaf, vinegar, Worcestershire and salt. Bring to a boil over medium high heat.
- Lower the heat and simmer uncovered 1 1/2 hours, stirring now and then, until it thickens to a loose sauce and the beef is well past 160F. Skim off any fat that rises to the top.
- Discard the bay leaf. Spoon the chili over hot spaghetti and pile on the cheddar, then add raw onion or warm kidney beans if you like.
If you have never tried Cincinnati chili, it tastes a little like a spiced Greek meat sauce met a classic American chili. The beef never gets crumbly, which is exactly what makes it cling to every strand of pasta. My kids call it chili spaghetti and ask for it by name. It also freezes perfectly in flat bags.
Chill the chili overnight if you can, then lift off the hardened fat before reheating for a cleaner, lighter sauce.
17) Chicken and Vegetable Chili
17) Chicken and Vegetable Chili
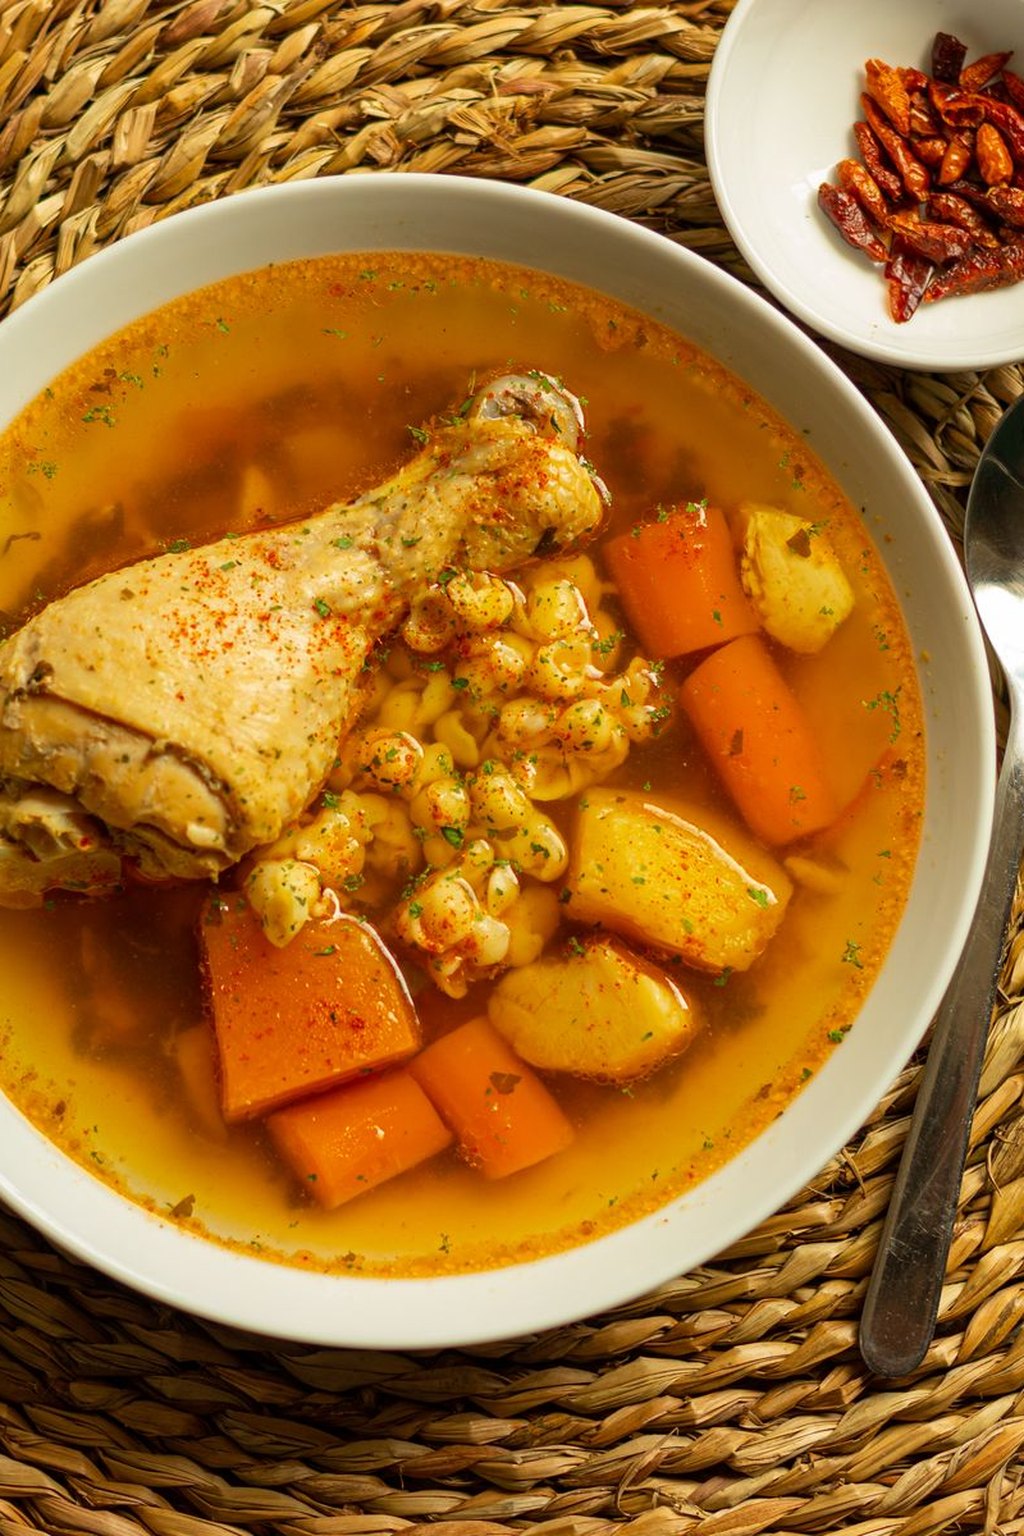
This lighter chicken chili is brothy and bright, packed with zucchini, carrots, bell peppers, corn and tender pieces of chicken in a tomato and chili spiced broth. White beans make it filling without weighing it down. It feels like a cross between a chili and a hearty soup, which makes it perfect for a cold night when you want something warm but not heavy.
Ingredients
- 2 tbsp olive oil
- 1 1/2 lbs boneless skinless chicken thighs, cut into 1 inch pieces
- 1 large yellow onion, diced
- 2 carrots and 2 celery stalks, diced
- 1 red bell pepper and 1 medium zucchini, diced
- 4 cloves garlic, minced
- 2 tbsp chili powder, 2 tsp ground cumin and 1 tsp dried oregano
- 1 (14.5 oz) can diced tomatoes
- 5 cups low sodium chicken broth
- 1 (15 oz) can cannellini beans, drained and rinsed
- 1 cup frozen corn
- 1 1/2 tsp kosher salt and juice of 1 lime
- Chopped cilantro and sliced avocado, for serving
Cooking Instructions
- Heat the oil in a 6 quart pot over medium high heat. Season the chicken with 1/2 tsp of the salt and brown it 5 minutes, stirring once or twice. Transfer to a plate.
- Add the onion, carrots and celery and cook 5 minutes until they start to soften. Stir in the bell pepper, garlic, chili powder, cumin and oregano and cook 1 minute.
- Add the tomatoes, broth, beans, browned chicken and remaining salt. Bring to a boil, then cover and simmer 15 minutes until the carrots are tender and the chicken reaches 165F.
- Stir in the zucchini and corn and simmer 5 minutes more, just until the zucchini is tender but still bright. Add the lime juice, taste for salt and serve topped with cilantro and avocado.
This is the chili I make after a week of heavy meals, when everyone still wants something cozy. Browning the chicken thighs first adds flavor to the broth, and thighs stay juicy even if the pot simmers a little longer than planned. Adding the zucchini at the end keeps it from turning mushy. It is a great way to get a lot of vegetables into picky eaters.
If you prefer a thicker bowl, mash half the beans before adding them, or simmer uncovered for the last 10 minutes.
16) Turkey Chili
16) Turkey Chili
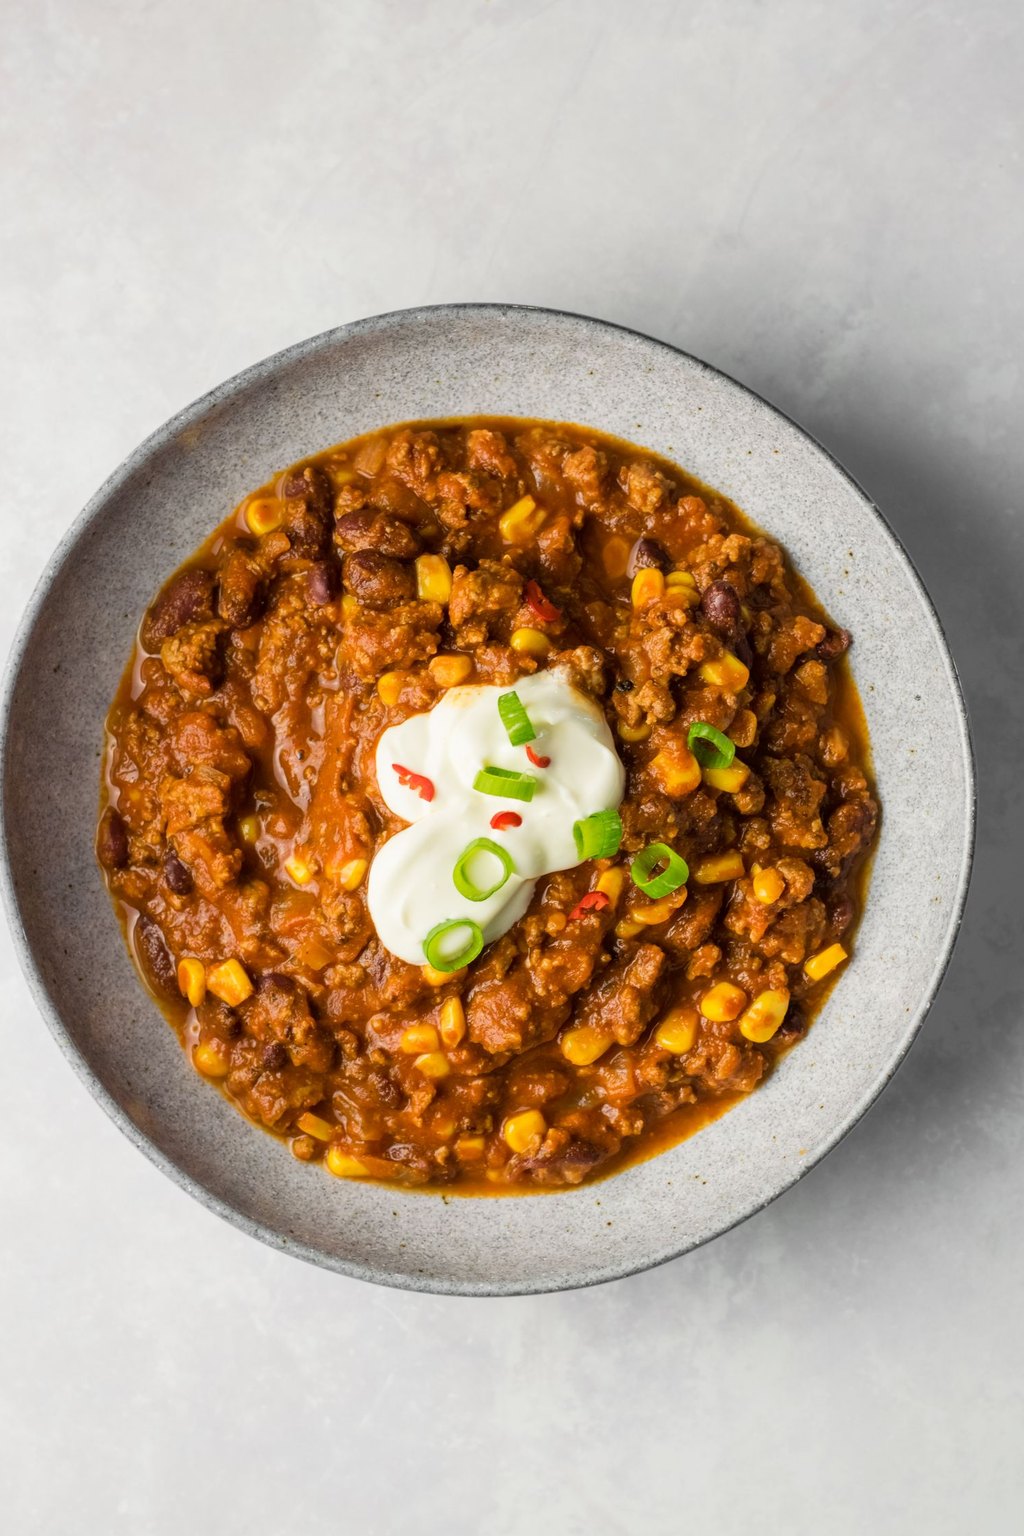
Lean ground turkey makes a lighter chili that still tastes rich, thanks to plenty of onion, smoked paprika and a spoonful of tomato paste. Kidney beans and diced tomatoes keep it thick and hearty. It simmers for just 35 minutes, so it is an easy weeknight pot that tastes like it took much longer.
Ingredients
- 2 tbsp olive oil
- 2 lbs 93 percent lean ground turkey
- 1 large yellow onion and 1 red bell pepper, diced
- 4 cloves garlic, minced
- 3 tbsp chili powder, 2 tsp ground cumin and 2 tsp smoked paprika
- 2 tbsp tomato paste
- 1 (28 oz) can diced tomatoes
- 2 (15 oz) cans kidney beans, drained and rinsed
- 1 1/2 cups low sodium chicken broth
- 1 1/2 tsp kosher salt and 1/2 tsp black pepper
- Plain Greek yogurt and chopped cilantro, for serving
Cooking Instructions
- Heat the oil in a 6 quart Dutch oven over medium high heat. Add the turkey and leave it alone for 4 minutes so the bottom browns, then break it up.
- Add the onion and bell pepper and cook 6 minutes more, until the turkey reaches 165F and the vegetables soften.
- Stir in the garlic, spices and tomato paste and cook 2 minutes, until the paste darkens.
- Add the tomatoes, beans, broth, salt and pepper. Simmer uncovered 35 minutes, stirring often, until thick. Top each bowl with yogurt and cilantro.
Turkey chili gets a bad name for being bland, but this one is anything but. The trick is letting the turkey sit untouched in a hot pot long enough to brown, since that browning is where the savory flavor lives. Smoked paprika adds the deep, almost bacon like note that lean meat is missing. Nobody at my table has ever asked whether it was beef.
Be generous with salt, since lean turkey needs a little more seasoning than beef to taste full.
15) Pork Chile Verde
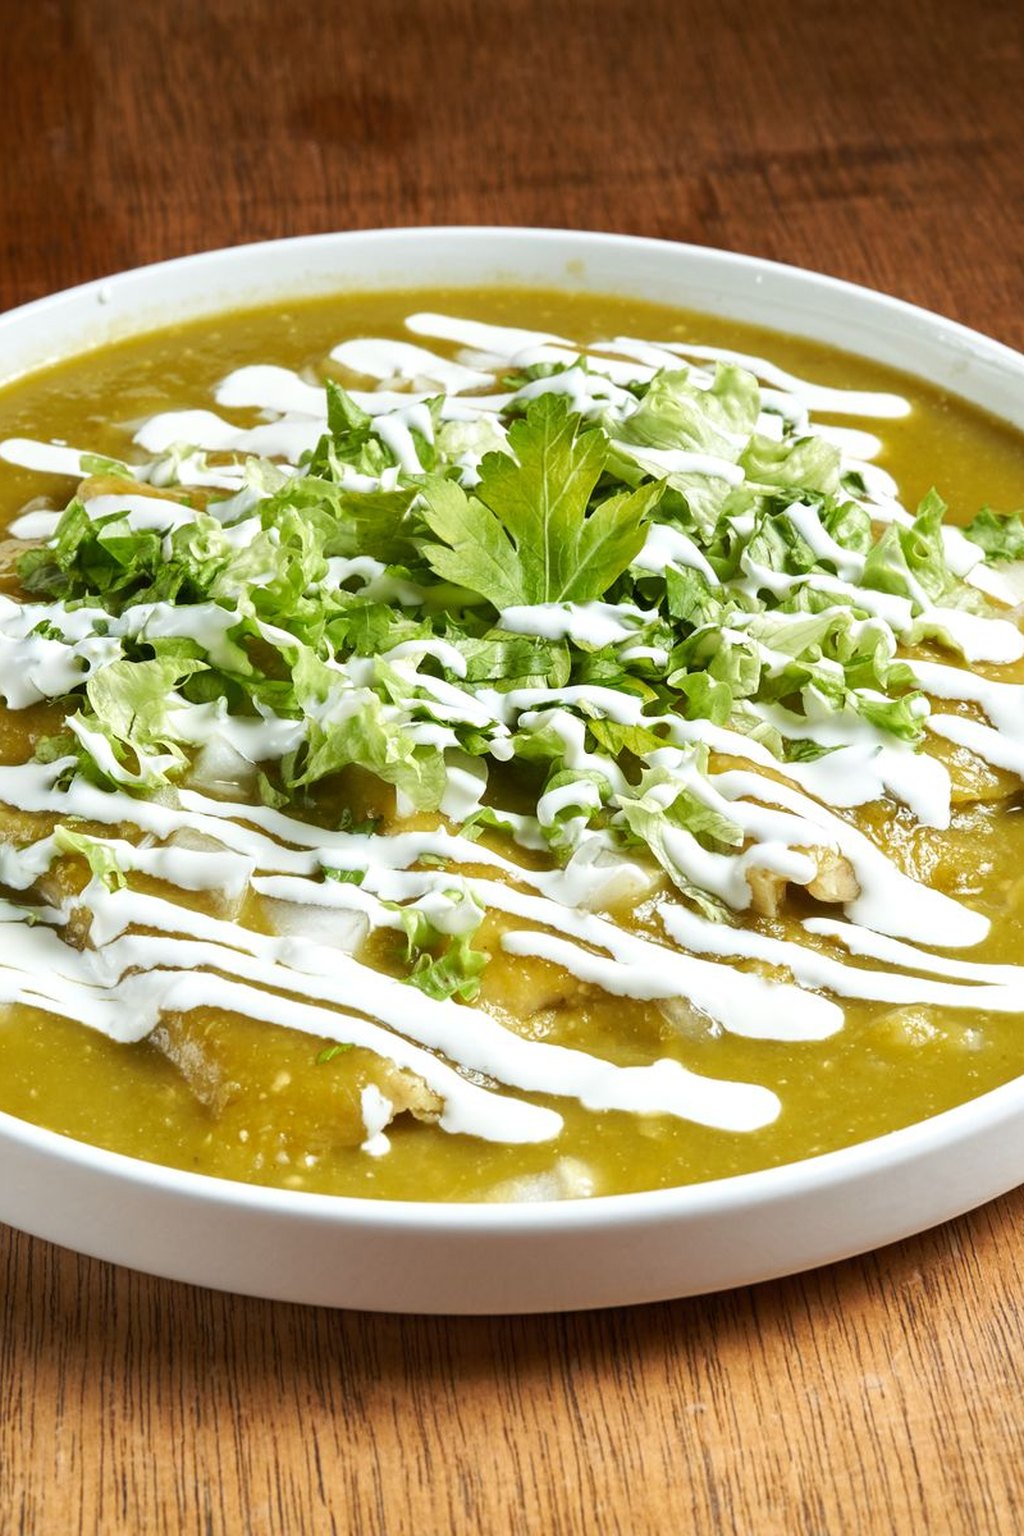
15) Pork Chile Verde
Chile verde is a green chili from the Southwest made with chunks of pork shoulder braised in a sauce of roasted tomatillos, poblanos and jalapenos. The pork turns tender and juicy as it simmers, and the tangy green sauce soaks into every piece. Serve it in bowls with warm tortillas, or spoon it over rice.
Ingredients
- 3 lbs boneless pork shoulder, cut into 1 1/2 inch cubes
- 2 tsp kosher salt and 1 tsp black pepper
- 1 1/2 lbs tomatillos, husked and rinsed
- 2 poblano peppers and 2 jalapenos
- 1 large white onion, quartered
- 6 cloves garlic, peeled
- 1 cup fresh cilantro
- 2 tbsp vegetable oil
- 2 tsp ground cumin and 1 tsp dried oregano
- 2 cups low sodium chicken broth
- Juice of 1 lime and warm flour tortillas, for serving
Cooking Instructions
- Heat the broiler. Spread the tomatillos, peppers, onion and garlic on a sheet pan and broil 10 to 12 minutes, turning once, until charred in spots.
- Stem and seed the peppers, then blend all the vegetables with the cilantro until smooth.
- Season the pork with salt and pepper. Brown it in batches in the oil in a 6 quart Dutch oven over medium high heat, about 5 minutes per batch.
- Return all the pork, add the cumin, oregano, green sauce and broth and bring to a simmer. Cover and cook gently 1 1/2 to 2 hours until the pork is fork tender, well past 145F.
- Simmer uncovered 15 minutes to thicken, then stir in the lime juice.
Chile verde is the green chili I fell for on a family trip, and it has been on our winter rotation ever since. Broiling the vegetables first adds a smoky char that a jar of salsa cannot give you. Pork shoulder is forgiving and stays moist through a long braise, so it is nearly impossible to get wrong. The leftovers make the best burritos.
Choose tomatillos that are firm and fill their husks, and rinse off the sticky coating before broiling.
14) Three Bean Vegetarian Chili
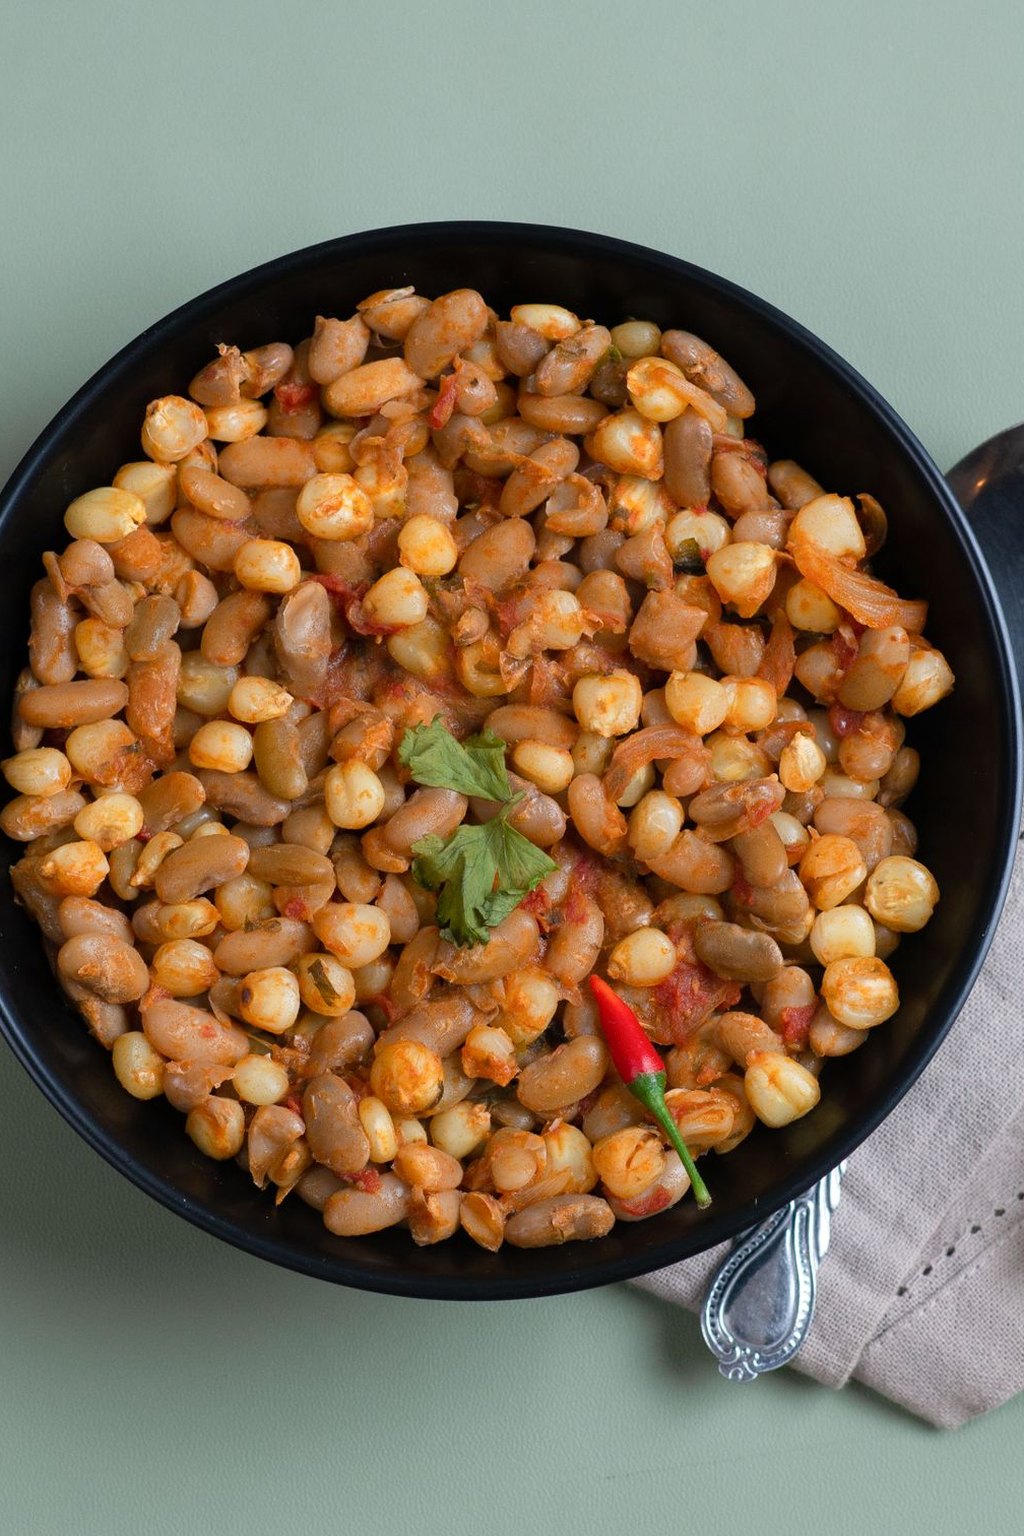
14) Three Bean Vegetarian Chili
This meatless chili packs in black beans, kidney beans and pinto beans along with carrots, zucchini and sweet bell peppers. A little bulgur cooks right in the pot and gives it the hearty, meaty texture that even skeptics appreciate. It is filling, inexpensive and naturally dairy free until you add the cheese on top.
Ingredients
- 2 tbsp olive oil
- 1 large yellow onion, 2 carrots and 1 red bell pepper, diced
- 1 medium zucchini, diced
- 5 cloves garlic, minced
- 3 tbsp chili powder, 1 tbsp ground cumin and 1 tsp smoked paprika
- 2 tbsp tomato paste
- 1 (28 oz) can crushed tomatoes
- 1 (15 oz) can each black, kidney and pinto beans, drained and rinsed
- 1/2 cup bulgur wheat
- 3 cups low sodium vegetable broth
- 1 1/2 tsp kosher salt and 1 tbsp maple syrup
Cooking Instructions
- Heat the oil in a 6 quart Dutch oven over medium heat. Cook the onion, carrots and bell pepper 8 minutes until softened.
- Add the zucchini and garlic and cook 3 minutes. Stir in the spices and tomato paste and cook 1 minute until fragrant.
- Add the tomatoes, beans, bulgur, broth, salt and maple syrup. Bring to a boil, then reduce to a steady simmer.
- Cook uncovered 30 to 35 minutes, stirring often so the bulgur does not stick, until the bulgur is tender and the chili is thick. Thin with a splash of broth if needed.
This vegetarian chili is the one I bring to potlucks because it suits nearly everyone at the table. Three kinds of beans give it variety in every spoonful, and the bulgur soaks up the sauce so it eats like a meat chili. The small spoon of maple syrup balances the acidity of the tomatoes. It reheats beautifully all week.
Cut the vegetables about the same size as the beans so every bite has a bit of everything.
13) Black Bean and Sweet Potato Chili
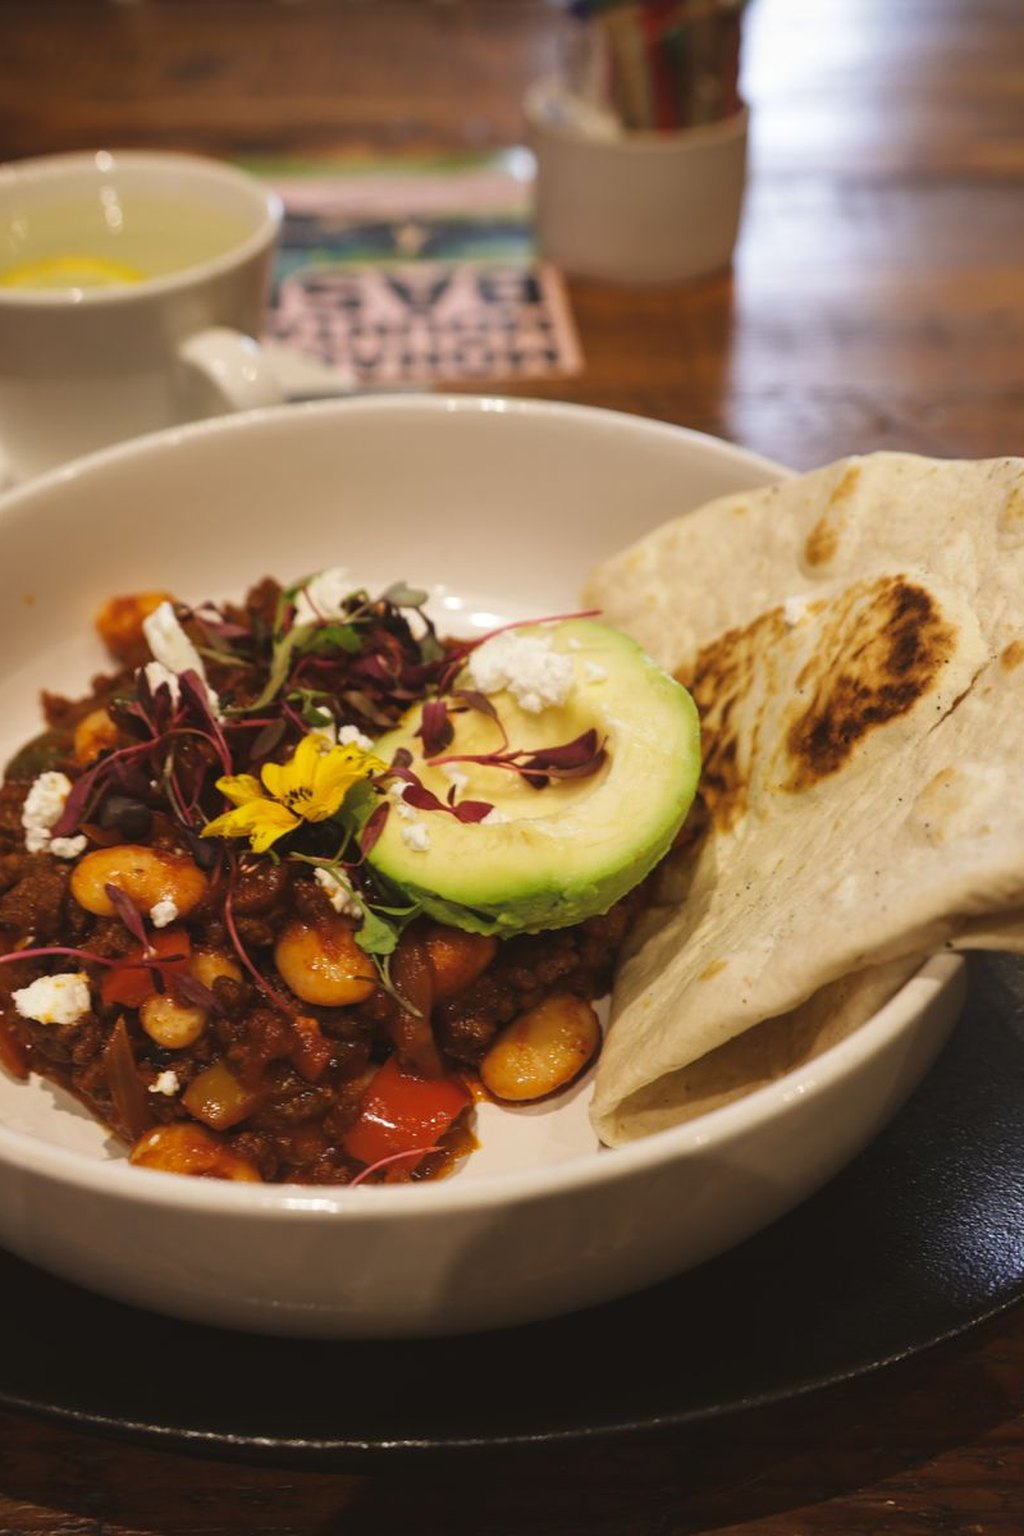
13) Black Bean and Sweet Potato Chili
Sweet potato and black bean chili is colorful, budget friendly and full of gentle smoky heat from chipotle peppers in adobo. The sweet potato cubes soften in the tomato broth and turn slightly creamy, which balances the spice. It is a satisfying meatless dinner that comes together in under an hour.
Ingredients
- 2 tbsp olive oil
- 1 large red onion, diced
- 2 medium sweet potatoes, peeled and cut into 1/2 inch cubes
- 4 cloves garlic, minced
- 1 to 2 chipotle peppers in adobo, minced
- 2 tbsp chili powder and 2 tsp ground cumin
- 1 (28 oz) can diced tomatoes
- 3 (15 oz) cans black beans, drained and rinsed
- 2 cups low sodium vegetable broth
- 1 1/4 tsp kosher salt and juice of 1 lime
- Avocado, cilantro and crumbled cotija, for serving
Cooking Instructions
- Heat the oil in a 6 quart pot over medium high heat. Add the onion and sweet potatoes and cook 6 minutes, stirring, until the onion softens.
- Stir in the garlic, chipotle, chili powder and cumin and cook 1 minute.
- Add the tomatoes, beans, broth and salt. Bring to a boil, then cover and simmer 20 to 25 minutes until a knife slides easily into the sweet potato.
- Mash a few potato cubes against the side of the pot to thicken. Stir in the lime juice and serve with the toppings.
This is my favorite meatless chili for a chilly weeknight. The sweet potatoes and smoky chipotle are a natural pair, and the black beans make it filling enough that no one misses the meat. Everything cooks in one pot in less than an hour. It also packs well for lunches the next day.
Start with one chipotle pepper and add the second at the end if you want more heat, since the smoke and spice build as it simmers.
12) Chili Mac
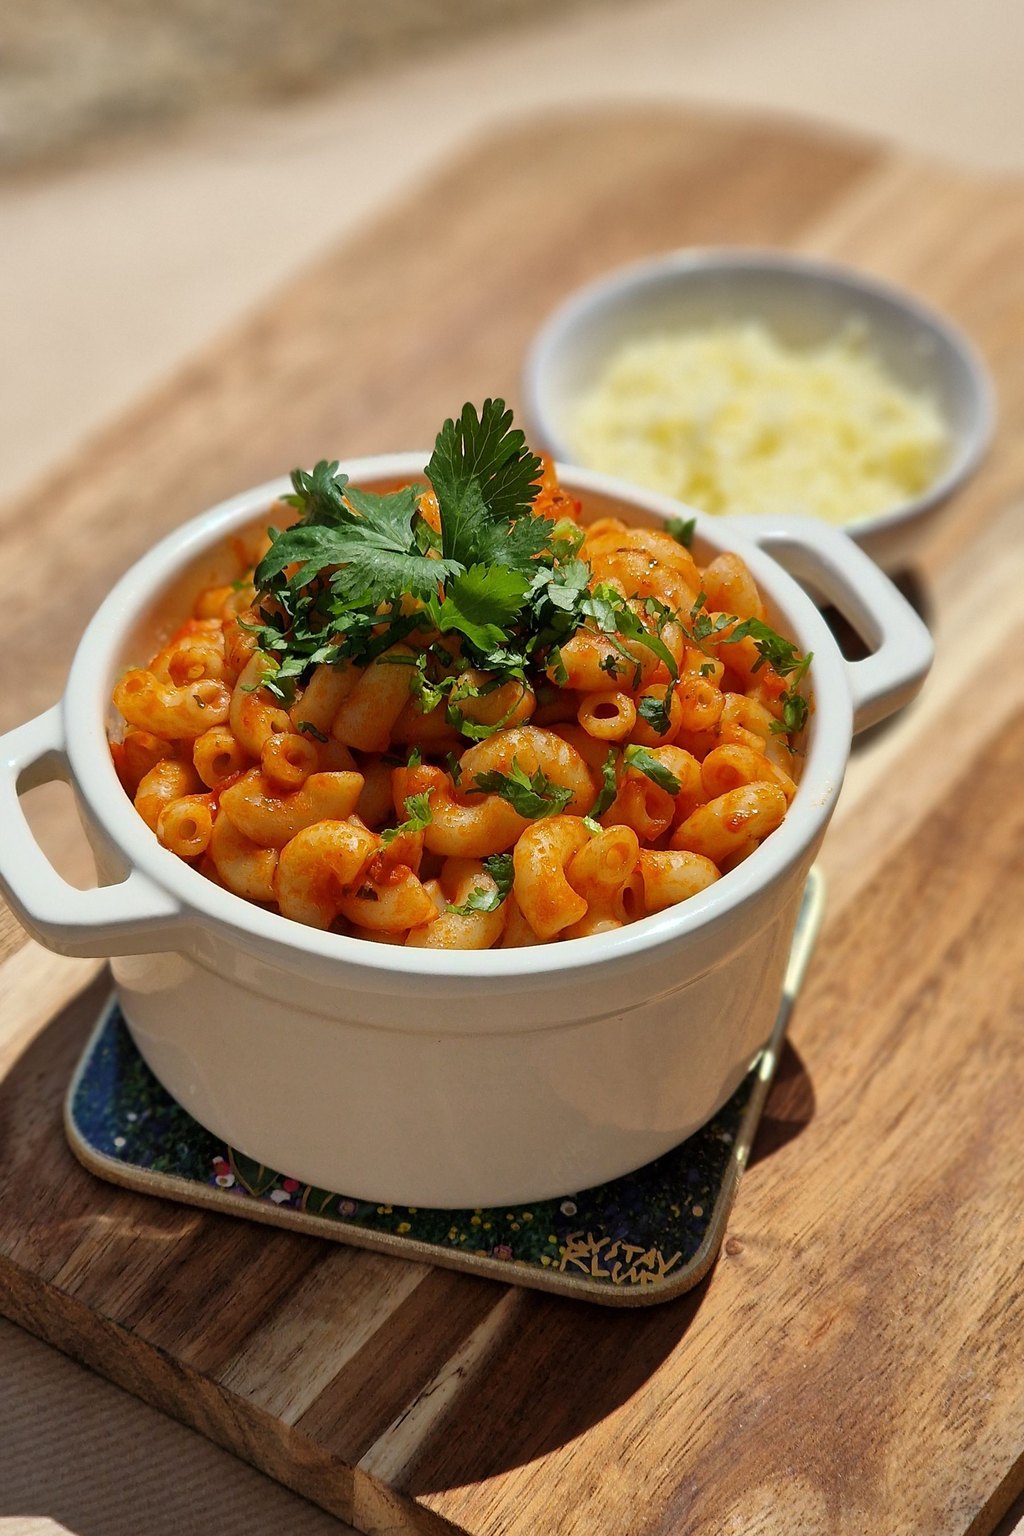
12) Chili Mac
Chili mac combines a quick beef chili with elbow macaroni and a blanket of melted cheddar, all in one skillet. The pasta cooks right in the chili, soaking up the seasoned tomato broth as it softens. It is the ultimate kid friendly dinner and a great way to make a pound and a half of beef feed the whole family.
Ingredients
- 1 1/2 lbs 85 percent lean ground beef
- 1 medium yellow onion, diced
- 3 cloves garlic, minced
- 2 tbsp chili powder and 2 tsp ground cumin
- 1 (15 oz) can tomato sauce
- 1 (14.5 oz) can diced tomatoes
- 1 (15 oz) can kidney beans, drained and rinsed
- 2 1/2 cups low sodium beef broth
- 2 cups dry elbow macaroni
- 1 tsp kosher salt
- 2 cups shredded sharp cheddar
Cooking Instructions
- Brown the beef and onion in a 12 inch deep skillet over medium high heat about 8 minutes, until the beef reaches 160F. Drain the fat.
- Stir in the garlic, chili powder and cumin and cook 1 minute until fragrant.
- Add the tomato sauce, tomatoes, beans, broth, macaroni and salt. Bring to a boil, then cover and simmer on medium low 12 to 15 minutes, stirring twice, until the pasta is tender.
- Turn off the heat, sprinkle the cheddar over the top and cover for 3 minutes until melted. Serve hot.
Chili mac is what I make on the nights everyone is tired and hungry at the same time. There is only one pan to wash, and the pasta cooks in the same liquid that seasons it, so every noodle tastes like chili. The cheese melts into a gooey top layer that kids fight over. It is ready in about half an hour.
If the pan looks dry before the pasta is tender, add 1/2 cup more broth and keep simmering.
11) Chili Stuffed Peppers
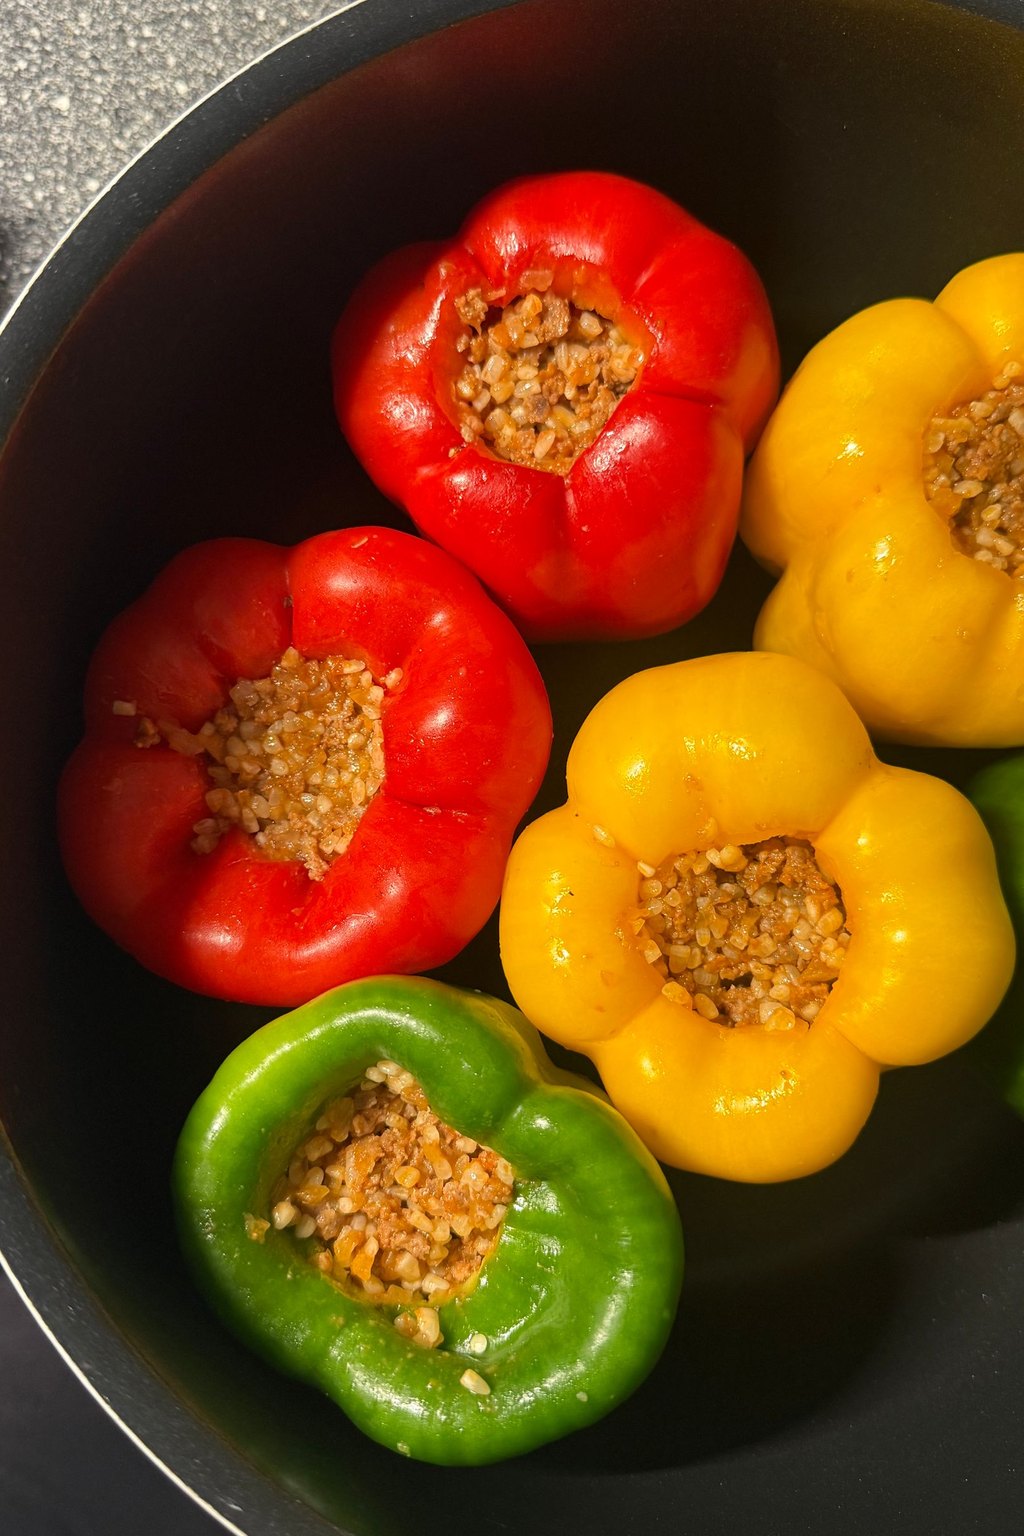
11) Chili Stuffed Peppers
These stuffed peppers are filled with a thick beef and bean chili mixed with rice, then baked until the peppers are tender and the cheese bubbles on top. Each pepper is a complete, hearty meal in its own edible bowl. Red, yellow and orange peppers make them look as good as they taste.
Ingredients
- 6 large bell peppers, tops cut off and seeded
- 1 lb 85 percent lean ground beef
- 1 small yellow onion, diced, and 2 cloves garlic, minced
- 2 tbsp chili powder and 1 tsp ground cumin
- 1 (15 oz) can black beans, drained and rinsed
- 1 (14.5 oz) can diced tomatoes, drained
- 1 (8 oz) can tomato sauce, divided
- 1 1/2 cups cooked white rice
- 1 tsp kosher salt
- 1 1/2 cups shredded Monterey Jack
Cooking Instructions
- Heat the oven to 375F. Stand the peppers upright in a 9 by 13 inch baking dish.
- Brown the beef and onion in a large skillet 8 minutes until the beef reaches 160F. Drain, then stir in the garlic, chili powder and cumin for 1 minute.
- Stir in the beans, tomatoes, half the tomato sauce, the rice and salt. Spoon the filling into the peppers and drizzle the remaining sauce on top.
- Add 1/4 cup water to the dish, cover with foil and bake 35 minutes. Uncover, top with the cheese and bake 10 minutes more until the peppers are tender and the cheese is bubbly.
Stuffed peppers turn a pot of chili into something that feels special enough for company. The peppers steam under the foil until soft but still hold their shape, and the filling stays juicy thanks to the extra tomato sauce poured over the top. They are easy to portion and easy to make ahead. My husband likes his with a spoonful of sour cream.
If a pepper will not stand up, trim a thin slice off the bottom, being careful not to cut a hole.
A pot of chili on the stove is the warmest welcome home on a cold night.
10) Skillet Cornbread for Chili
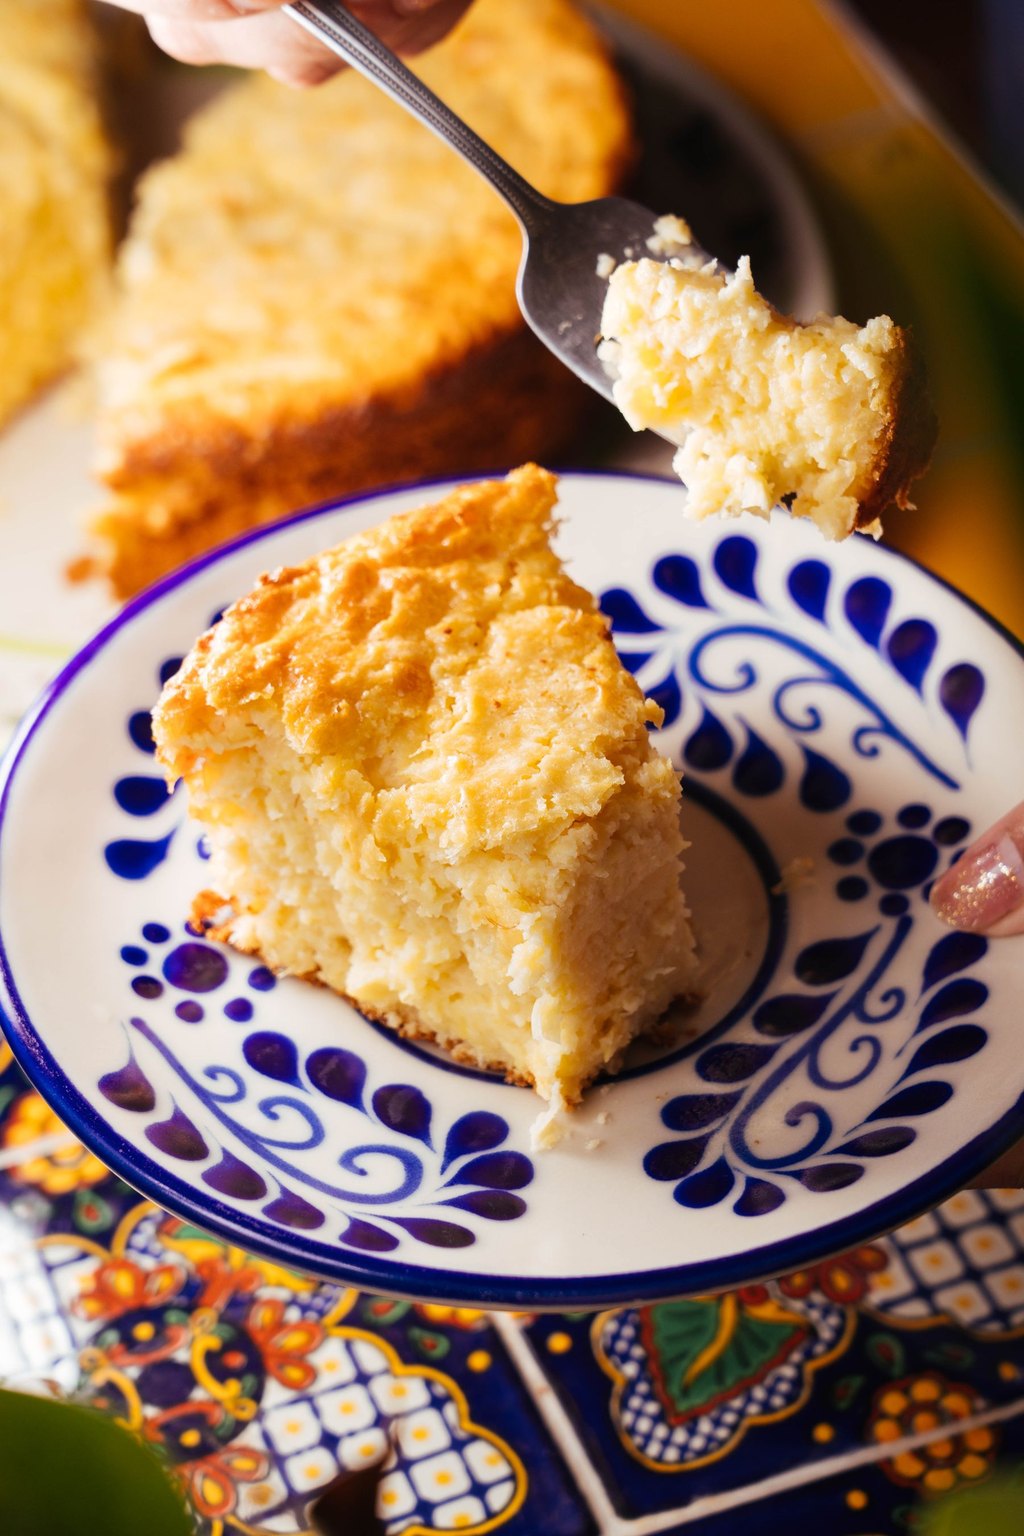
10) Skillet Cornbread for Chili
This golden skillet cornbread has crisp, buttery edges, a tender crumb and just a touch of sweetness to balance a spicy bowl of chili. It bakes in a preheated cast iron skillet, which gives the bottom and sides a crunchy crust. Serve it warm next to any chili in this list, or crumble it right into your bowl.
Ingredients
- 4 tbsp unsalted butter, plus 1 tbsp for the skillet
- 1 cup yellow cornmeal
- 1 cup all purpose flour
- 1/4 cup sugar
- 1 tbsp baking powder and 1/2 tsp baking soda
- 3/4 tsp kosher salt
- 1 1/4 cups buttermilk
- 2 large eggs
- Honey and softened butter, for serving
Cooking Instructions
- Put a 10 inch cast iron skillet in the oven and heat it to 425F for at least 15 minutes.
- Melt the 4 tbsp butter. Whisk the cornmeal, flour, sugar, baking powder, baking soda and salt in a large bowl. In another bowl, whisk the buttermilk, eggs and melted butter.
- Pour the wet ingredients into the dry and stir just until no dry streaks remain. A few lumps are fine.
- Carefully remove the hot skillet, add the remaining 1 tbsp butter and swirl to coat. Pour in the batter, which should sizzle at the edges.
- Bake 18 to 22 minutes until golden brown and a toothpick in the center comes out clean. Cool 10 minutes, then cut into wedges.
No chili night at our house feels complete without a skillet of cornbread on the table. Pouring the batter into a very hot buttered skillet is what creates those crisp, golden edges everyone fights over. Buttermilk keeps the inside moist and tender, and the small amount of sugar keeps it savory enough for dipping. It bakes in the time it takes to set the table and pour drinks.
Stir in 1 cup shredded cheddar and 1 diced jalapeno for a spicy cheese cornbread that goes especially well with the beef chilis.
9) Chili Stuffed Baked Potatoes
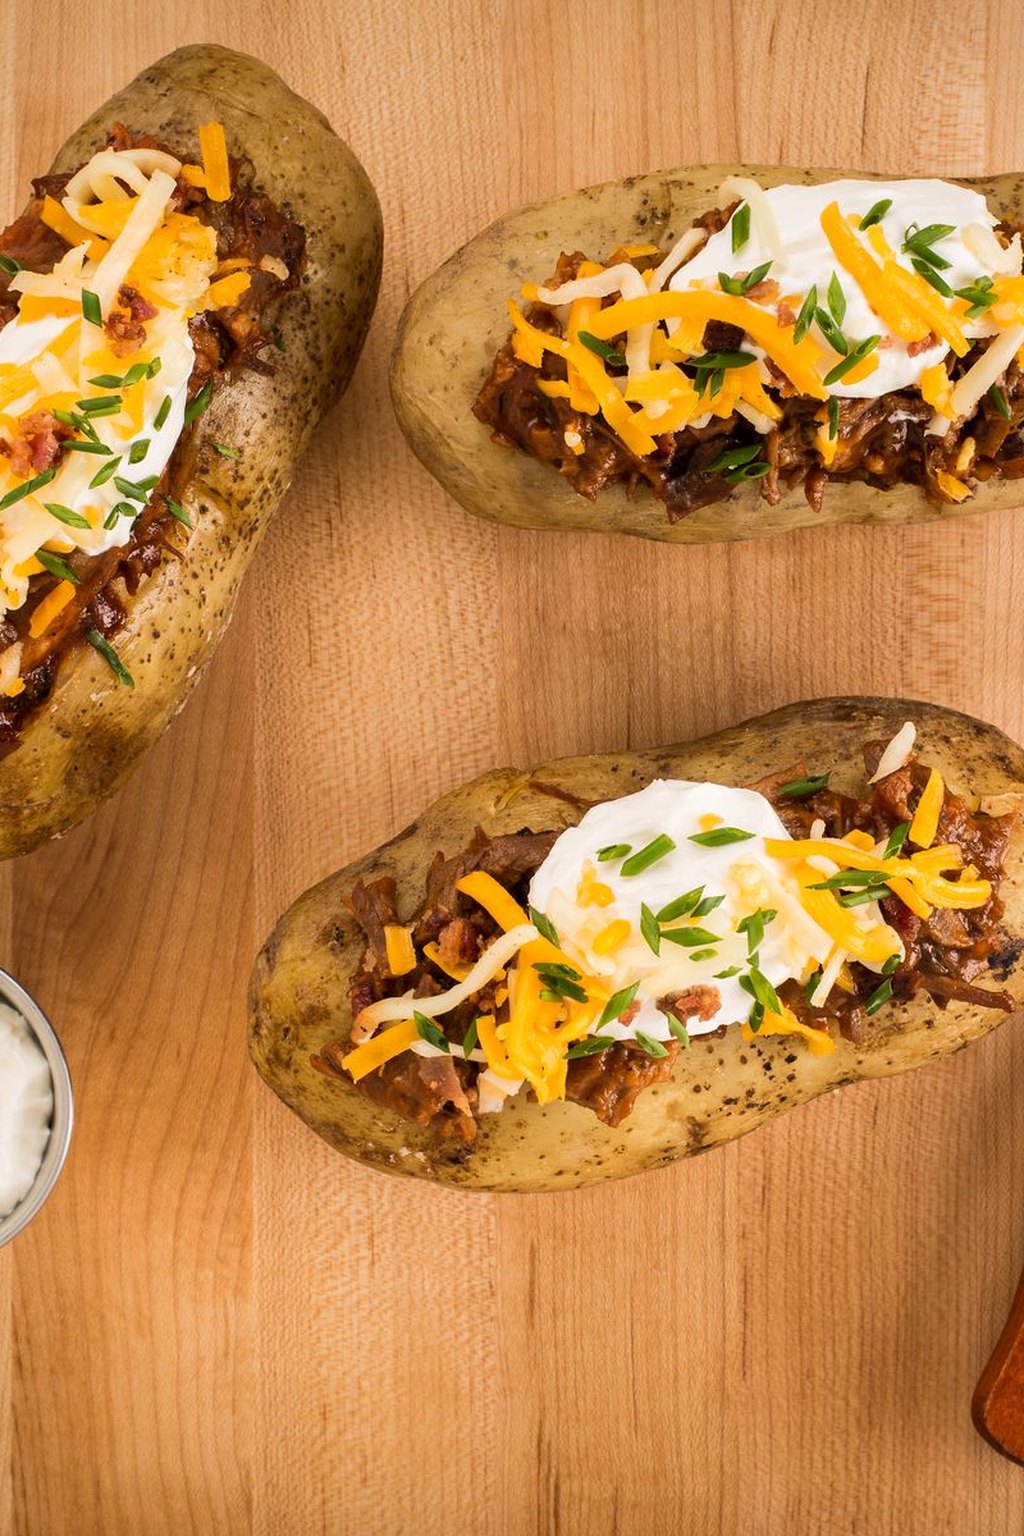
9) Chili Stuffed Baked Potatoes
Fluffy baked russet potatoes are split open and loaded with hot beef chili, melted cheddar, sour cream and green onions. They are a simple, filling dinner and a perfect way to use leftover chili from earlier in the week. Each person can top their own, so picky eaters stay happy.
Ingredients
- 4 large russet potatoes, scrubbed
- 1 tbsp olive oil and 1 tsp kosher salt
- 4 cups prepared beef chili
- 1 1/2 cups shredded cheddar
- 1/2 cup sour cream
- 3 green onions, sliced
- 4 slices cooked bacon, crumbled
- 2 tbsp butter
- 1 pickled jalapeno, sliced, optional
Cooking Instructions
- Heat the oven to 425F. Prick each potato a few times with a fork, rub with the oil and salt and set directly on the oven rack.
- Bake 50 to 60 minutes until the skin is crisp and a knife slides through the center with no resistance.
- Meanwhile, warm the chili in a saucepan over medium heat, stirring often, until it reaches 165F.
- Split each potato lengthwise and squeeze the ends to fluff the inside. Add a pat of butter, spoon on the chili, then top with cheddar, sour cream, green onions, bacon and jalapeno.
Chili stuffed potatoes are my favorite second night dinner after a big pot of chili. Baking the potatoes right on the rack with oil and salt gives them crisp, flavorful skins instead of the soft, steamed ones you get in foil. The fluffy inside soaks up the chili like a sponge. It feels like a steakhouse treat for very little effort.
Russets are the best choice here, since their starchy flesh bakes up light and fluffy.
8) Chili Beef Burritos
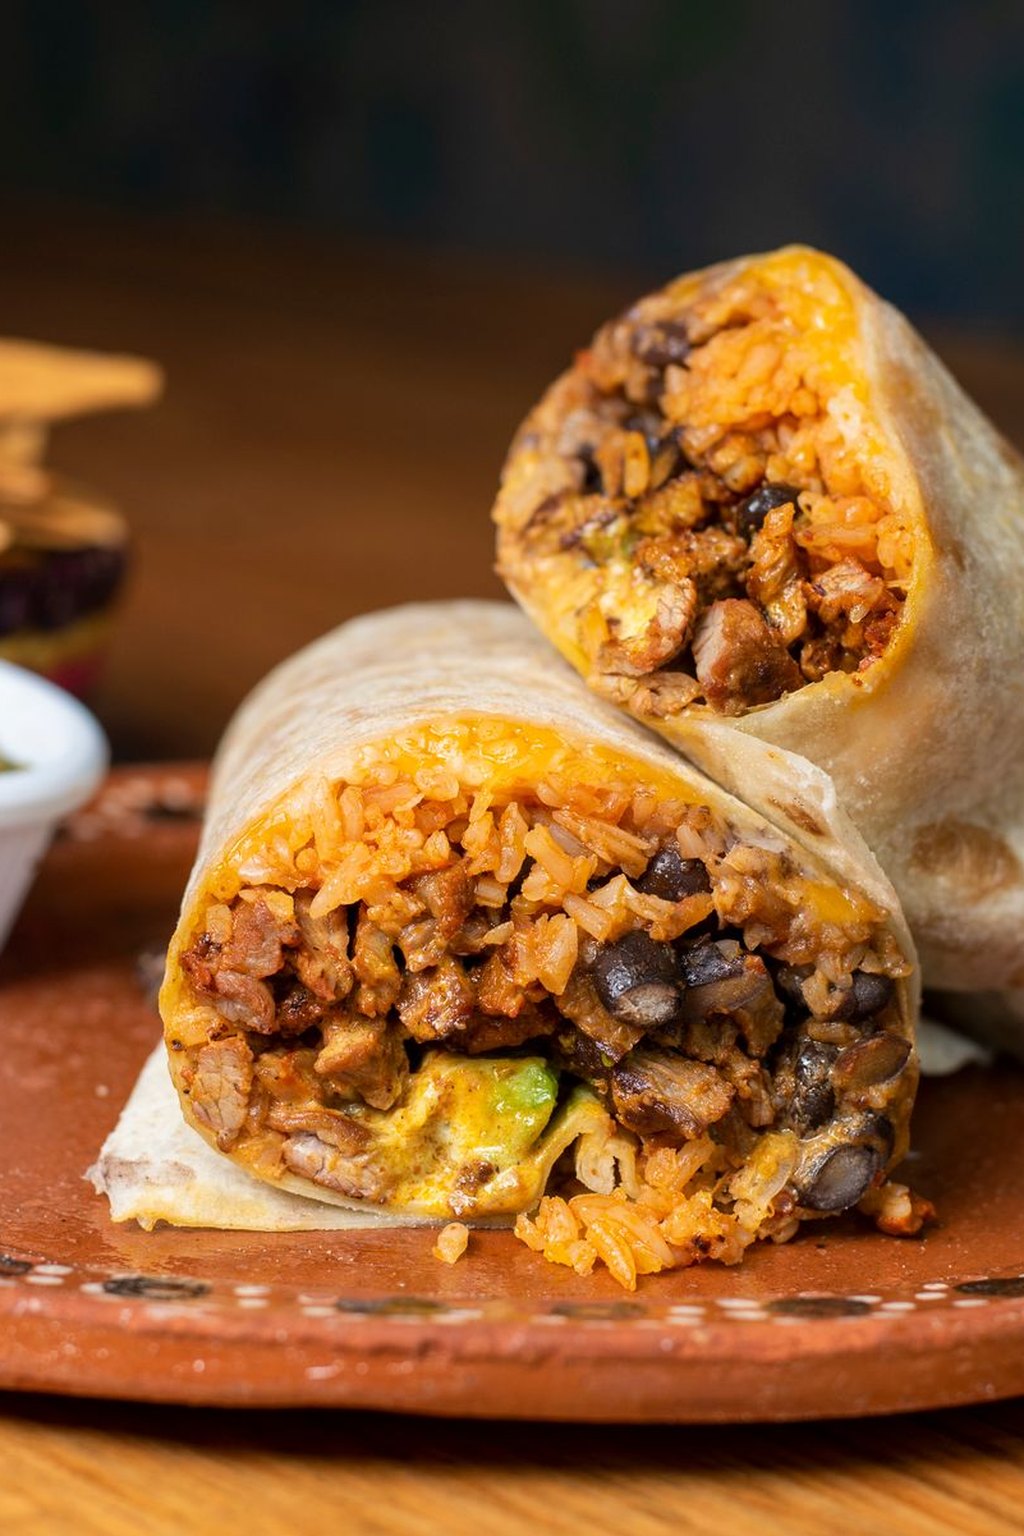
8) Chili Beef Burritos
These hearty burritos are stuffed with thick leftover beef chili, fluffy rice and plenty of melted cheese, then toasted in a skillet until the tortilla is golden and crisp. They are a fast, filling way to give leftover chili a second life. Serve them halved with tortilla chips and salsa for an easy weeknight dinner.
Ingredients
- 4 cups thick prepared beef chili
- 2 cups cooked white rice
- 1 tbsp chopped cilantro and juice of 1/2 lime
- 6 large flour tortillas, 10 inches
- 2 cups shredded Mexican blend cheese
- 1/2 cup sour cream
- 1 cup shredded lettuce
- 1 tbsp vegetable oil
- Tortilla chips and salsa, for serving
Cooking Instructions
- Heat the chili in a saucepan over medium heat, stirring often, until it reaches 165F and is thick enough to mound on a spoon. Simmer uncovered a few minutes if it seems loose.
- Stir the cilantro and lime juice into the warm rice.
- Warm the tortillas so they are pliable. Down the center of each, layer 1/3 cup rice, 2/3 cup chili and 1/3 cup cheese. Fold in the sides and roll up tightly.
- Heat the oil in a large skillet over medium heat. Cook the burritos seam side down 2 to 3 minutes per side until golden and crisp and the cheese melts.
- Cut in half and serve with sour cream, lettuce, chips and salsa.
Chili burritos are my favorite trick for stretching the last of a big pot into another full dinner. Toasting them seam side down seals the tortilla closed and gives it a crisp, golden outside. The lime and cilantro rice keeps the filling bright so it does not taste like leftovers. They also wrap well in foil for lunches and game day.
Use your thickest chili here, since a runny filling soaks through the tortilla and makes the burritos fall apart.
7) Chili Cheese Enchiladas
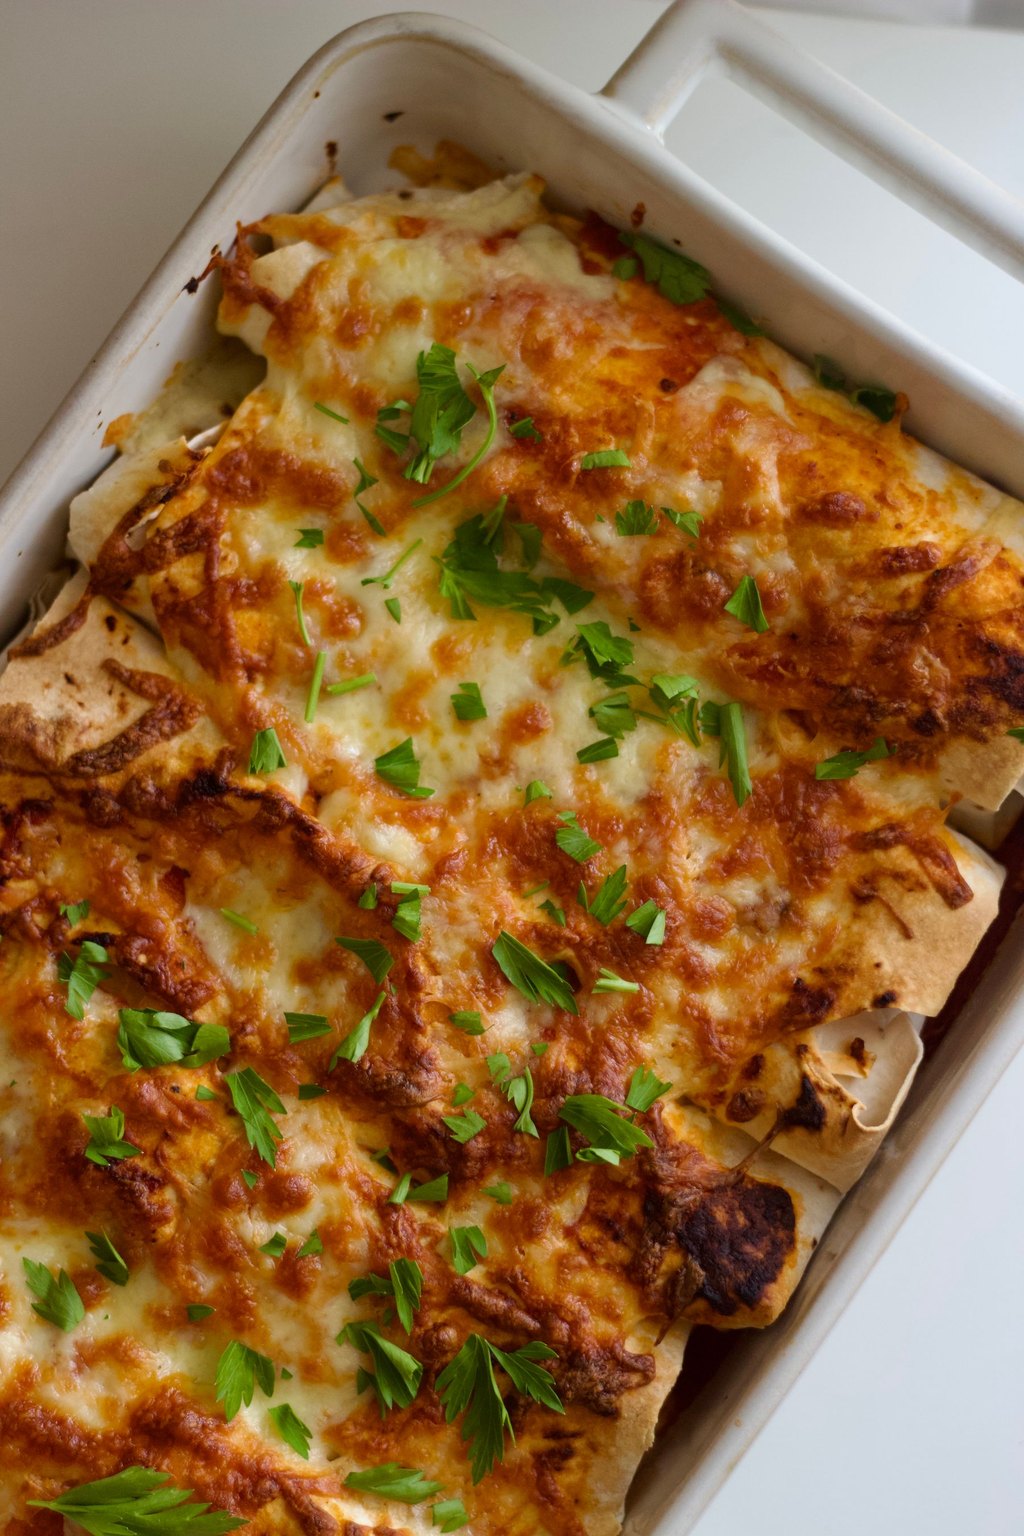
7) Chili Cheese Enchiladas
Tex Mex chili cheese enchiladas are corn tortillas rolled around cheddar and onion, then covered in a meaty red chili gravy and more cheese. It is the classic combination plate you find in diners across Texas. The chili sauce soaks into the tortillas and bakes into a rich, cheesy dish.
Ingredients
- 12 corn tortillas
- 1/4 cup vegetable oil
- 3 cups prepared beef chili, without beans
- 1 cup low sodium beef broth
- 1 tsp ground cumin
- 3 cups shredded cheddar, divided
- 1 medium white onion, finely diced
- Sliced green onions and sour cream, for serving
Cooking Instructions
- Heat the oven to 375F. Simmer the chili, broth and cumin in a saucepan 5 minutes until it is a pourable gravy. Spread 1 cup in a 9 by 13 inch baking dish.
- Heat the oil in a small skillet and dip each tortilla in it for 5 seconds per side to soften. Drain on paper towels.
- Fill each tortilla with 2 tbsp cheese and a spoonful of onion, roll tightly and place seam side down in the dish.
- Pour the remaining chili over the top and sprinkle with the remaining cheese. Bake 20 minutes until bubbling and the chili reaches 165F. Rest 5 minutes and top with green onions and sour cream.
These enchiladas taste like a Friday night at a small town Tex Mex cafe. Softening the tortillas in hot oil keeps them from cracking and helps them hold up under the sauce. Simple cheddar and raw onion inside is the traditional filling, and the meaty chili does all the heavy lifting. Serve with rice and refried beans for a full plate.
A beanless chili like the Texas recipe above works best, since it pours smoothly over the rolled tortillas.
6) Chili Taco Salad
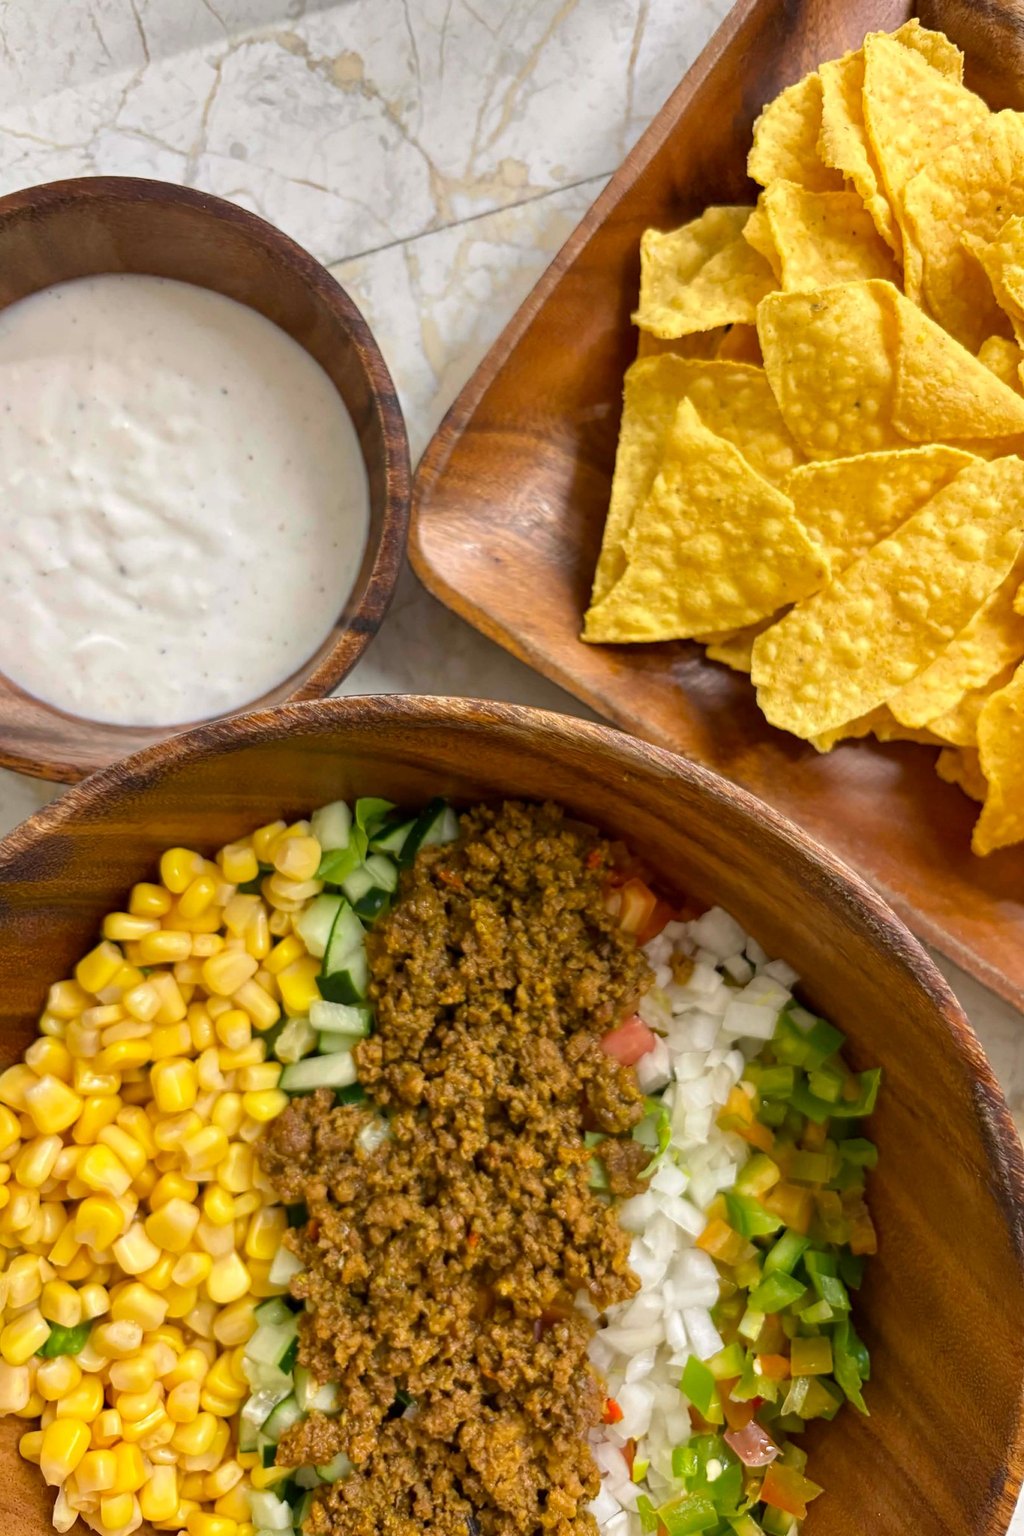
6) Chili Taco Salad
Chili taco salad piles crisp romaine, tomatoes, cheese and crushed tortilla chips under a scoop of warm beef chili. The contrast of hot, savory chili and cool, crunchy vegetables makes it surprisingly satisfying for a salad. It is a smart way to turn a small amount of leftover chili into a fresh dinner.
Ingredients
- 3 cups prepared beef chili
- 1 large head romaine, chopped
- 1 pint cherry tomatoes, halved
- 1 avocado, diced
- 1 (15 oz) can corn, drained
- 1 1/2 cups shredded cheddar
- 3 cups tortilla chips, lightly crushed
- 1/2 cup sour cream mixed with 1/4 cup salsa
- 1/4 cup sliced black olives and 2 green onions, sliced
Cooking Instructions
- Warm the chili in a saucepan over medium heat until it reaches 165F and is thick, about 8 minutes. Simmer uncovered a few minutes longer if it seems loose.
- Stir the sour cream and salsa together to make a quick dressing.
- Divide the romaine among 4 large bowls. Top with the tomatoes, avocado, corn, olives and green onions.
- Spoon the hot chili over the center, scatter on the cheese and crushed chips and drizzle with the dressing. Serve right away while the chili is warm and the chips are crisp.
Taco salad is what I make when we want something lighter but still cozy. Spooning the chili on at the last minute keeps the lettuce crisp under the warm topping. The salsa and sour cream dressing takes thirty seconds and tastes better than anything from a bottle. Everyone builds their bowl the way they like it.
Keep the chips on the side for anyone packing this for lunch so they stay crunchy.
5) Chili Corn Chip Pie
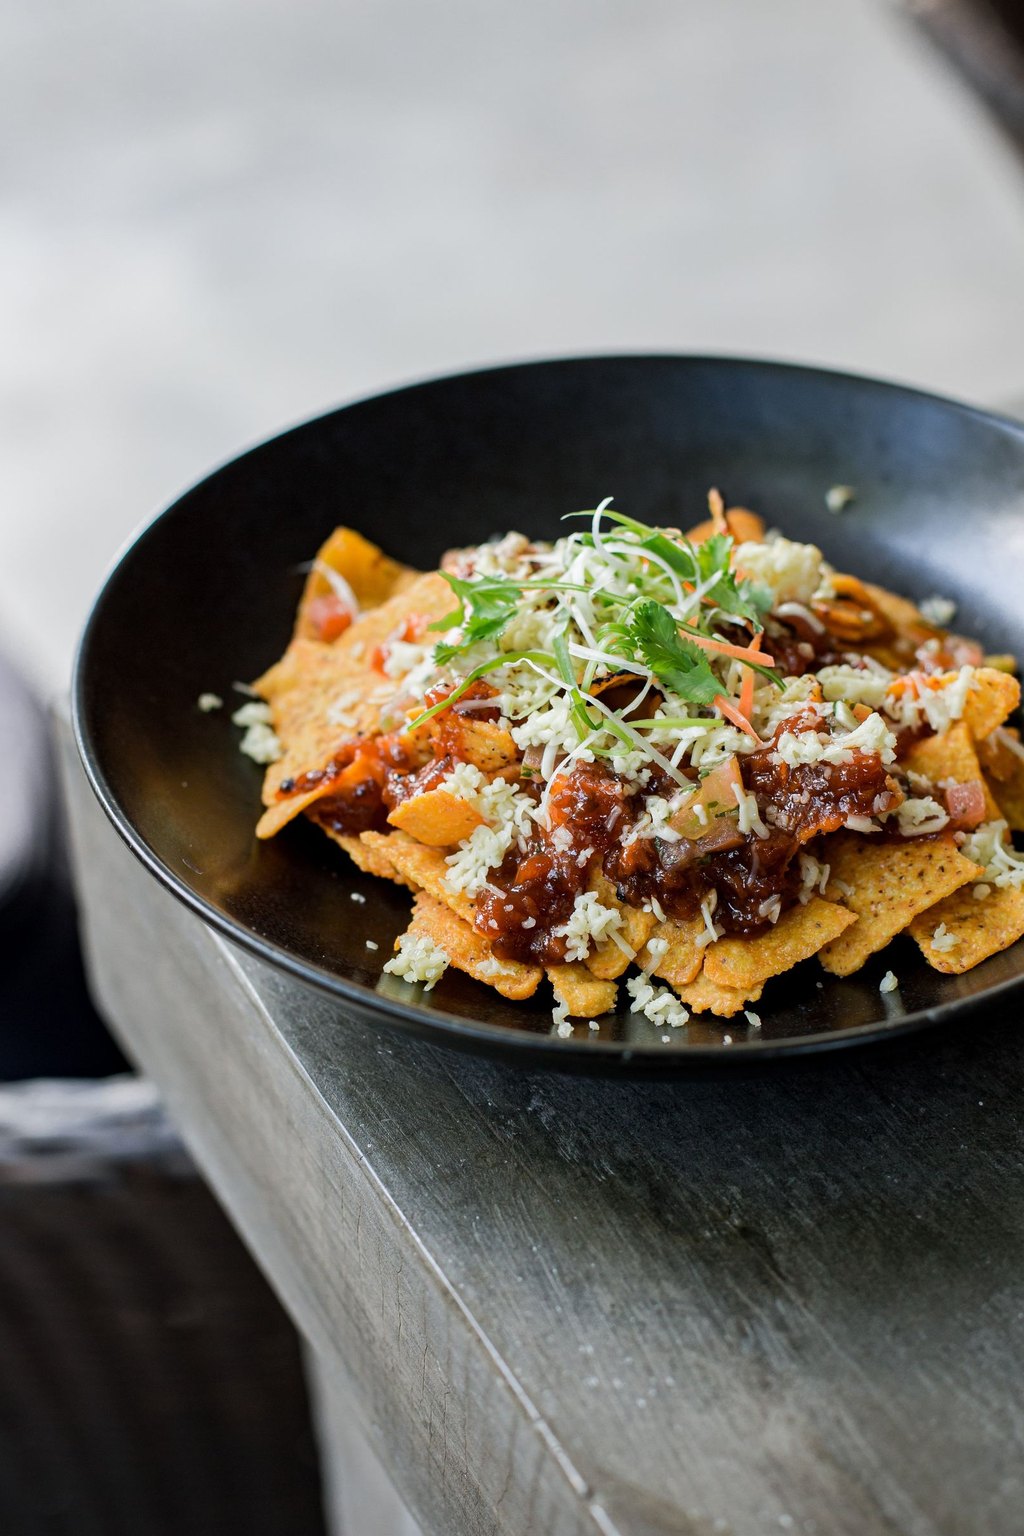
5) Chili Corn Chip Pie
Corn chip pie is a beloved Texas classic of crunchy corn chips covered in hot chili, melted cheese and chopped onion. It is often served right in the chip bag at football games, but a baking dish works just as well for a family dinner. It takes about twenty minutes when you have chili on hand.
Ingredients
- 1 (10 oz) bag corn chips
- 4 cups prepared beef chili
- 2 cups shredded cheddar
- 1/2 cup diced white onion
- 1/2 cup sour cream
- 1 cup shredded iceberg lettuce
- 1 diced tomato
- Pickled jalapeno slices, for serving
Cooking Instructions
- Heat the oven to 375F. Warm the chili in a saucepan over medium heat until it reaches 165F.
- Spread two thirds of the corn chips in an even layer in an 8 by 8 inch baking dish, saving the rest for the top.
- Pour the hot chili evenly over the chips and sprinkle with the cheddar and half the onion. Bake 8 to 10 minutes until the cheese melts and the edges bubble.
- Top with the remaining chips for crunch, then the rest of the onion, the sour cream, lettuce, tomato and jalapenos. Serve right away.
This is the dinner my kids would choose every night if I let them. Layering most of the chips under the chili and saving a handful for the top gives you soft, chili soaked chips and crunchy ones in the same bite. It is a fun way to use leftover chili and comes together in minutes. Serve it with a simple green salad to round out the meal.
For walking tacos at a party, crush single serve chip bags, slit them open and spoon the chili and toppings right in.
4) Chili Cheese Fries
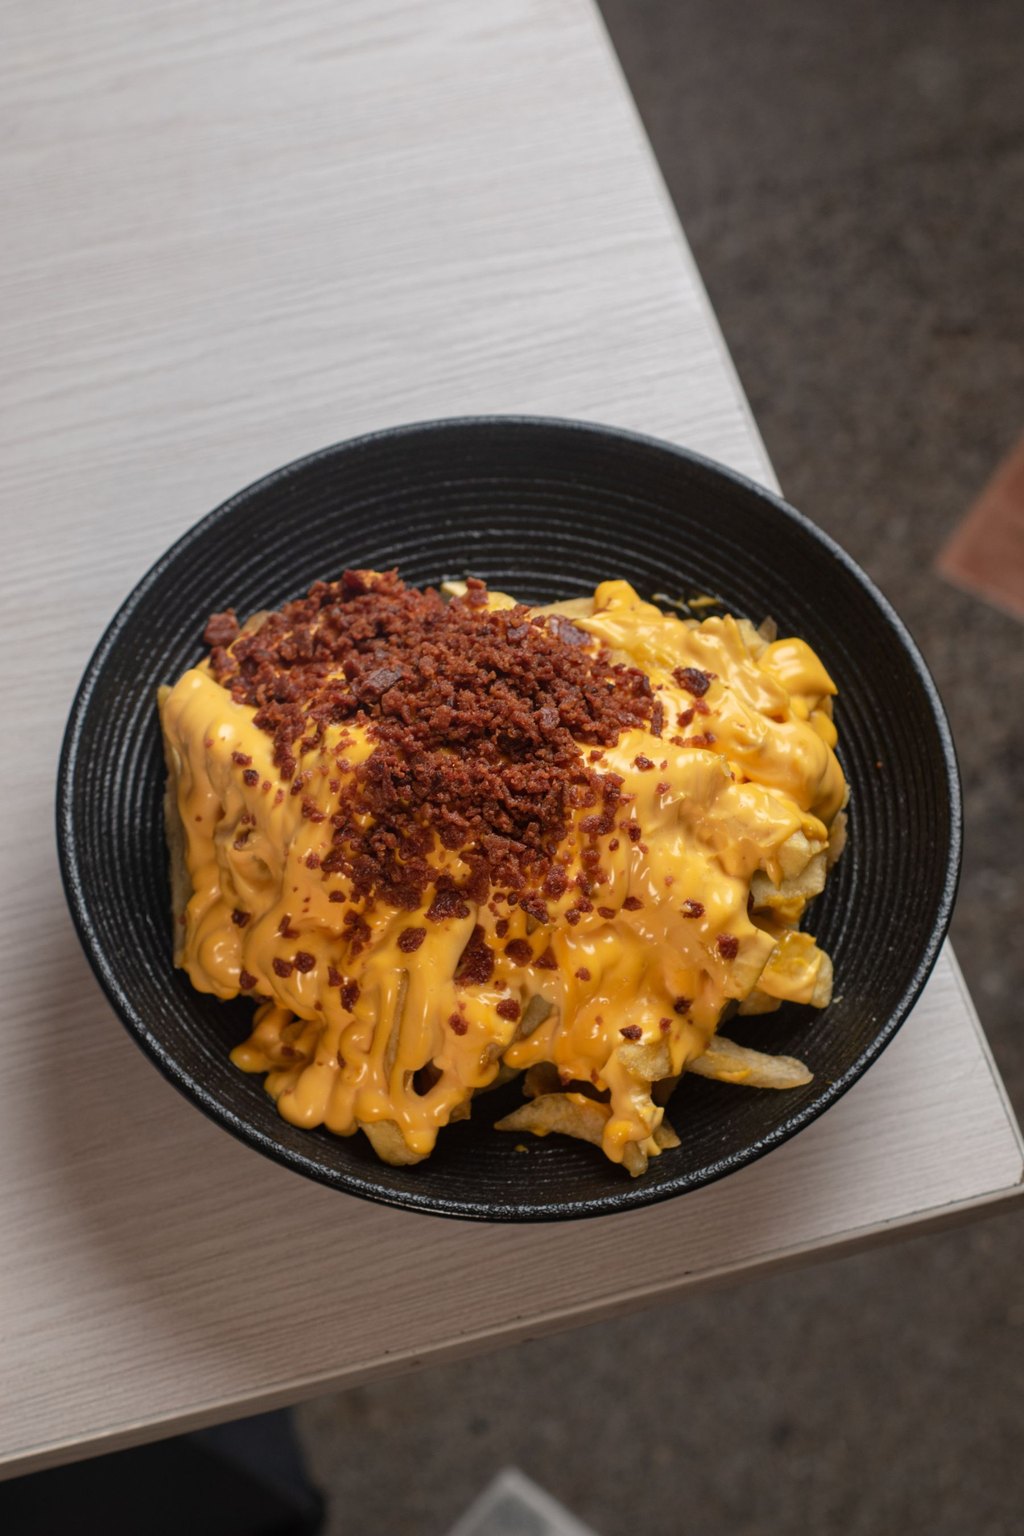
4) Chili Cheese Fries
Chili cheese fries are crispy oven baked potatoes covered in beef chili and a smooth homemade cheddar sauce. They are pure game day comfort food and filling enough to serve as a casual dinner. Baking the fries at high heat gets them crunchy without a deep fryer or a pot of hot oil.
Ingredients
- 2 lbs russet potatoes, cut into 1/4 inch sticks
- 3 tbsp vegetable oil and 1 tsp kosher salt
- 2 cups prepared beef chili
- 1 tbsp butter and 1 tbsp all purpose flour
- 3/4 cup whole milk
- 1 1/2 cups shredded sharp cheddar
- 1/4 tsp smoked paprika
- 2 green onions, sliced
Cooking Instructions
- Heat the oven to 450F. Soak the potato sticks in cold water 10 minutes, then dry them very well.
- Toss with the oil and salt, spread in one layer on 2 sheet pans and bake 25 to 30 minutes, flipping once, until golden and crisp.
- Meanwhile, warm the chili until it reaches 165F. Melt the butter in a saucepan, whisk in the flour for 1 minute, then whisk in the milk and simmer 2 minutes until thick. Off the heat, stir in the cheddar and paprika until smooth.
- Pile the fries on a platter, spoon over the chili and cheese sauce and sprinkle with green onions.
Chili cheese fries are the treat my family saves for big game nights, and homemade beats the drive through every time. A short soak in cold water removes surface starch so the fries bake up crisp instead of limp. The quick cheese sauce stays smooth and pourable and coats every fry. Serve them straight from the platter with plenty of napkins.
Frozen fries work in a pinch. Bake them a few minutes longer than the package says so they stay crisp under the toppings.
3) Loaded Chili Nachos
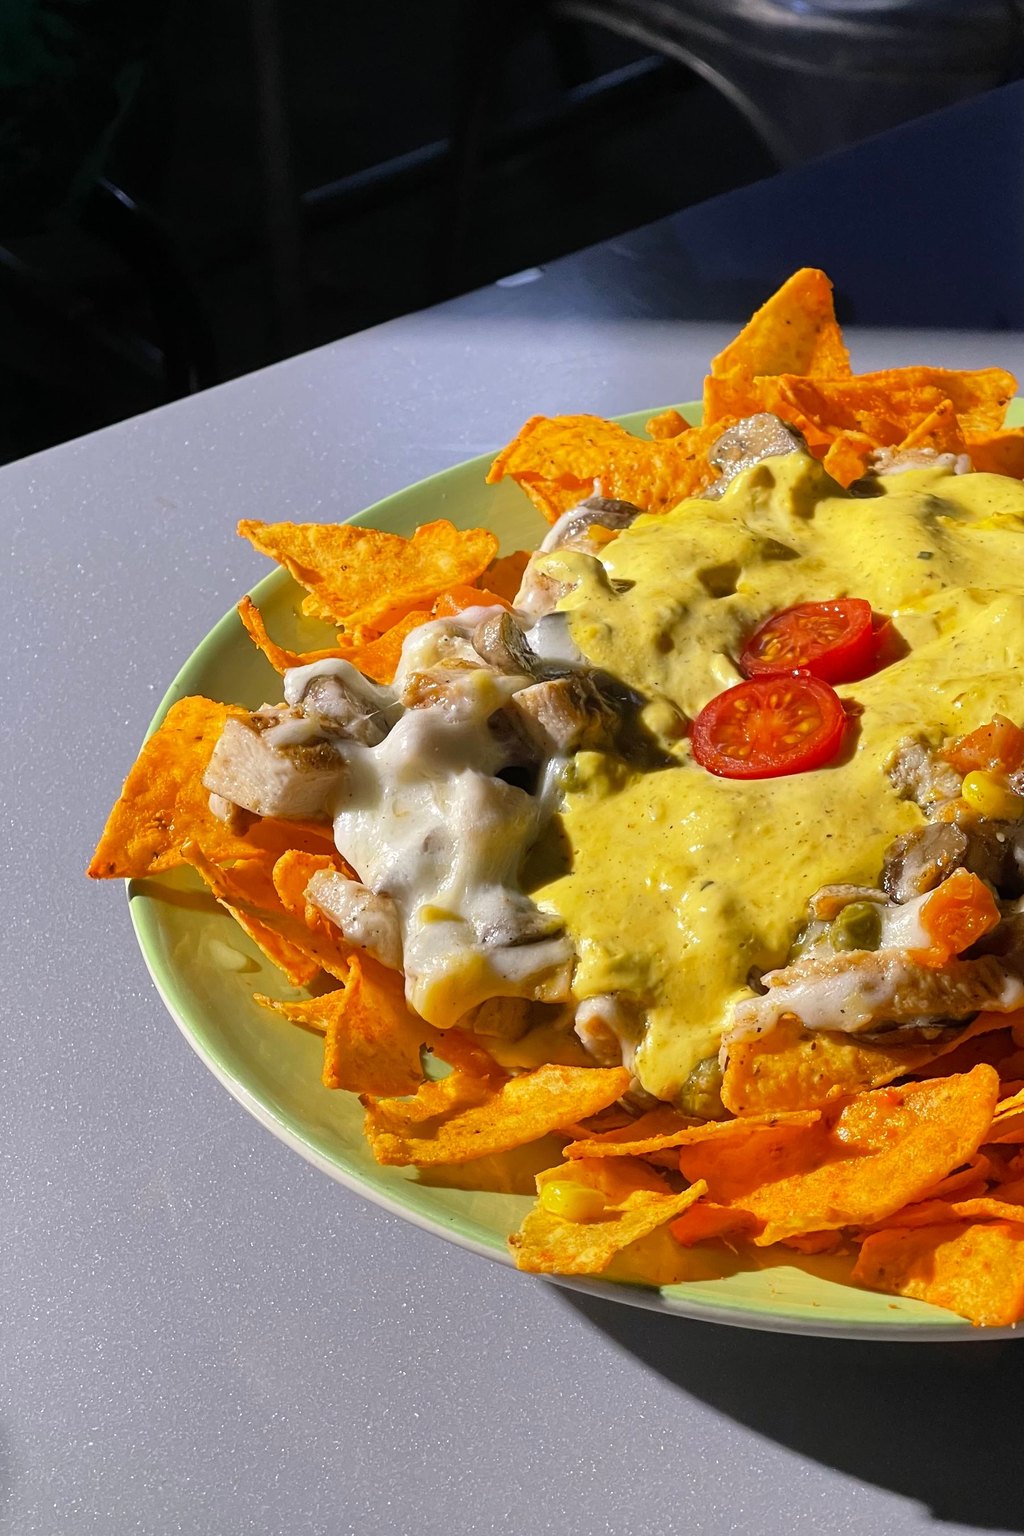
3) Loaded Chili Nachos
Loaded chili nachos layer sturdy tortilla chips with beef chili, two cheeses and black beans, then finish with fresh pico de gallo, avocado and sour cream. Built on a sheet pan, they feed a crowd and are perfect for a movie night dinner. Two layers of toppings mean every single chip gets its share.
Ingredients
- 1 (13 oz) bag thick tortilla chips
- 3 cups prepared beef chili
- 1 (15 oz) can black beans, drained and rinsed
- 2 cups shredded cheddar and 1 cup shredded Monterey Jack
- 1 cup pico de gallo
- 1 avocado, diced
- 1/2 cup sour cream
- 1/4 cup pickled jalapenos
- 2 green onions and 1/4 cup cilantro, chopped
Cooking Instructions
- Heat the oven to 400F and line a rimmed sheet pan with foil. Warm the chili until it reaches 165F.
- Spread half the chips on the pan. Top with half the chili, half the beans and half of each cheese.
- Repeat with the rest of the chips, chili, beans and cheese.
- Bake 8 to 10 minutes until the cheese is melted and bubbling at the edges.
- Scatter the pico de gallo, avocado, jalapenos, green onions and cilantro over the top, dollop with sour cream and serve straight from the pan.
Sheet pan nachos are my go to Friday night dinner when the kids have friends over. Building them in two layers is the secret, since a single pile leaves the bottom chips bare and dry. Thick restaurant style chips hold up under the weight of the chili without breaking. Set the pan in the middle of the table and let everyone dig in.
Add the cold toppings only after baking so they stay fresh and the chips stay crisp.
2) Chili Cheese Dip
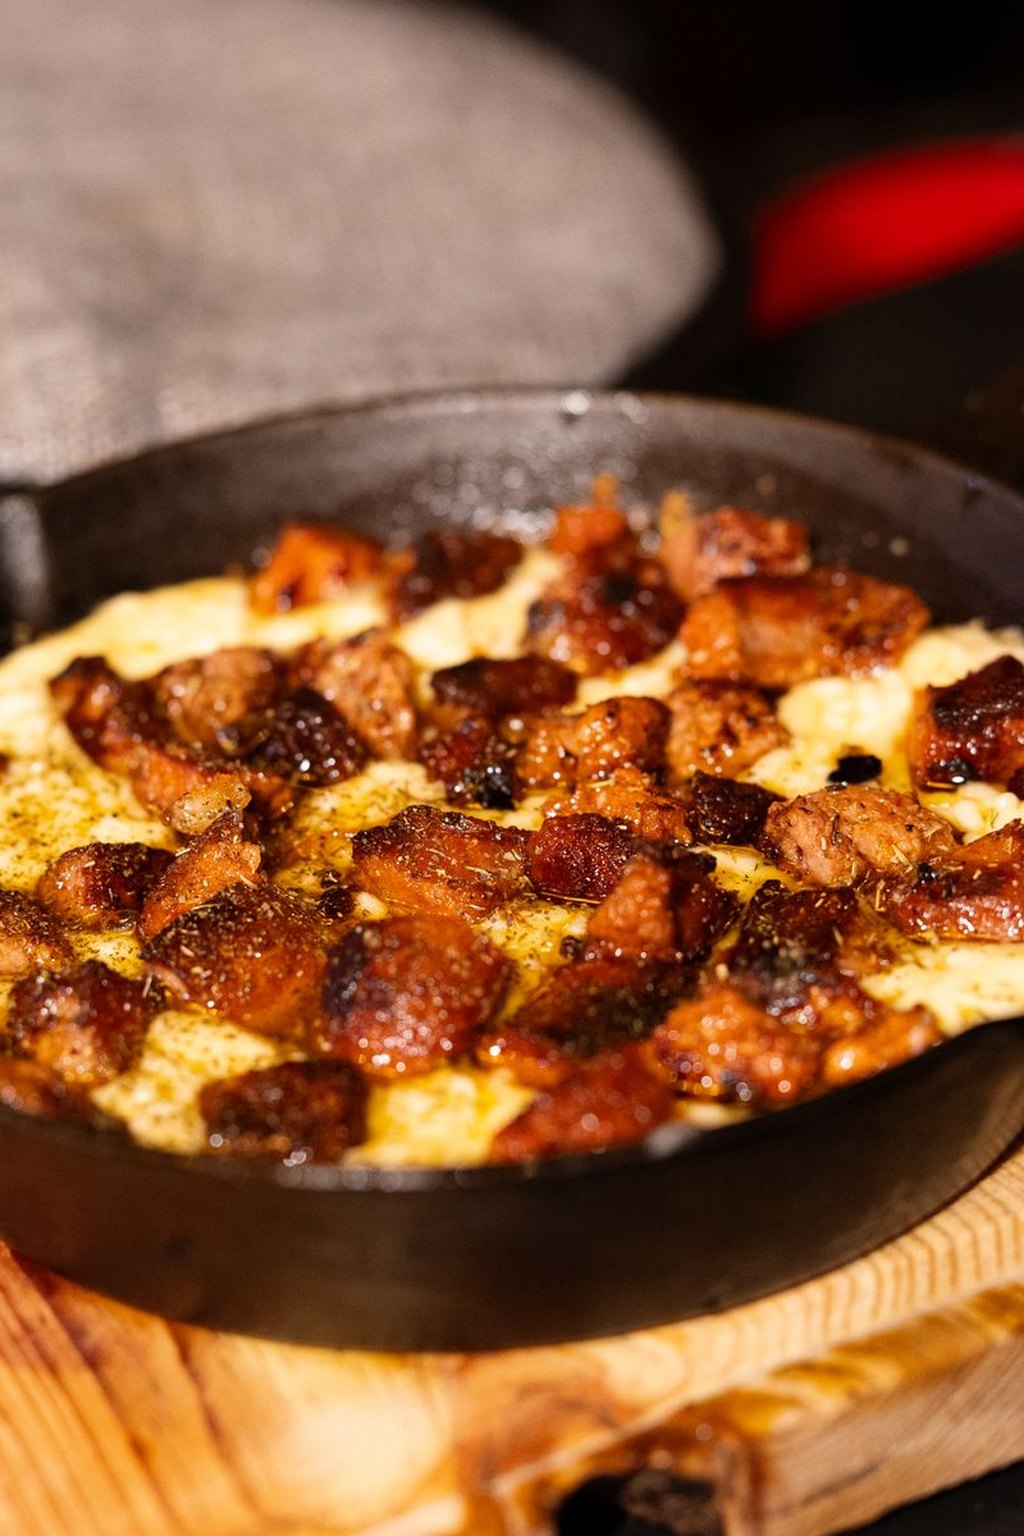
2) Chili Cheese Dip
Chili cheese dip is a warm, bubbling skillet of cream cheese, beef chili and cheddar baked until golden at the edges. It is the kind of hearty dip that turns into dinner when you serve it with chips and a crunchy vegetable tray. It needs only three main ingredients and about thirty minutes.
Ingredients
- 8 oz cream cheese, softened
- 2 cups prepared beef chili
- 2 cups shredded cheddar
- 1 (4 oz) can diced green chiles
- 1/2 tsp ground cumin
- 2 green onions, sliced
- 1 small tomato, diced
- Tortilla chips and celery and carrot sticks, for dipping
Cooking Instructions
- Heat the oven to 350F with a rack in the center.
- Stir the cream cheese, green chiles and cumin together until smooth and spread in an even layer in a 10 inch oven safe skillet or a 9 inch pie plate.
- Spoon the chili evenly over the cream cheese, spreading it to the edges, and sprinkle the cheddar over the top.
- Bake 18 to 20 minutes until the dip is bubbling at the edges, the cheese is melted and the center reaches 165F.
- Cool 5 minutes, then top with the green onions and tomato. Serve warm with chips and vegetables for dipping.
This dip is a game day staple at our house and often stands in for dinner on busy weekends. The cream cheese layer on the bottom stays smooth and tangy, while the chili and cheddar on top bake into a rich, savory crust. It is easy to double in a 9 by 13 inch dish for a bigger crowd. Leftovers make a great burrito filling.
Let the cream cheese sit at room temperature for 30 minutes so it spreads without tearing.
1) Classic Chili Dogs
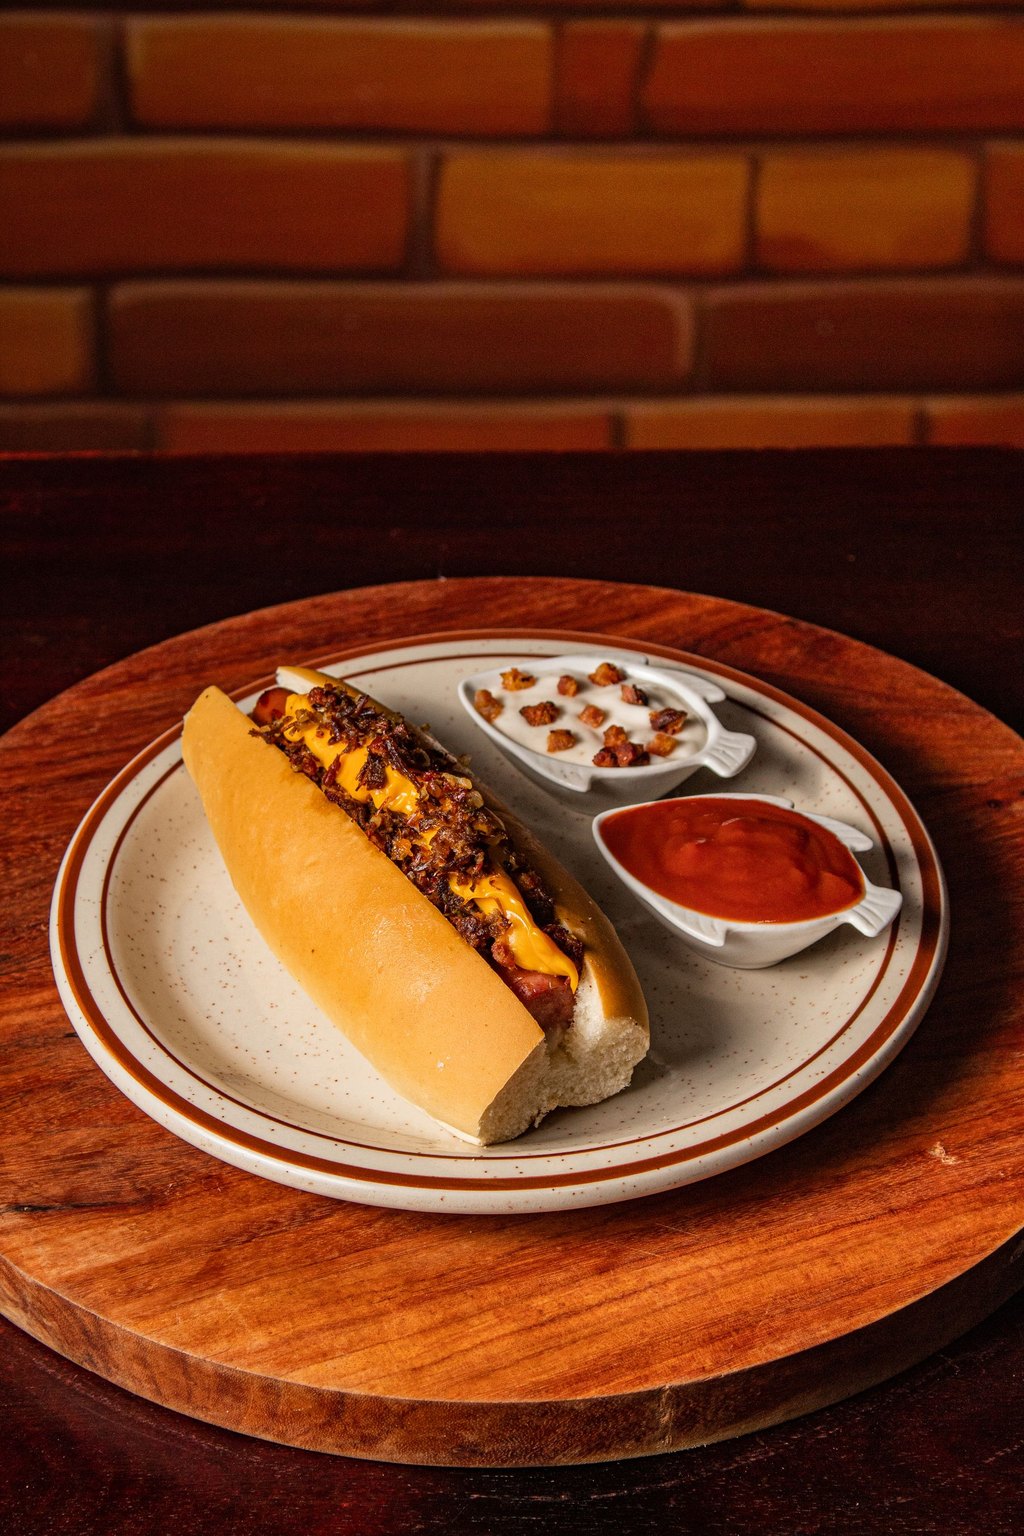
1) Classic Chili Dogs
Classic chili dogs feature grilled beef hot dogs tucked into soft steamed buns and topped with a fine, saucy beef chili, mustard and chopped onion. The topping is a quick coney style sauce that simmers in about twenty minutes. They are fun, inexpensive and always the first thing gone at a family party.
Ingredients
- 1 lb 85 percent lean ground beef
- 1 small yellow onion, finely diced, plus more for topping
- 2 cloves garlic, minced
- 1 (8 oz) can tomato sauce and 1/2 cup water
- 1 tbsp chili powder and 1 tsp ground cumin
- 1 tsp yellow mustard, plus more for topping
- 1 tsp brown sugar and 1/2 tsp kosher salt
- 8 all beef hot dogs
- 8 hot dog buns
- 1 cup shredded cheddar, optional
Cooking Instructions
- Cook the beef and onion in a large skillet over medium heat, breaking the beef into very fine crumbles, about 8 minutes until it reaches 160F. Drain the fat.
- Add the garlic, tomato sauce, water, chili powder, cumin, mustard, sugar and salt. Simmer uncovered 20 minutes until thick and saucy.
- Meanwhile, grill or pan sear the hot dogs over medium heat 6 to 8 minutes, turning, until browned and heated to 165F.
- Wrap the buns in foil and warm them in a 300F oven for 5 minutes. Tuck a hot dog into each bun and top with chili, mustard, onion and cheddar.
Chili dogs bring back every ballpark and summer fair of my childhood, and they are just as welcome on a cold night. Breaking the beef into very fine crumbles makes a smooth topping that clings to the hot dog instead of rolling off. Wrapping the buns in foil keeps them soft and warm. Set out the toppings and let everyone build their own.
Make the chili topping a day ahead and reheat it while the hot dogs cook for a dinner that is ready in 15 minutes.
How to use this list
Plan your chili week around one big pot. Make a classic beef, turkey or bean chili on Sunday, then use the leftovers for chili mac, baked potatoes, taco salad or chili dogs later in the week. Stock your pantry with canned tomatoes, beans, tomato sauce and broth when they go on sale, and buy ground beef in family packs to brown and freeze. With chili powder, cumin and oregano on hand, dinner is never far away.
Cool chili within two hours of cooking, spreading it in shallow containers so it chills quickly. It keeps four days in the fridge and up to three months in the freezer. Freeze it flat in quart bags for fast thawing, and leave off dairy toppings until serving. Reheat on the stove over medium heat with a splash of broth, stirring often, until it reaches 165F all the way through. Chili with beans or pasta thickens in the fridge, so add a little extra broth as it warms.
Cornbread is the classic partner for any bowl here, and the skillet cornbread in this list bakes while the chili simmers. Rice, baked potatoes, tortilla chips and warm flour tortillas all stretch a pot to feed more people. For a party, set out a toppings bar with shredded cheese, sour cream, diced onion, avocado, cilantro, pickled jalapenos and crushed crackers so everyone builds their own bowl. A simple green salad with a tangy dressing balances all that richness.
Chili is easy to adapt. Swap ground turkey or chicken for beef in nearly any recipe, or use extra beans for a meatless pot. For gluten free eaters, choose a chili powder without fillers and serve with corn tortillas or rice. Dairy free toppings like avocado, cilantro and lime work beautifully. For picky or spice shy kids, use a mild chili powder, skip the jalapenos and set hot sauce on the table for the grown ups.
Frequently asked questions
What is the secret to making good chili?
The biggest secret is time and toasted spices. Brown the meat well, then cook the chili powder, cumin and tomato paste in the fat for a minute before adding liquid so they turn deep and fragrant. Simmer at least an hour so the flavors blend, then taste and adjust the salt at the end. A splash of vinegar or lime juice right before serving makes every flavor pop.
Should you drain the beans for chili?
Yes, for most recipes you should drain and rinse canned beans. The canning liquid is starchy and salty and can make chili taste muddy or too salty. Rinsing gives you more control over the texture and seasoning. The exception is when a chili seems thin and you want more body. Then a few tablespoons of the bean liquid help thicken it.
How do you thicken chili?
The easiest way is to simmer it uncovered for 15 to 20 minutes so extra liquid cooks off. You can also mash a cup of the beans against the side of the pot, or stir in 2 tbsp masa harina or cornmeal mixed with a little water and simmer 10 minutes. Avoid adding plain flour straight to the pot, since it can clump and taste raw.
How long does chili last in the fridge?
Homemade chili keeps safely for three to four days in the refrigerator in a covered container. Cool it within two hours of cooking and store it in shallow containers so it chills quickly. For longer storage, freeze it for up to three months. Reheat leftovers until they are steaming hot and reach 165F in the center.
Can you make chili in a slow cooker without browning the meat?
You can, but it will not taste as good. Raw ground meat cooked in a slow cooker tends to clump into a grainy, greasy texture and lacks the savory flavor that browning creates. Taking ten minutes to brown and drain the meat and bloom the spices in a skillet makes a much richer chili. It also lets you pour off excess fat before it goes in the pot.
About the author