
Welcome to the world of homemade sourdough! I’m excited to help you make your own sourdough bread. It will make your kitchen feel like a professional bakery.
Sourdough is more than just bread. It’s a journey that connects you to old baking traditions. My adventure started with curiosity and has grown into a love for flavor and technique.
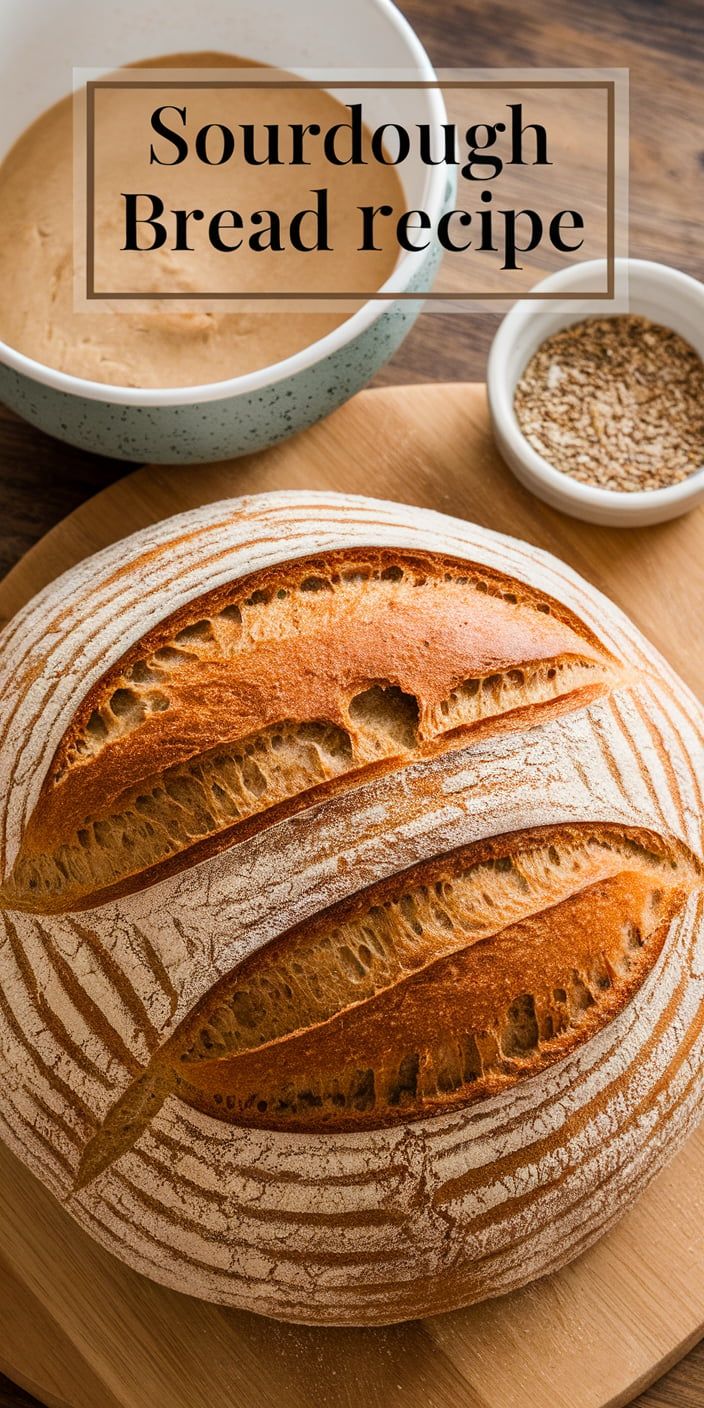
This sourdough recipe is special because it’s simple yet full of flavor. Homemade sourdough is healthier than store-bought. It’s easier to digest and tastes better.
This recipe is for everyone, whether you’re new or experienced. You’ll learn how to make a perfect sourdough loaf. You’ll get to make your own starter and learn how to bake like a pro.
Are you ready for a tasty adventure? It will change how you see bread forever!
Understanding the Magic of Sourdough Starter
Sourdough starter is the heart of real bread making. It’s a mix of flour, water, and wild yeast. This mix turns simple stuff into a tasty bread.
Unlike regular yeast, sourdough starter gets its yeast from the air. This makes sourdough bread taste tangy and special.
The magic of sourdough starter is how it makes bread taste better. It does this through natural fermentation. Wild yeast and good bacteria work together to make a strong culture.
Creating Your Own Sourdough Starter from Scratch
Starting your own sourdough starter is easy. Here’s how:
- Mix equal parts whole wheat flour and water
- Let it sit at room temperature
- Discard and feed it every day
- Look for bubbles and more activity
Maintaining a Healthy Starter Culture
Keeping your starter healthy is important. Feed it regularly and keep it at a steady temperature. Also, watch for signs of good fermentation.
Signs Your Starter is Ready for Baking
A ready sourdough starter shows certain signs:
- It doubles in size after feeding
- You see bubbles in it
- It smells slightly sour
- It rises and falls in a predictable way
Being patient is key when growing a sourdough starter. Each starter is unique, showing the special environment and ingredients it was made with.
Essential Ingredients for Perfect Sourdough Bread Recipe
Making sourdough bread is all about the right ingredients. I’ll show you what makes a great loaf.
The best sourdough starts with top-notch bread flour. Choose a flour with lots of protein. This makes your bread strong and soft.
- Bread flour (protein-rich and ideal for sourdough)
- Filtered water
- Sea salt (provides essential flavor)
- Active sourdough starter
Now, let’s look at each ingredient:
| Ingredient | Purpose | Recommended Amount |
|---|---|---|
| Bread Flour | Provides structure and protein | 500g per loaf |
| Water | Hydrates flour and activates fermentation | 350-375ml |
| Sea Salt | Enhances flavor and controls fermentation | 10-12g |
| Sourdough Starter | Provides leavening and complex flavor | 100-150g |
Pro tip: Use fresh, quality ingredients. Good ingredients make your bread taste better.
If you can’t eat certain flours, try others. Whole wheat or gluten-free flours can make your bread special.
Equipment You’ll Need for Baking Success
Making perfect sourdough bread needs more than skill and love. The right baking tools make a big difference. Let’s look at the key tools and accessories for amazing sourdough bread at home.
Must-Have Kitchen Tools
Every serious home baker needs basic baking tools. Here are the must-haves:
- Kitchen Scale: Precise measurements are crucial for consistent bread results
- Large Mixing Bowl: Preferably glass or ceramic for even temperature distribution
- Instant-Read Thermometer: To monitor dough and ambient temperatures
- Proofing Basket (Banneton): Helps shape and support your dough during fermentation
- Sharp Bread Lame: Essential for scoring beautiful designs on your loaf
Optional but Helpful Accessories
These accessories can make your sourdough better:
- Dough Scraper: Helps manage sticky dough and clean work surfaces
- Bench Knife: Perfect for cutting and manipulating dough
- Spray Bottle: Creates steam for a crispy crust
- Silicone Baking Mat: Provides a non-stick surface for kneading
Choosing the Right Dutch Oven
A Dutch oven is a must for home bread baking. Choose a cast-iron Dutch oven with a tight lid. Look for sizes between 5-7 quarts that can handle high oven temperatures. Lodge and Le Creuset make great Dutch ovens for a professional crust.
The Science Behind Sourdough Fermentation
Sourdough is a world of tiny microbes that turn simple ingredients into a tasty bread. It’s like a tiny dance where yeast and bacteria make magic happen.
The lactic acid bacteria in sourdough are key. They break down carbs, adding a tangy taste and making the bread easier to digest. During fermentation, important changes happen:
- Gluten development becomes more pronounced
- Nutrients become more accessible
- Natural preservation begins
Gluten development is really cool. As dough ferments, proteins strengthen, making sourdough chewy. This slow process also makes the bread easier on your stomach.
The yeast and bacteria mix creates a special flavor. Each sourdough starter is different, with its own unique taste and texture.
Pro tip: Longer fermentation means better flavor and easier digestion. It’s like a flavor-building workshop for your dough!
Step-by-Step Mixing and Kneading Process
Making perfect sourdough bread is all about the right techniques. Mixing and kneading turn simple ingredients into a beautiful loaf. It’s where the magic starts.
Understanding Dough Hydration
Dough hydration is how much water is in your recipe. It affects your bread’s texture and structure. More water makes the bread lighter and has a bigger crumb.
- Low hydration: 60-65% water (dense bread)
- Medium hydration: 70-75% water (balanced texture)
- High hydration: 80-85% water (open, airy crumb)
Mastering the Stretch and Fold Technique
The stretch and fold technique is key for making strong dough. It’s gentler than kneading and builds structure.
- Wet your hands to prevent sticking
- Grab one side of the dough and stretch upward
- Fold the stretched section over the center
- Rotate the bowl and repeat 3-4 times
Proper Bulk Fermentation Times
Bulk fermentation is when your dough gets flavor and structure. How long it takes depends on the temperature and starter strength.
| Temperature | Fermentation Time | Dough Activity |
|---|---|---|
| 65-70°F | 4-6 hours | Slow, steady rise |
| 70-75°F | 3-4 hours | Moderate rise |
| 75-80°F | 2-3 hours | Quick, active fermentation |
Look for these signs during bulk fermentation. The dough should grow by 50-75%, look puffy, and have bubbles.
Shaping, Scoring, and Baking Techniques
Learning to shape bread is like an art. It turns your sourdough into a beautiful loaf. I’ll show you how to make your bread look amazing every time.
For shaping, you need to make the dough tight. Start by stretching and folding it gently. This makes the bread rise well. Work on a floured surface to avoid sticking.
- Pre-shape the dough into a rough round
- Let the dough rest for 20-30 minutes
- Create final shape using gentle folding techniques
Scoring the dough is key for even baking. Use a sharp tool to make cuts on the dough. Different cuts can make your bread look unique.
To get a crispy crust, prepare your baking stone well. Heat it in a hot oven at 450-500°F for 45 minutes. This makes the crust golden and crunchy.
- Place baking stone in the oven during preheating
- Transfer scored dough carefully onto the stone
- Create steam by adding a pan of water to the oven bottom
- Bake for 35-45 minutes until crust is deep golden
Pro tip: Practice makes perfect! Don’t worry if your first loaves aren’t perfect. Every bake teaches you something new.
Troubleshooting Common Sourdough Problems
Every baker faces sourdough challenges. My experience shows most problems can be fixed with careful checks and tweaks.
Dense or gummy bread often means not enough fermentation or wrong water levels. Make sure your starter is strong and active before mixing. Weak oven spring? Check your starter’s health, dough temperature, and proofing time.
An overly sour taste? Your starter might be too old. Feed it more often and use it when it’s at its best. Remember, fixing sourdough issues is a learning journey. Each loaf helps you get better.
My top tip is to be patient and keep practicing. Write down what you do, see how it changes your bread, and don’t give up. With time, you’ll know sourdough baking inside out. You’ll turn problems into tasty lessons.